By Ben M.
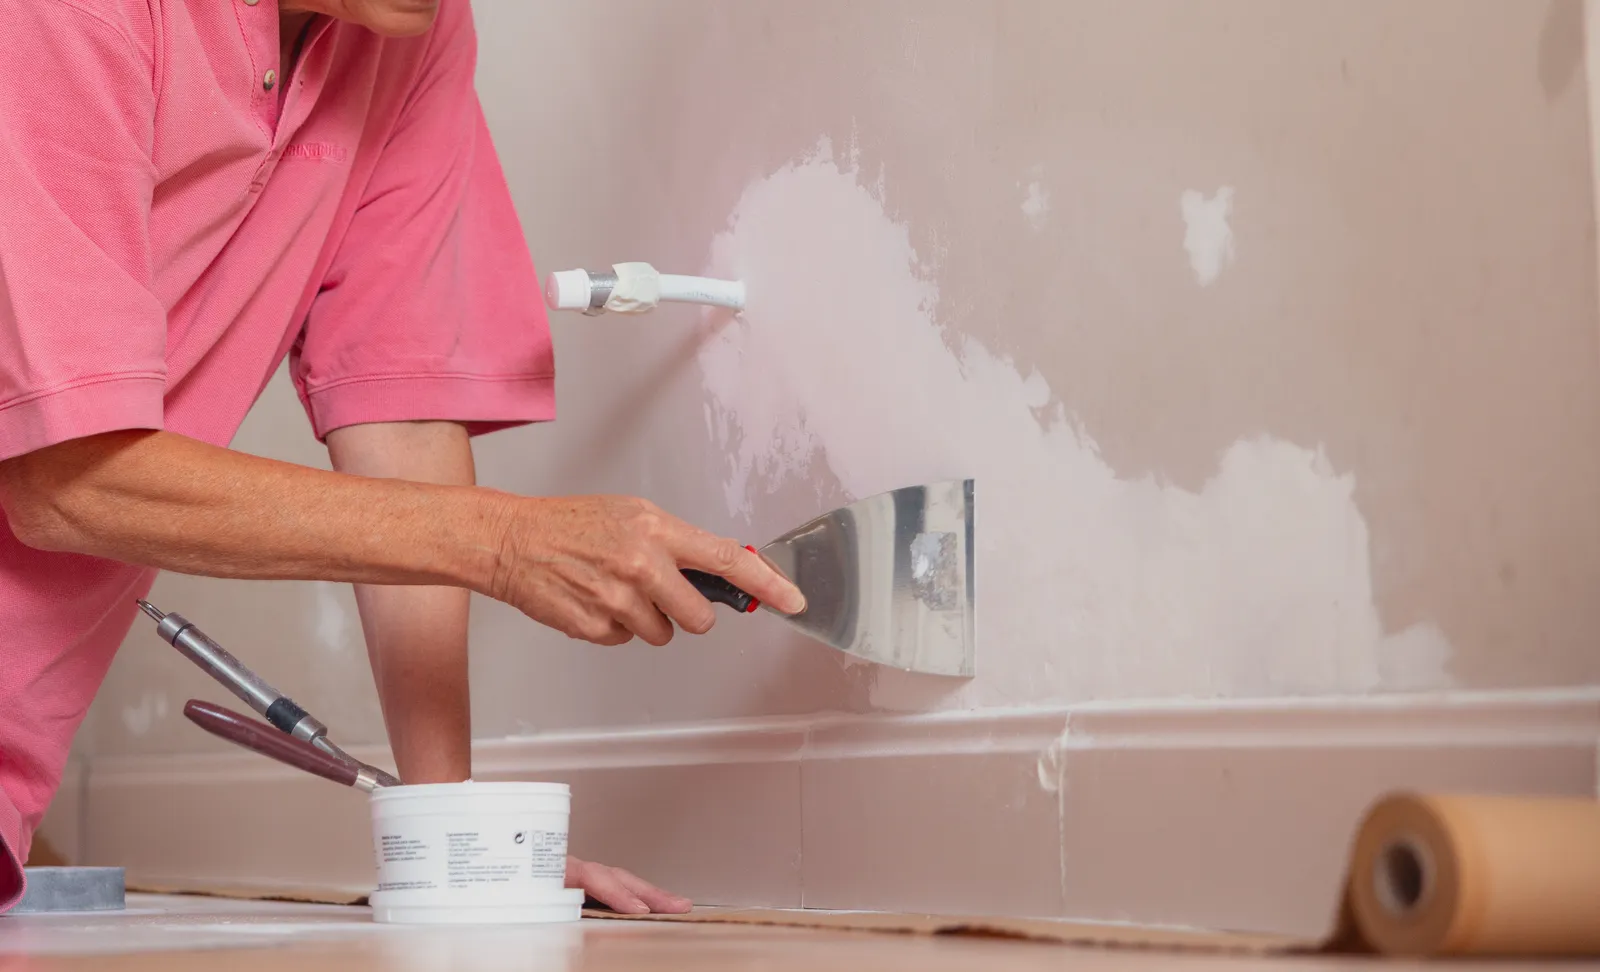
To fix small drywall holes, remove any loose drywall or debris from the damaged area, fill the hole with spackle or patching compound, let it dry completely, and sand it smooth and flush with the surrounding wall. If your walls have texture, recreate that texture on the patch before painting. Once everything is smooth, clean, and dry, prime the repair and repaint. For minor damage, the repair is usually simple, but good prep is what helps the patch actually blend into the wall.
Small holes are one of the most common wall problems in any home. Nails from old pictures, anchors from shelves, doorknob dents, and accidental bumps from furniture all leave marks. The holes themselves are easy to fill, but a rushed patch often shows up as a raised bump, a sunken dip, or a shiny spot after painting. A few extra minutes of prep and sanding make the difference between a patch you can see from across the room and one that disappears.
Regional climate, seasonal humidity, and local building styles heavily influence how drywall repairs dry and how they should be finished. In humid Southern coastal climates, patching compound dries slowly and can shrink as it cures, so a second thin coat is often needed. In high-altitude and arid Western regions, compound dries fast and can crack if it is applied too thick, so thin layers work best. In Northern homes with freeze-thaw winters, seasonal house movement often causes nail pops and hairline cracks, and many older homes have plaster or heavily textured walls that require extra care to match. Below is a complete step-by-step guide to fixing small drywall holes for a seamless, paint-ready finish.
Quick Reference Summary for Fixing Small Drywall Holes
- First Step: Remove loose drywall paper, crumbs, and debris so the patch has a clean surface.
- Patching Product: Use spackle or lightweight patching compound for small holes and dents.
- Drying Rule: Let the patch dry completely before sanding, following the product label.
- Sanding Goal: Sand until the patch is smooth and flush with the surrounding wall.
- Finishing Steps: Match wall texture if needed, then prime and repaint the repaired area.
Why Does Prep Matter for Small Drywall Repairs?
Patching compound needs a clean, solid surface to bond to. Loose bits of drywall paper and gypsum around a hole can crumble under the patch and cause it to crack or fall out. Cleaning up the edges first gives the compound something firm to hold.
Prep also determines how the patch looks after painting. Torn paper edges that stick out above the wall create a fuzzy, raised ring around the patch. Slicing them off with a utility knife leaves a clean edge that the compound can cover smoothly.
Finally, prep includes checking the area around the hole. A hole caused by a doorknob may have cracked drywall around it. A nail hole near a seam may be part of a larger nail pop. If you see wider damage, read our guide on how to fix nail pops in drywall or our full guide to repairing drywall.
“Pro Tip 1: Overfill Slightly, Then Sand Flush. Most patching compounds shrink a little as they dry. Apply the compound so it sits just slightly above the wall surface and feather the edges outward with your putty knife. Once it dries, sand it down flush. This is much easier than adding a second coat to fill a dip left by shrinkage.”
The Gypsum Association publishes industry guidance on drywall installation and finishing, including how joint compound should be applied and sanded.
What Tools and Materials Do You Need?
Small drywall repairs require only a few basic supplies. Having everything ready before you start keeps the job quick and clean.
- Utility Knife: For trimming torn drywall paper and loose edges.
- Putty Knife: A flexible 2-inch or 4-inch putty knife spreads compound smoothly.
- Spackle or Patching Compound: Lightweight spackle works well for nail holes and small dents.
- Sanding Sponge or Fine Sandpaper: For smoothing the dried patch flush with the wall.
- Texture Product (If Needed): An orange peel or knockdown spray texture to match textured walls.
- Primer and Paint: A primer for the patch and your wall paint to finish.
Step-by-Step Guide to Fixing Small Drywall Holes
Follow this process to make small holes disappear:
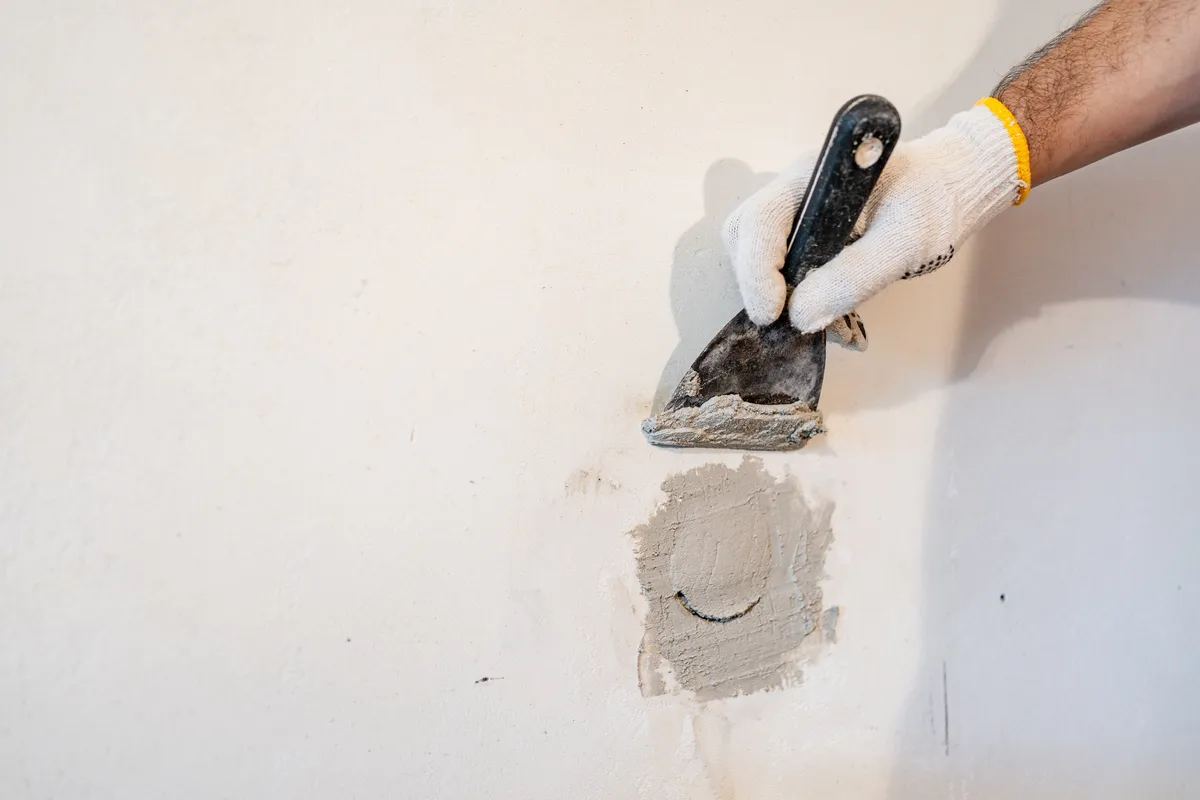
- Clean the Damaged Area: Remove any loose drywall or debris from the hole. Trim torn paper edges with a utility knife so nothing sticks out above the wall surface.
- Apply the Spackle or Patching Compound: Press the compound into the hole with a putty knife, then drag the knife across the surface to level it. Feather the edges outward so the patch blends into the wall.
- Let It Dry Completely: Follow the drying time on the product label. Deeper holes may need a second thin coat after the first dries.
- Sand Smooth and Flush: Lightly sand the patch until it is smooth and level with the surrounding wall. Avoid sanding too hard, which can scuff the drywall paper.
- Recreate the Wall Texture: If your walls have texture, apply a matching texture product so the patch does not look flat compared to the rest of the wall.
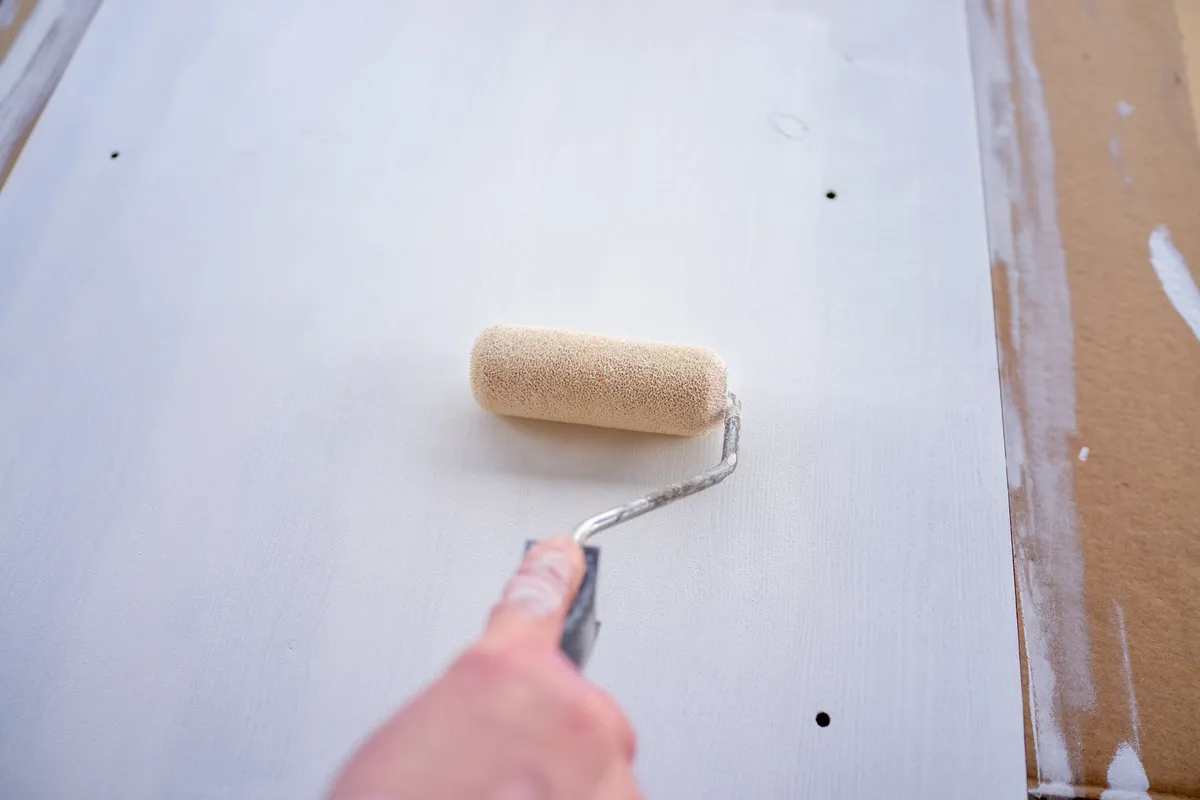
- Prime and Repaint: Wipe off sanding dust, prime the patch, and repaint the area.
If your home was built before 1978, the U.S. Environmental Protection Agency (EPA) recommends testing for lead before sanding painted walls, and Occupational Safety and Health Administration (OSHA) recommends a dust mask and eye protection when sanding drywall compound.
Technical Comparison of Small Drywall Repair Methods
This technical reference table matches common types of small damage with the best repair method.
- Nail and screw holes: Lightweight spackle. Fill, level, sand. Usually one coat.
- Anchor holes: Spackle or patching compound. Remove anchor, fill, sand. May need two coats.
- Small dents and dings: Patching compound. Fill, feather edges, sand. Check with a side light.
- Holes up to about 1 inch: Patching compound. Fill in thin layers. May need two or three coats.
- Holes larger than a few inches: Self-adhesive patch or new drywall piece. Patch, tape, and mud. Treat as a larger repair.
“Pro Tip 2: Prime Patches Before Painting. Patching compound absorbs paint differently than the painted wall around it. If you paint directly over a patch, it can show up as a dull or shiny spot called flashing. A coat of primer over the patch seals it so the topcoat dries evenly and the repair disappears.”
For more on when walls need primer, read our guide on whether you need primer before painting walls. If you are patching many holes before repainting a room, our guide on how to fill nail holes before painting walls walks through the process room by room.
What Are the Most Common Mistakes When Patching Drywall Holes?
Avoiding these common DIY errors keeps your repairs invisible:
- Leaving Loose Debris: Crumbs and torn paper under the patch can cause cracks and bumps.
- Applying Compound Too Thick: Thick patches take longer to dry and are more likely to crack or shrink.
- Sanding Too Soon: Sanding damp compound tears it out and leaves a rough surface.
- Forgetting the Texture: A smooth patch on a textured wall stands out once it is painted.
- Skipping Primer: Unprimed patches often flash through the paint.
“Pro Tip 3: Use a Light at a Low Angle to Check the Patch. Before you prime, hold a flashlight or work light flat against the wall so the beam skims across the patch. Raised edges, dips, and sanding scratches cast small shadows that are hard to see in normal room light. Fix any spots the light reveals with a quick skim coat or light sanding, and the patch will disappear once it is painted.”
Answers to Common Questions About Fixing Small Drywall Holes
What is the best product for small drywall holes?
Lightweight spackle works well for nail holes, screw holes, and small dents. For slightly larger or deeper holes, a patching compound applied in thin layers is a good choice.
How long does spackle take to dry before sanding?
Drying time depends on the product, the depth of the patch, and room conditions. Small, thin patches may dry quickly, while deeper fills take longer. Always follow the label.
Do you have to prime spackle before painting?
Priming is recommended. Patches absorb paint differently than the surrounding wall, and primer helps prevent flashing so the repair blends in.
How do you match orange peel texture on a patch?
Use a spray-on orange peel texture product. Test the spray pattern on cardboard first, then apply light coats to the patch until it matches the surrounding wall.
Can you paint over a patch the same day?
Sometimes. Some fast-drying spackles allow priming and painting within hours, but thicker repairs need more time. Make sure the patch is completely dry before priming.
Ready for Professional Drywall Repair and Painting?
Patching, sanding, matching texture, and repainting so repairs disappear takes skill and experience. Let our experienced teams handle your walls with our drywall repair services and interior painting services, safely and efficiently.
Note: Pricing estimates are based on 2026 regional averages. Every home is unique, and final quotes require an on-site assessment to account for material costs, prep work, and structural conditions.
Contact the team at That 1 Painter today to schedule your detailed, obligation-free on-site estimate, and enjoy smooth, flawless walls. Book Your Free Professional Estimate Now
