By Robert R.
To fix a nail pop, drive a new 1-1/4 inch coarse-thread drywall screw into the stud one to two inches above or below the popped fastener, deal with the old nail, then fill with two or three thin coats of joint compound, sand, prime, and repaint. The re-anchoring step is what matters: hammering the original nail back in puts it into a socket that has already been enlarged, so it works loose again.
Quick Reference: Fixing Nail Pops
- The fix: a new 1-1/4 inch coarse-thread screw into the stud, 1-2 inches from the pop.
- The old fastener: drive it flush, or pull it entirely if it spins freely.
- Depth: dimple the new screw head just below the paper face without tearing through.
- Finish: two or three thin coats of lightweight compound, sand at 220 grit, PVA primer, then topcoat.
Seasonal humidity swings drive most of it. Framing lumber takes on and gives up moisture through the year, and every cycle works fasteners a little further out of the stud.
Why Nail Pops Happen
New framing lumber carries internal moisture. As studs cure over their first seasons they twist, shrink, and bow, and smooth-shank nails back out of the wood as that happens. Building standards from the Gypsum Association are why coarse-thread screws replaced nails for board attachment.
The other common cause is over-driving during installation. When a fastener is set too deep the head tears through the paper face, losing the holding surface that keeps the board tight to the stud.
Before touching up afterward, check stored paint with our guide on whether you can use old paint — a mismatched touch-up is more visible than the pop was.
“Pro tip: resetting a popped nail with a hammer rarely holds, because the socket inside the stud has already been enlarged by the movement that pushed it out. The new screw needs fresh, undisturbed wood an inch or two away, where it can develop full thread engagement.”
What You Need
Fastening
- Cordless drill with a drywall dimpler bit, which sets depth without puncturing the paper.
- 1-1/4 inch coarse-thread drywall screws for deep engagement into softwood framing.
- Stud finder, plus a nail set or pry bar for the old fastener.
Finishing
- Lightweight joint compound, setting-type or pre-mixed, that fills without shrinking back.
- 4-inch and 6-inch taping knives.
- 220-grit sanding sponge.
- PVA drywall primer, then your matching wall paint.
If the wall has larger damage than fasteners, that is our drywall repair service.
Step by Step
- Locate the stud behind the pop and mark it.
- Drive a new coarse-thread screw 1-2 inches above or below the popped fastener, dimpling just below the paper without tearing it.
- Handle the old fastener: set it flush and leave it, or pull it out entirely if it turns freely.
- Scrape away any raised paper or loose compound around both spots.
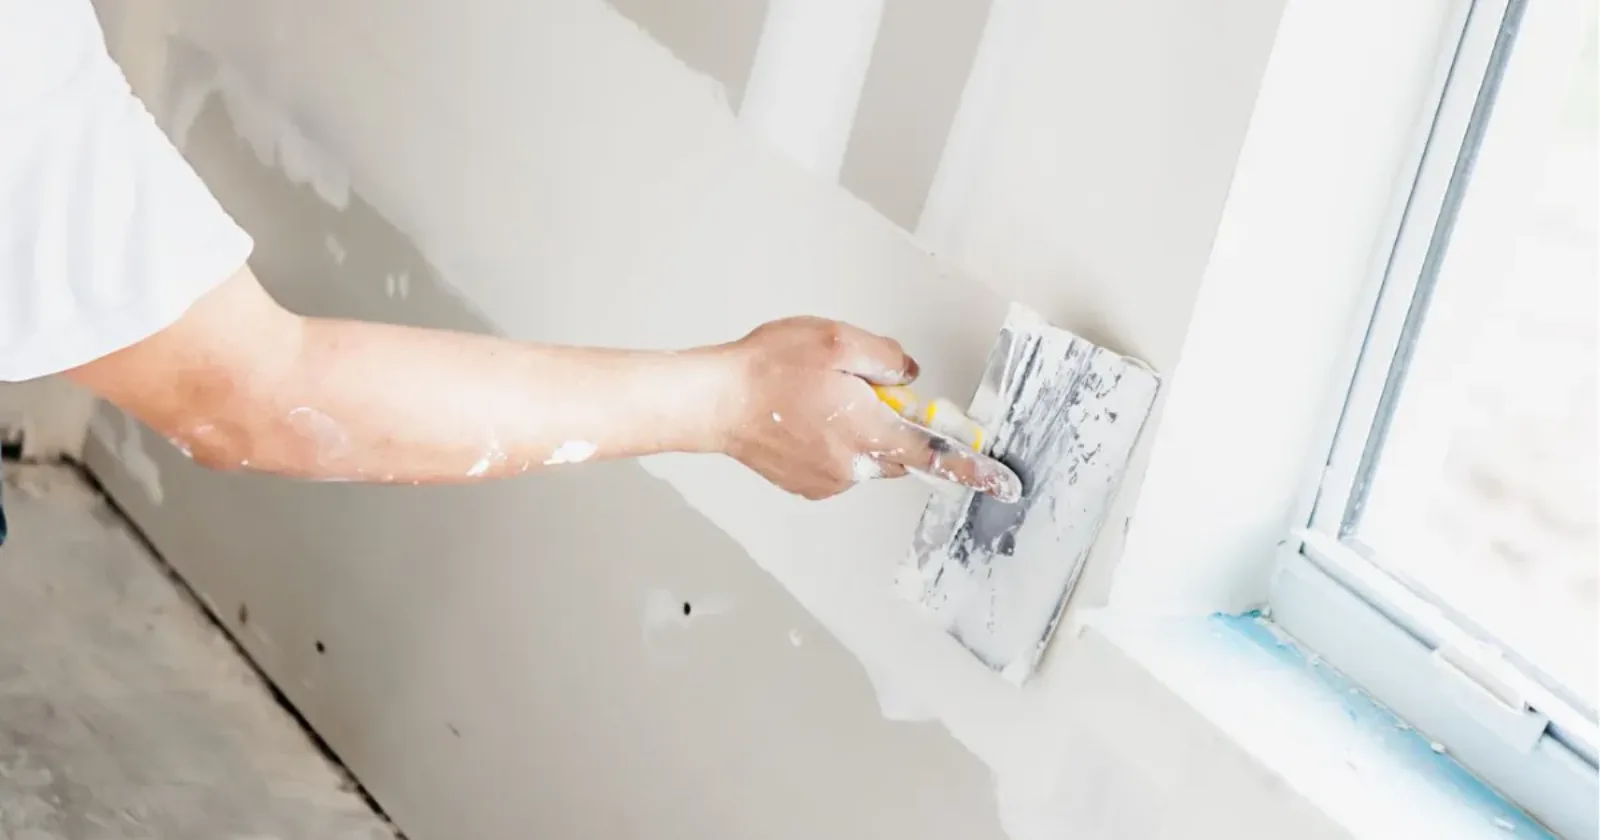
- Apply a thin first coat of compound over both fastener heads with the 4-inch knife.
- Let it dry fully, then apply a second, wider coat with the 6-inch knife to feather the edges.
- Sand smooth with 220 grit, using light pressure so you do not fuzz the surrounding paper.
- Spot-prime with PVA, then paint. Priming is what prevents a dull flashed patch showing through the topcoat.
Common Mistakes
- Just hammering the nail back in, which guarantees a repeat pop.
- One thick coat of compound instead of several thin ones, which cracks and shrinks as it dries.
- Over-driving the new screw through the paper, which removes the holding surface entirely.
- Skipping primer, so the repair flashes as a dull spot under the finish coat.
- Sanding aggressively and roughing the paper around the patch, which telegraphs through paint.
Repainting the whole room afterward? See our guide on color drenching.
Common Questions About Nail Pops
Do nail pops mean structural problems?
Almost never. The usual cause is normal lumber shrinkage in the first few years, or over-driven fasteners at installation. Widespread pops paired with cracking at door corners are worth a closer look.
Should I remove the old nail or leave it?
Leave it if it drives flush and holds. Pull it if it spins freely or backs out again, since a loose fastener will keep moving under the new compound.
Will they come back?
Properly re-anchored with a coarse-thread screw into sound wood, generally no. Repeat pops in the same spot usually mean the screw missed the stud or the framing is still drying.
Do I have to prime the repair?
Yes. Bare compound is far more porous than the surrounding painted wall, so without primer it absorbs differently and leaves a visible flat spot under the topcoat.
Ready for Professional Drywall Repair and Painting?
One or two pops is a weekend job. A wall full of them, or pops that keep returning, usually means the fastening pattern needs redoing before any paint goes near it.
Contact That 1 Painter to schedule a detailed, obligation-free on-site estimate. Every home is different, so final pricing always comes from an in-person assessment of materials, prep, and surface condition.
