"I had such a wonderful experience with this company and their performance at my home. They did such a fantastic job and…"
Spencer Flynn

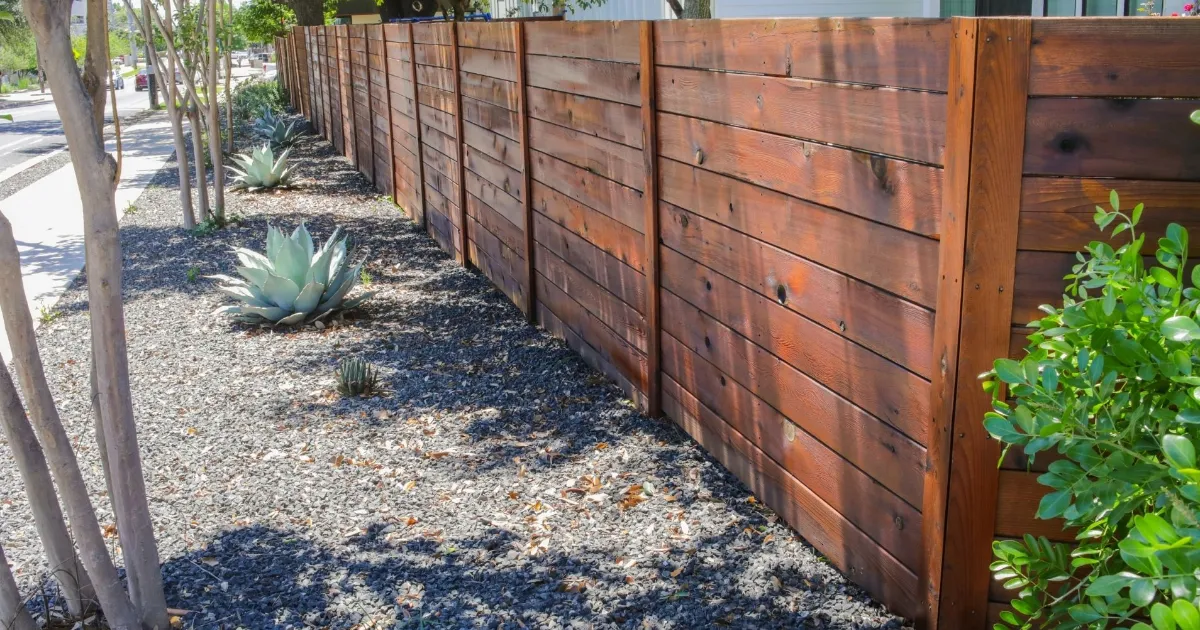
but it won't fade.
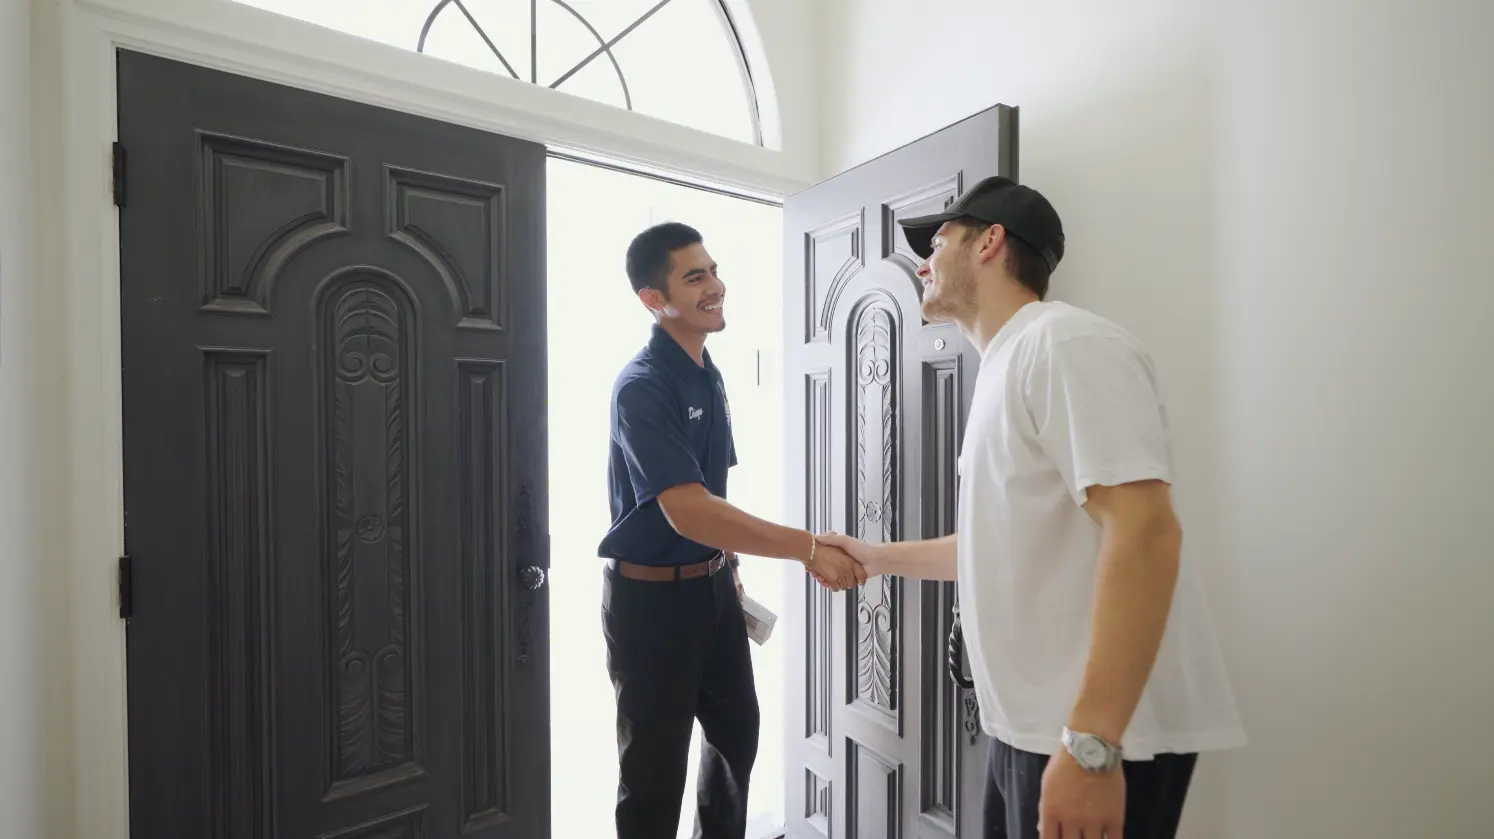
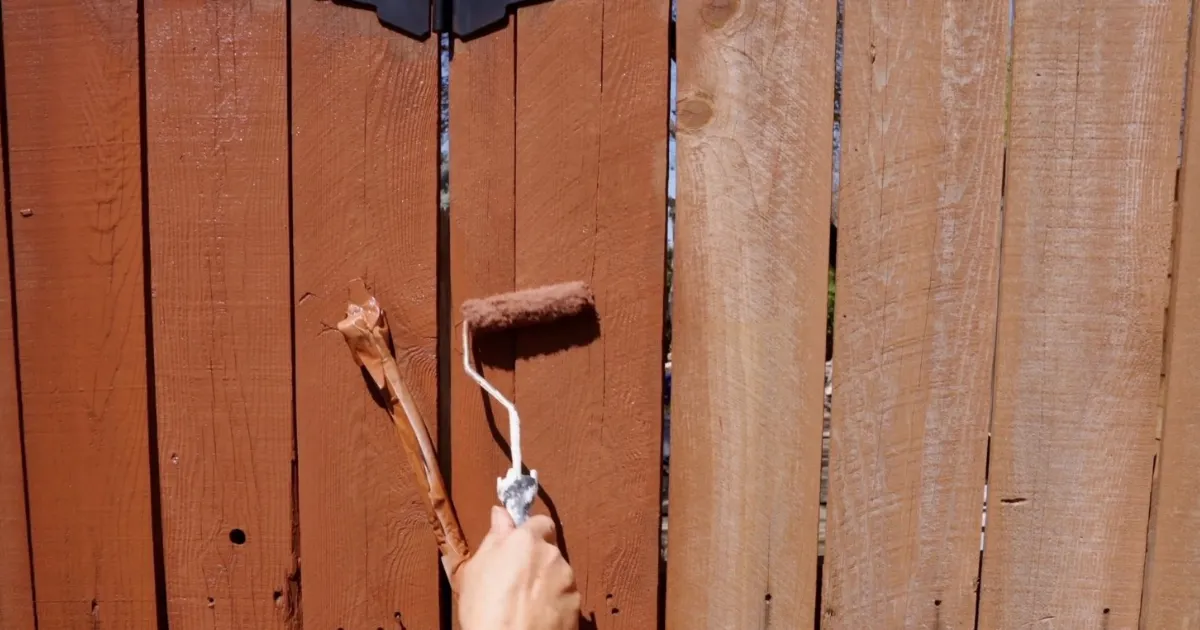
Your project manager walks the full perimeter to measure footage, evaluate pickets, and flag repairs like loose boards or sagging gates. We recommend the right stain type and confirm color on actual wood samples.
Free Walkthrough & Stain Selection. Your project manager walks the full perimeter to measure footage, evaluate pickets, and flag repairs like loose boards or sagging gates. We recommend the right stain type and confirm color on actual wood samples.
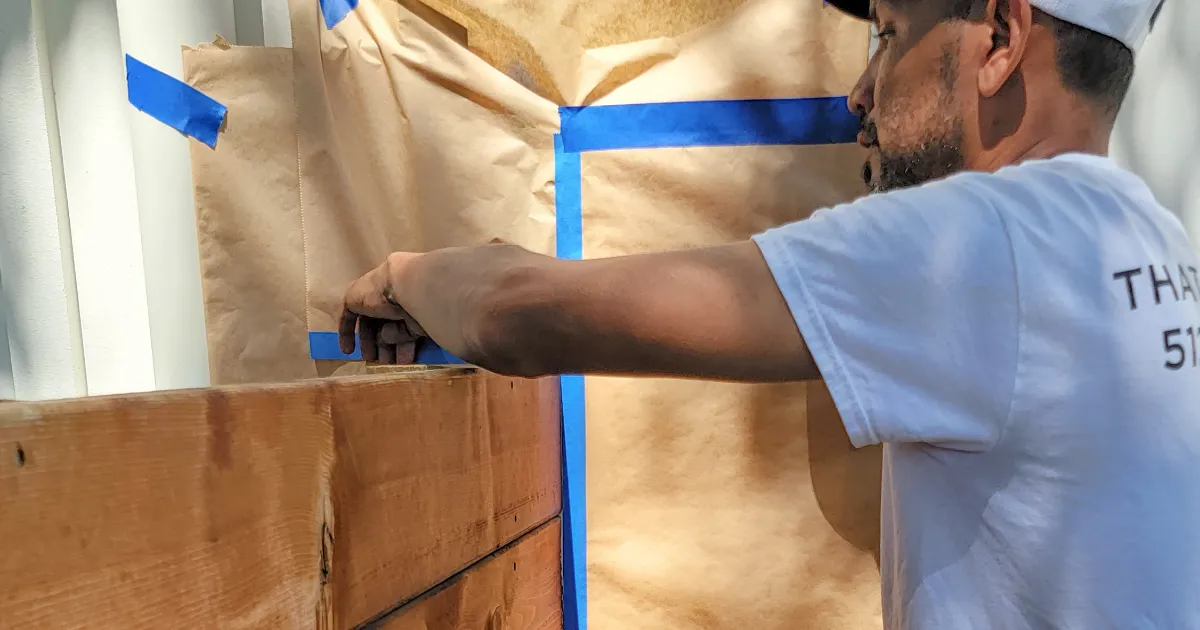
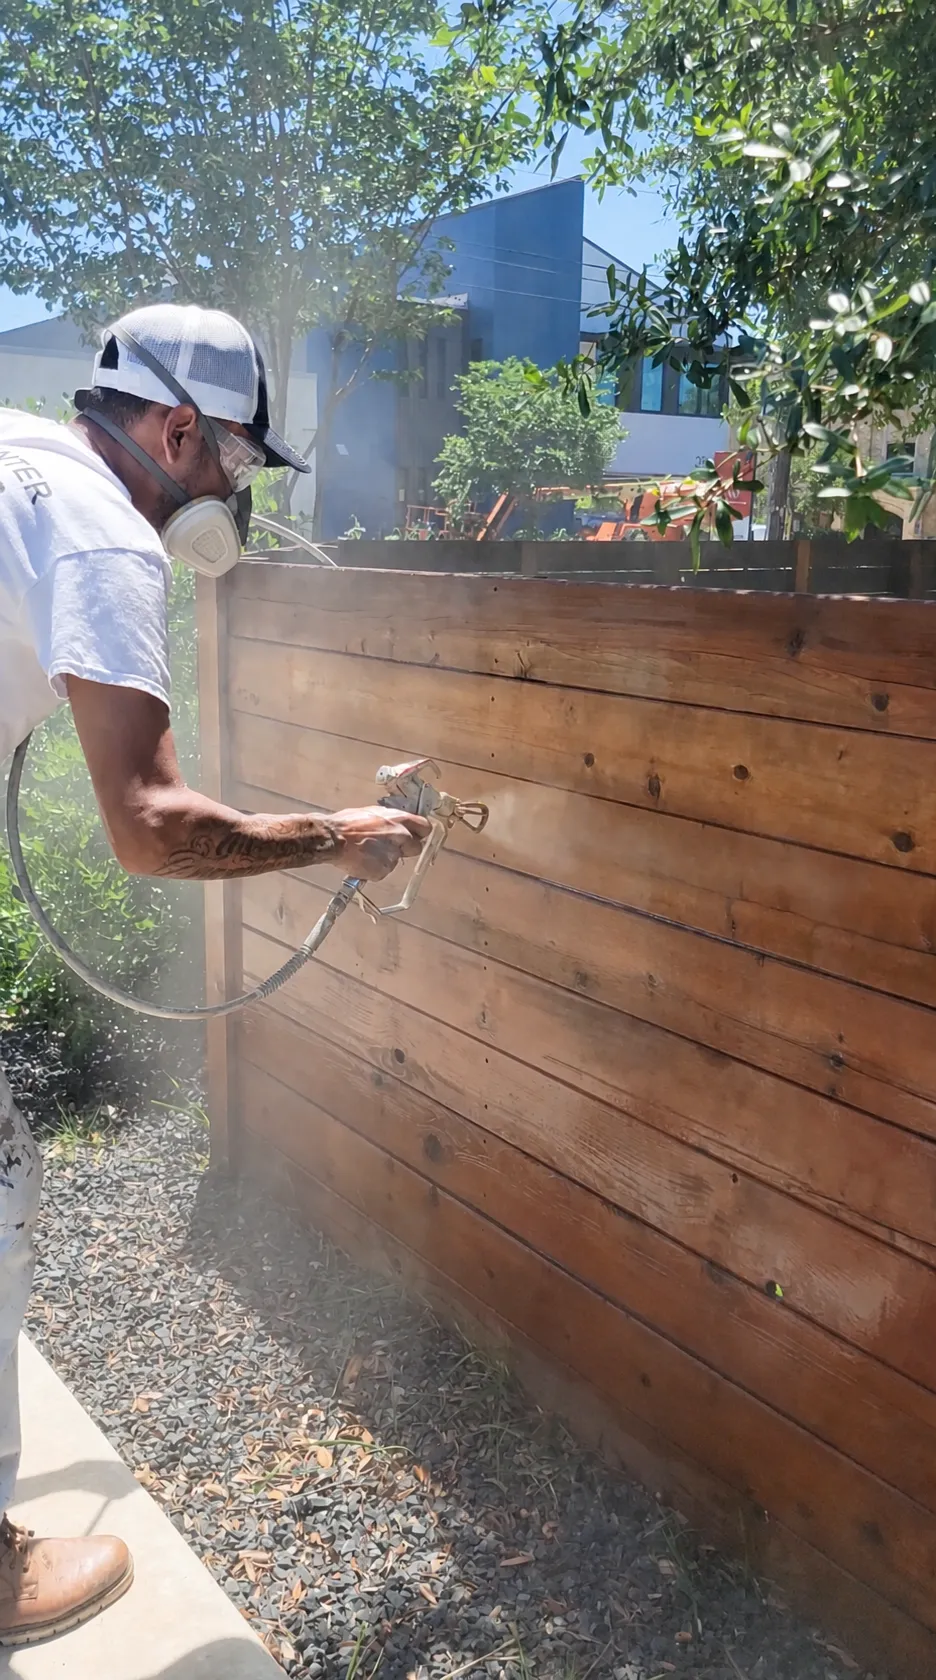
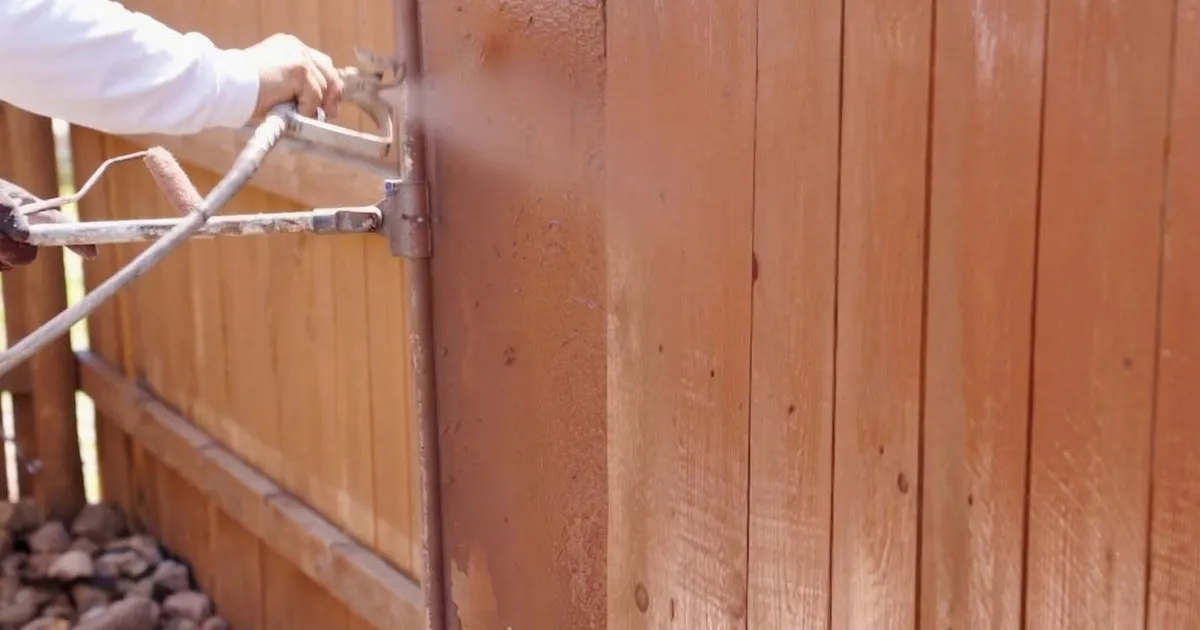
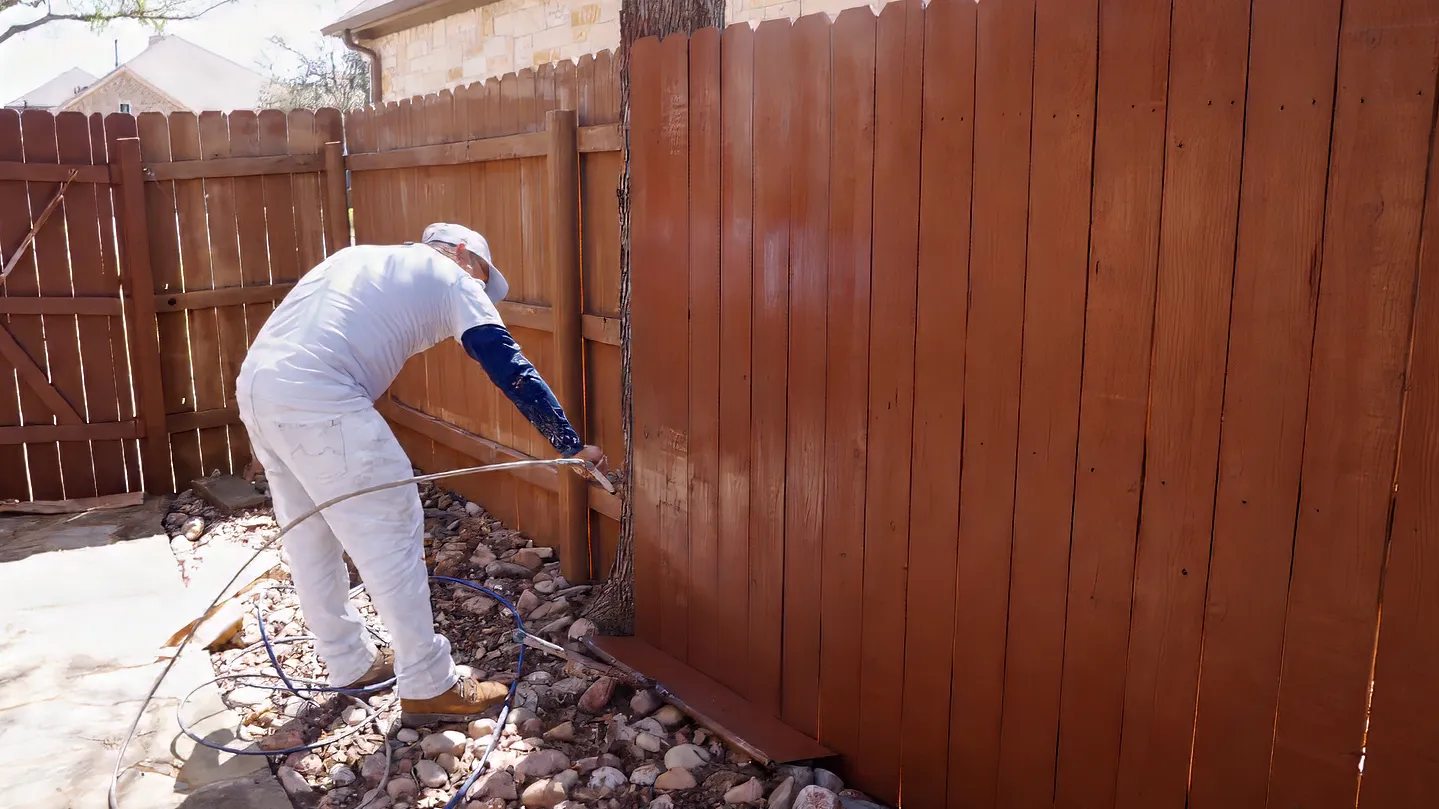
We pressure wash the fence with a wood cleaner, replace damaged pickets, and reset popped nails. Once dry, stain is applied by airless spray and back-brushed into every picket surface, joint, and end grain.
Pressure Wash, Minor Repair, Apply Stain. We pressure wash the fence with a wood cleaner, replace damaged pickets, and reset popped nails. Once dry, stain is applied by airless spray and back-brushed into every picket surface, joint, and end grain.
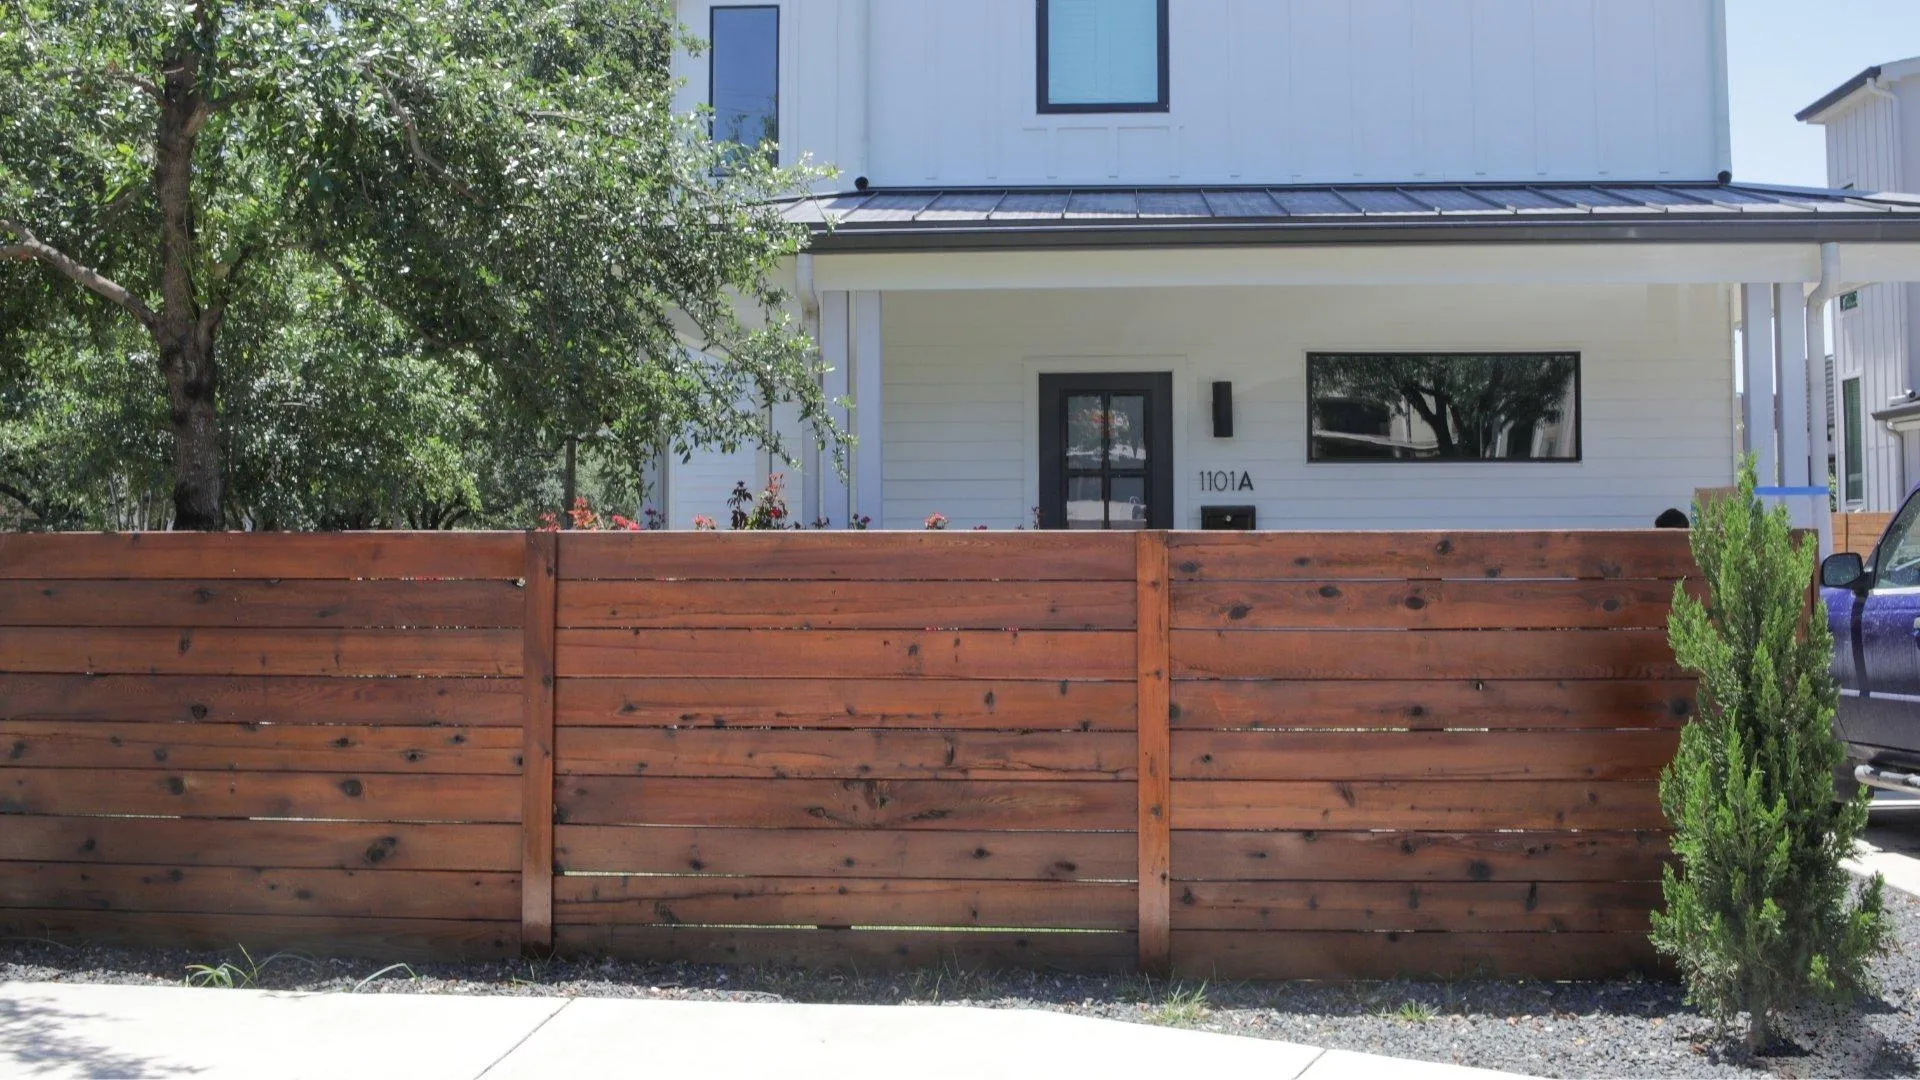
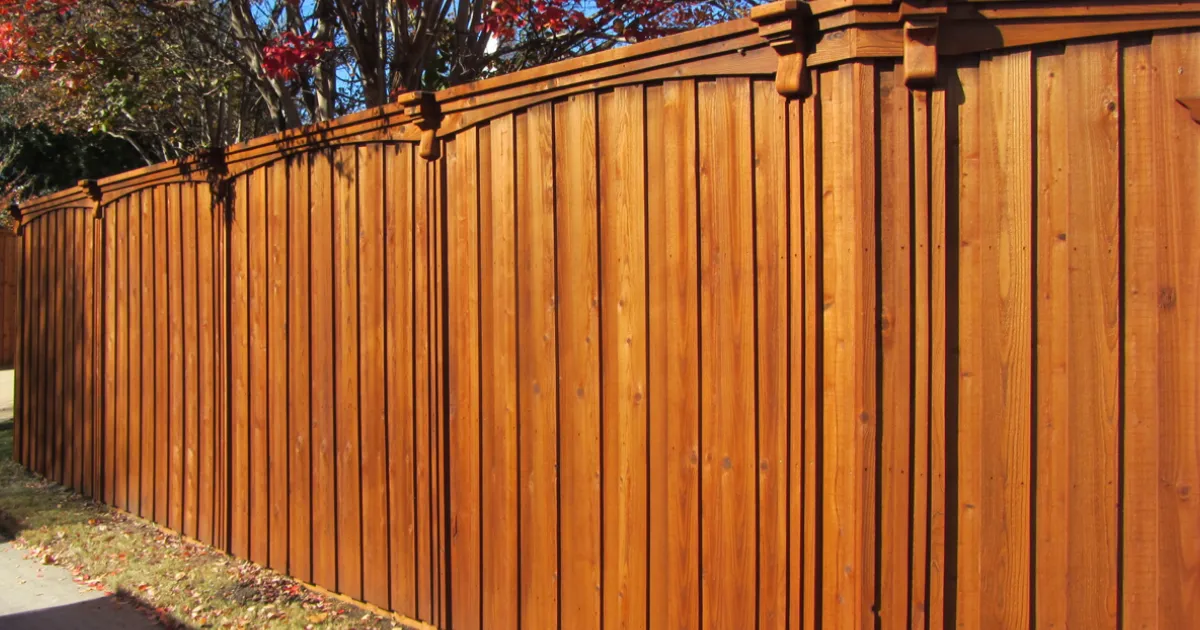
After the stain cures, we walk the full fence line with you and touch up any spots. Plant protection is removed, the site is cleaned, and we tell you when the fence is safe for pets and full weather exposure.
Drying, Final Walkthrough & Cleanup. After the stain cures, we walk the full fence line with you and touch up any spots. Plant protection is removed, the site is cleaned, and we tell you when the fence is safe for pets and full weather exposure.
Number of Territories
0+
Number of Paint Jobs
0+
5-Star Reviews5-Star
Reviews5 Star Reviews
0+
"I had such a wonderful experience with this company and their performance at my home. They did such a fantastic job and…"
Spencer Flynn
"Excellent painting service. Andrés López was very professional from the first contact, meeting deadlines and delivering…"
Viviana Torres
"I had a great experience with this painting company especially with Andres. He was an excellent person from start to fin…"
Yamilet López
"Can't say enough about the job Junior and Fernanda did on our interior and outside stucco. They were attentive to detail…"
Brian Wheelis
"I had such a wonderful experience with this company and their performance at my home. They did such a fantastic job and…"
Spencer Flynn
"Excellent painting service. Andrés López was very professional from the first contact, meeting deadlines and delivering…"
Viviana Torres
"I had a great experience with this painting company especially with Andres. He was an excellent person from start to fin…"
Yamilet López
"Can't say enough about the job Junior and Fernanda did on our interior and outside stucco. They were attentive to detail…"
Brian Wheelis
"I had such a great experience with this painting service. A friend recommended them and I'm so glad they did. They were…"
Veronica Pulido
"Excellent job all around. Incredibly communicative and punctual and takes the time to quickly understand your vision. Ev…"
Kris Hodges
"Thank you for the work you did in my house, the paint turned out just the way I wanted, and my living room looks like ne…"
Julieta Muñoz
"I had a great experience with the company and great professionalism from Ericsson, great communication and a great attit…"
Giovanni Garayua
"We've collaborated with That1Painter multiple times on different projects here in Austin, everything has always been smo…"
flexpainterstexas
"I'm very happy with the great job you did in my house. I highly recommend you and will continue working with you. Thanks…"
Natalia Castaño
"I had my full interior painted with That1Painter and I'm genuinely impressed. The whole process felt organized, clean an…"
St Luka
"I've been working with Kay from That 1 Painter, and he's an excellent professional. Kay has a remarkable work ethic, alw…"
Alexei Racila
"Had a great experience with That1Painter. They painted our kitchen and the result turned out beautiful, clean lines, smo…"
Victor Ross
"Herman and his crew are exceptional! Their work is beautiful and the professionalism is above and beyond. Will use him f…"
J Bammerlin
"They did a great job and didn't stop until the job was completed. They mean it when they say satisfaction guaranteed!"
Naveen Reddy
"I am an interiors designer and worked with Stephanie from That 1 Painter on a project for one of my clients. I couldn't…"
Monica Diaz
"Excellent company, thank you for painting the exterior of my house. You truly met all my expectations, great job! Thank…"
Carol Naranjo
"Excellent work and great service from the team! Thanks Andres for your support."
Kelly Aguirre
"Excelente servicio, muy responsables y el trabajo 10/10 me pintaron la casa y los contrataría otra vez, recomendado, And…"
Ramon Duarte
"I highly recommend this company 100%! They did an amazing job painting my entire house, and I couldn't be happier with t…"
Wilson Arocho
"We had a wonderful experience working with Anji from That 1 Painter! He was professional, on time, and went above and be…"
Carolina Zuniga
"Excellent service and professionalism. Ericsson, the project manager, demonstrated outstanding communication and attenti…"
Arick Liceth Zambrano
"These guys are amazing. Perfect job. Professional and very accommodating. I can't wait for them to do the outside of the…"
Kathy Mitchell
"That 1 Painter met my expectations and beyond. Tommy and his painters were very thorough. The house looks great. I highl…"
Brenda Danks
Typical fence ROI at resale
FenceFind ROI Guide, 2026
Typical professional fence staining cost range
Angi, 2026
Recommended re-stain interval to preserve fence integrity
industry standard
Trusted Paint Partners
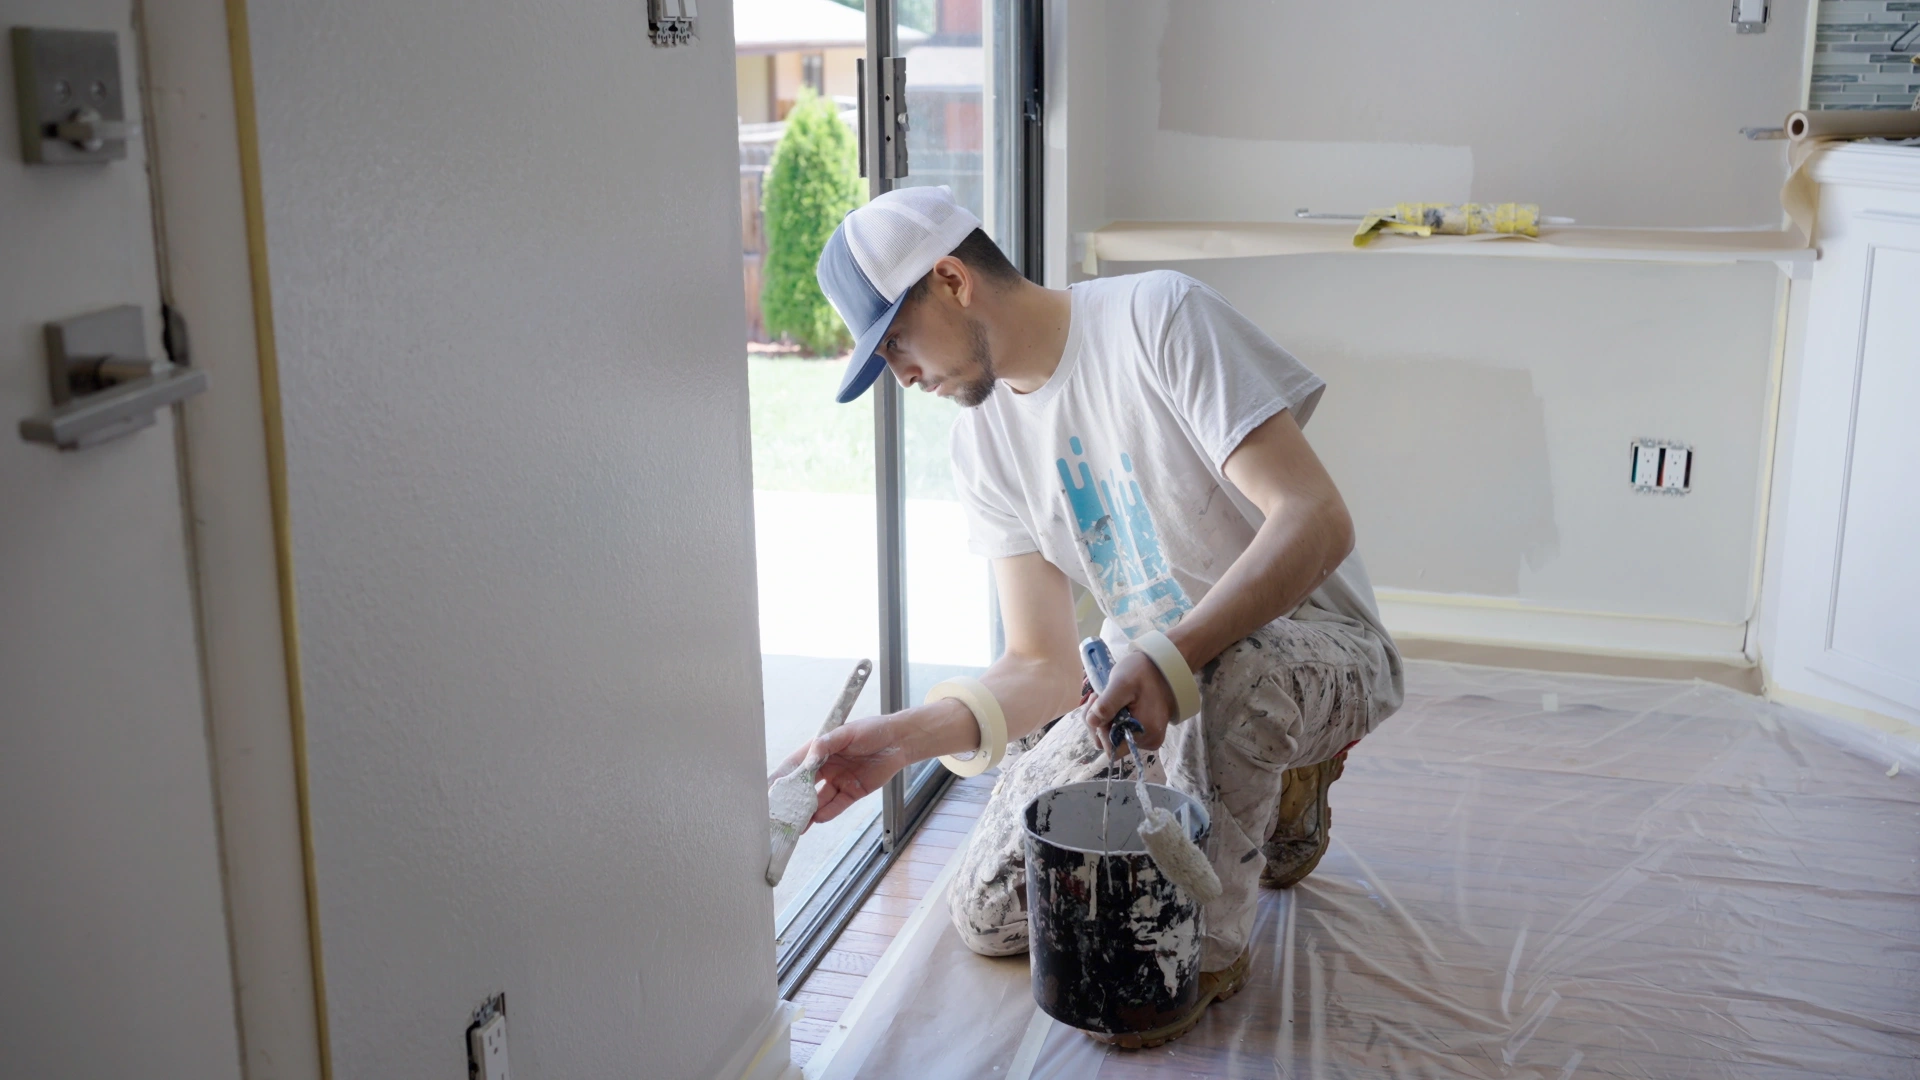
Your peace of mind, at the top of mind with our three-year transferable warranty. Covers the painting job, even if you sell the house.
Download WarrantyExpert tips, how-to guides, and inspiration for your next fence staining project.
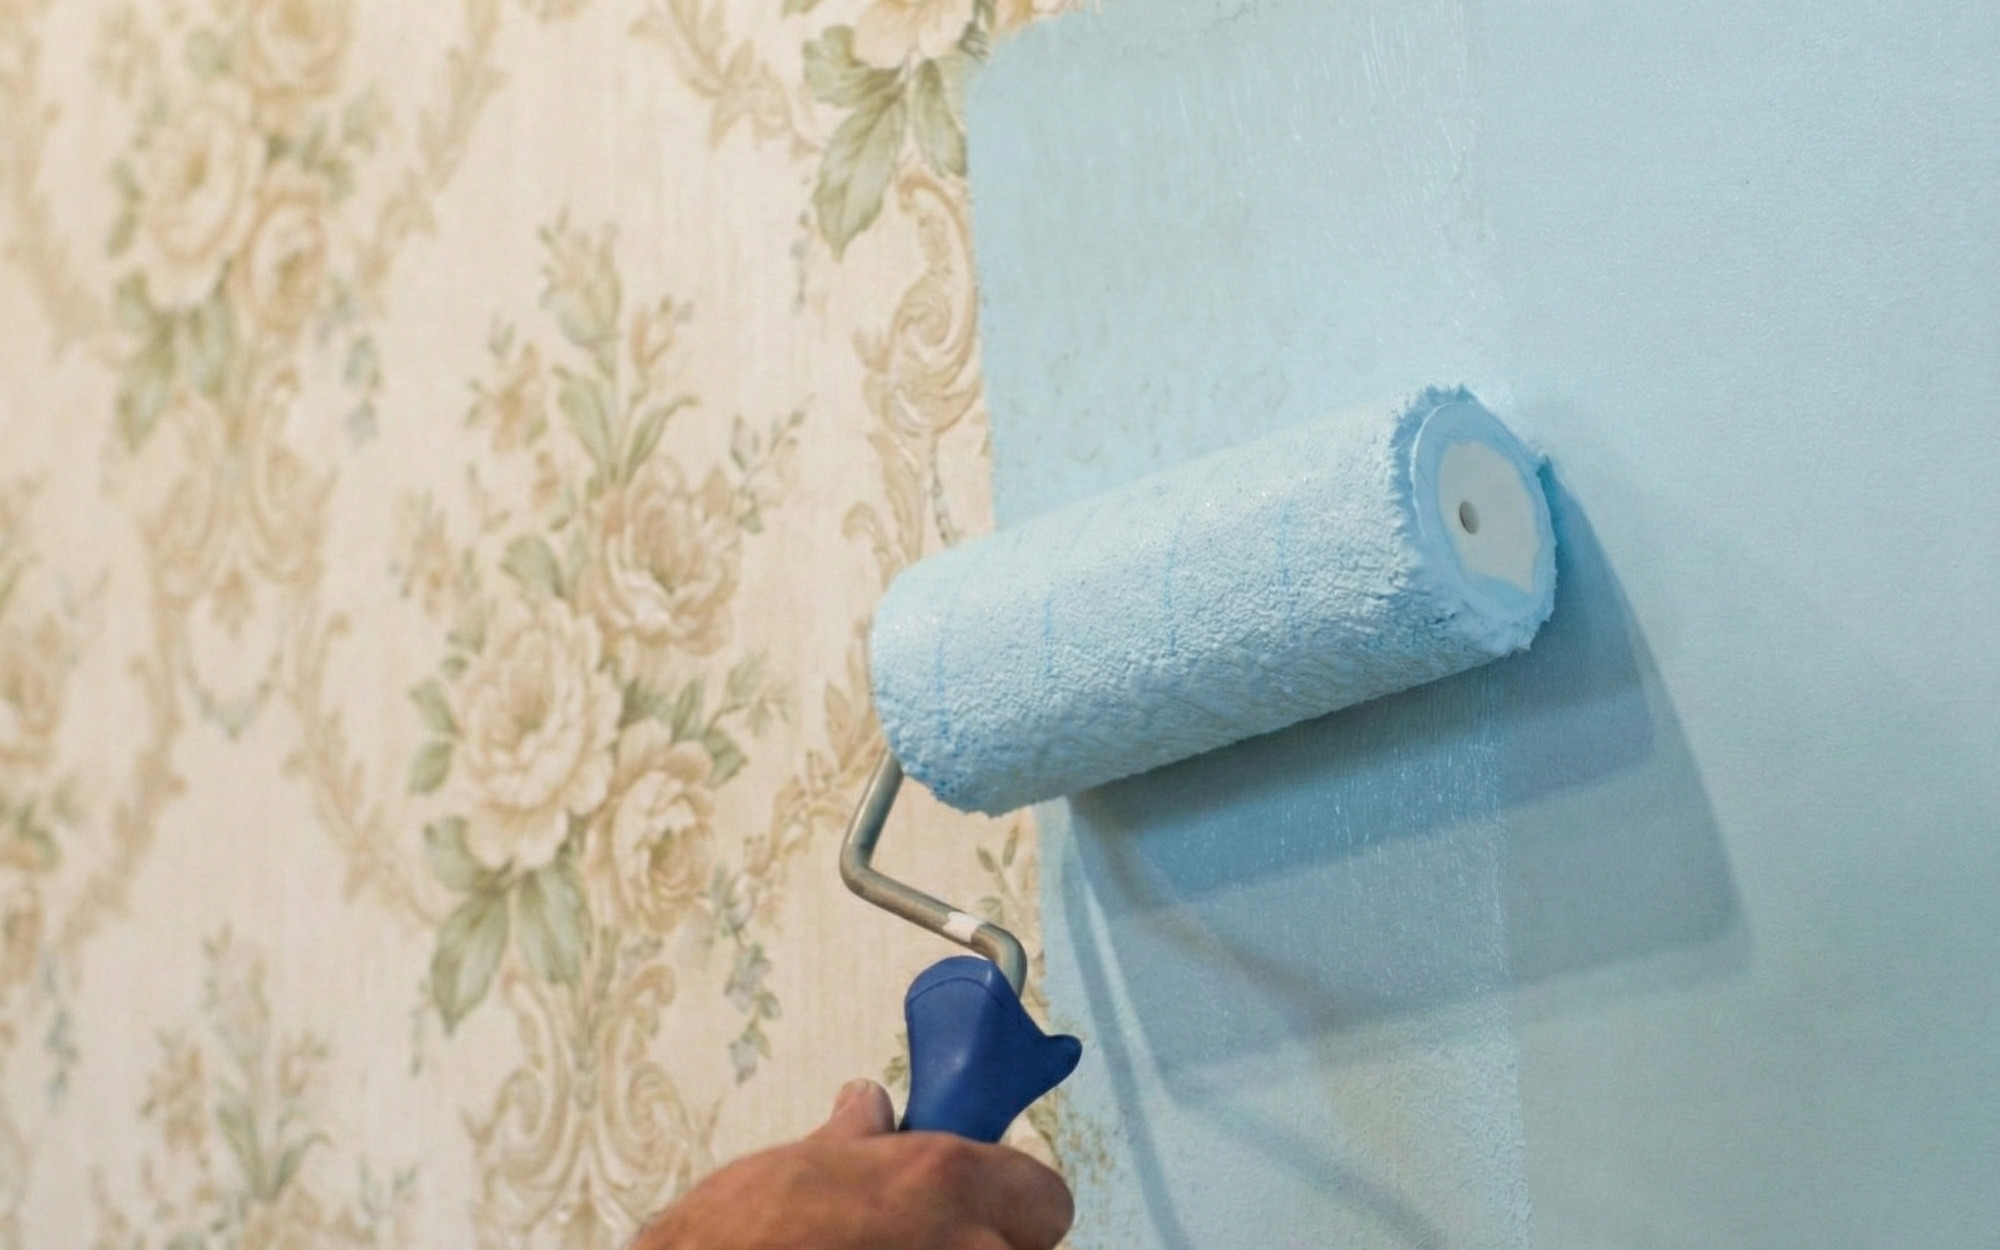
Yes, you can paint over wallpaper, but only if it is smooth, fully adhered, and structurally stable.
Read More →
Color drenching breaks all the rules by applying a single color across every surface in a room.
Read More →
The answer is almost always poor surface prep, moisture intrusion, or a product mismatch between primer and topcoat.
Read More →Swipe to explore →
Yes, you can paint over wallpaper, but only if it is smooth, fully adhered, and structurally stable.
Read More →Color drenching breaks all the rules by applying a single color across every surface in a room.
Read More →The answer is almost always poor surface prep, moisture intrusion, or a product mismatch between primer and topcoat.
Read More →