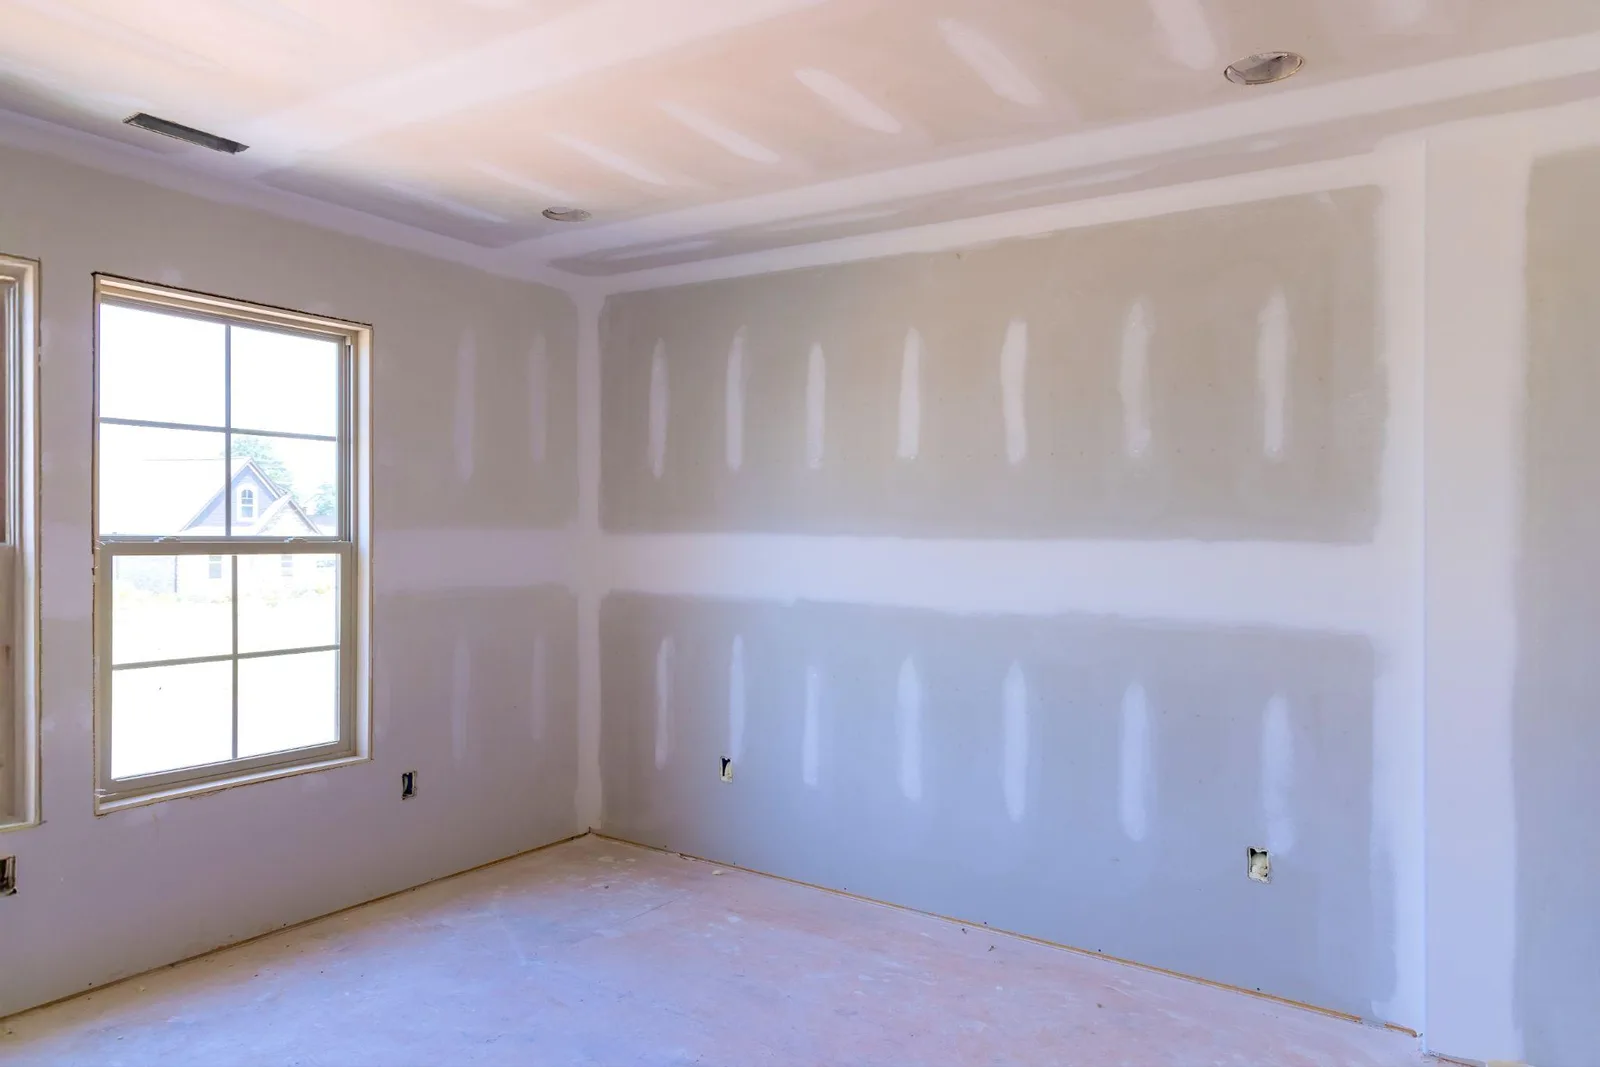
By Ben M.
Learning how to repair drywall correctly depends entirely on the size, depth, and structural severity of the surface damage. For small nail holes and shallow pin marks, fill the void with lightweight spackle, allow it to dry completely, sand it smooth with fine-grit sandpaper, and spot-prime before painting. For medium dents or small doorknob punctures, use a setting-type joint compound or a self-adhesive mesh drywall patch kit, applying two to three thin coats while feathering the edges outward to blend the repair smoothly into the surrounding wall. For large holes exceeding six inches, cut away the damaged gypsum board back to the nearest wall studs, install wooden backing cleats, screw in a replacement drywall panel patch, tape the seams with fiberglass mesh or paper tape, apply multiple skim coats of mud, sand the surface flush, apply a dedicated PVA primer, and repaint.
Quick Reference Summary for Drywall Repair
Repairing damaged wall surfaces requires managing gypsum cores, paper facings, and compound shrinkage rates. Gypsum panels absorb moisture differently than joint mud, meaning an unsealed patch will absorb topcoat paint faster than the surrounding wall, causing an unsightly dull spot known as flashing. Regional structural conditions across the country directly impact how repairs behave over time. In humid coastal environments, high ambient air moisture slows down joint compound drying times, making quick-setting chemical compounds necessary to prevent paper bubbling.
In cold Northern regions during winter, dry indoor heating accelerates surface drying too quickly, causing thick mud coats to crack prematurely. In Western regions with historic homes built on expansive clay soil, seasonal foundation settling causes recurring stress cracks along door casings that require reinforced fiberglass tape rather than basic spackle. Below, we break down the technical trade procedures, material selection matrix, and step-by-step methods required to repair drywall like a professional.
- Small Nail Holes: Fill with vinyl spackle, let dry, sand with 220-grit sandpaper, spot-prime, and touch up with topcoat paint.
- Medium Dents and Small Holes: Apply a mesh patch kit or joint compound in thin layers, feathering edges 4 to 6 inches past the repair line.
- Large Structural Holes: Cut out the damaged wall section, install wood backing strips, screw in a matching drywall patch, tape seams, apply joint compound, sand, and prime.
- Critical Painting Step: Always coat cured joint compound with a polyvinyl acetate (PVA) or drywall sealer primer before painting to prevent flashing.
What Is the Difference Between Spackle and Joint Compound?
Using the correct filling compound determines whether a repair holds or cracks under normal house settling. Choosing between spackle and joint compound depends on repair volume and depth.
When to Use Spackle for Wall Repairs
Spackle is a dense, fast-drying paste designed specifically for shallow surface defects smaller than one inch, such as nail holes, pin marks, and tiny chips. Vinyl-based spackles shrink very little as they dry, making them ideal for quick one-coat repairs that need to be painted shortly after application.
However, spackle lacks structural binders. Applying thick coats of spackle inside deep holes will result in cracking and poor adhesion.
When to Use Joint Compound for Wall Patching
Joint compound (commonly referred to as drywall mud) contains vinyl resins that create a strong bond over larger surface areas. Ready-mixed joint compound works best for taping seams, floating large patches, and repairing shallow dents.
For deep patches, setting-type joint compound (powder mud mixed with water) is preferred. Setting compound hardens through a chemical reaction rather than water evaporation, allowing technicians to fill deep voids without waiting hours for drying or dealing with shrinkage.
How to Fix Small Nail Holes and Scrapes in Drywall
Small surface blemishes are the most common drywall repairs in residential properties. Following proper sequence prevents visible bumps after repainting.
Step 1: Clean and Prep the Void
Use a putty knife handle or a drywall utility knife to gently press down any loose paper edges surrounding the nail hole. Remove loose drywall dust or crumbling gypsum core particles from inside the hole so the spackle can adhere directly to solid material.
Step 2: Apply and Sand the Patch
Scoop a small amount of spackle onto a flexible 2-inch putty knife. Press the spackle firmly into the hole, holding the knife at a 45-degree angle. Then, hold the blade almost flat against the wall and pull it cleanly across the hole to scrape off excess material flush with the wall.
Allow it to dry according to manufacturer instructions. Sand the area lightly using 220-grit sandpaper or a fine sanding block until the patch blends seamlessly into the wall face.
How to Fix Medium Holes Using a Drywall Patch Kit
Medium holes ranging from 2 to 6 inches, such as those caused by door handles or accidental impacts, require secondary reinforcement to support the new compound.
Applying Self Adhesive Mesh Patches
Clean the area around the hole to remove dust. Center a self-adhesive aluminum mesh patch over the hole and press it firmly against the wall.
Scoop joint compound onto a 6-inch drywall knife and spread a thin coat over the mesh. Press mud through the screen grid so it bonds with the inner cavity edges.
Feathering Edges for Invisible Repairs
Feathering is the technique of applying pressure on the outer edges of a drywall knife to thin out joint compound as it extends away from the center of a repair.
When floating a medium patch, extend the compound 4 to 6 inches past the mesh border. Apply a second thin coat with an 8-inch knife once the first coat dries, tapering the edges even further. This creates a wide, gradual rise that tricks the eye and renders the patch invisible under topcoat paint.
“Pro Tip 1: The California Patch Technique for Medium Holes. For holes between 3 and 6 inches, professional drywallers skip stick-on mesh patches and create a self-taped drywall patch called a "California Patch." Cut a piece of new drywall 2 inches larger than the hole on all sides. On the back face, score and snap off the 1-inch gypsum edges while leaving the front face paper intact. Place joint compound along the hole perimeter, push the gypsum core into the wall opening, and press the surrounding paper flap into the wet mud using a taping knife. This eliminates raised edges and provides maximum structural strength.”
How to Repair Large Drywall Holes Cut to the Studs
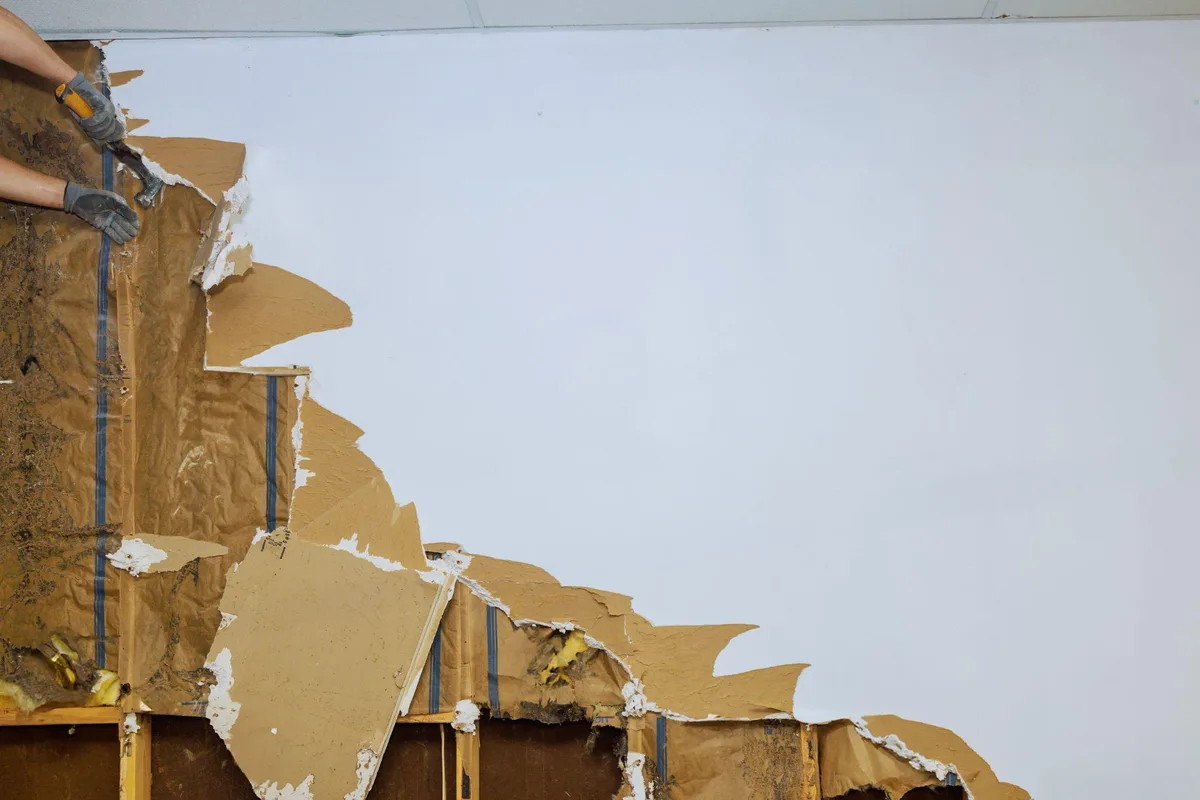
Large holes greater than 6 inches require structural backing to ensure the replacement panel does not shift, flex, or crack under pressure.
Cutting and Installing Backing Cleats
Trace a neat square or rectangle around the damaged drywall section using a level and pencil. Cut along the lines using a drywall keyhole saw. Check inside the wall cavity for electrical wiring or plumbing lines before sawing.
If the opening does not reach existing wall studs, slide 1x3 wooden cleats or plywood strips inside the cavity behind the left and right edges of the cutout. Secure these cleats by driving 1-1/4 inch drywall screws through the surrounding solid wall into the wood.
Taping and Mudding Joint Seams
Cut a patch piece from new drywall paneling of matching thickness (typically 1/2-inch or 5/8-inch for residential walls). Screw the patch piece onto the exposed wooden cleats. Apply self-adhesive fiberglass mesh tape or paper tape embedded in joint compound over all four perimeter seams.
Apply three coats of joint compound using progressively wider taping knives (6-inch, 10-inch, and 12-inch). Allow each coat to cure fully before lightly scuff-sanding and applying the next layer. If you are working on older interior surfaces or millwork, check our guide on painting cabinets with doors to learn proper prep steps. Specialized surface restoration is a core component of our interior house painting services and dedicated drywall repair services.
“Pro Tip 2: Cross-Hatch Joint Taping and Mud Skimming. When taping large drywall patch seams, never overlap fiberglass mesh tape at the corner intersections. Overlapping tape doubles the thickness at the corners, creating a high spot that requires excessive mud floating to hide. Butt the mesh tape edges precisely together at 90-degree corners. When applying the skim coat, hold your 10-inch blade at a 30-degree angle to scrape off excess compound, leaving mud only inside the tape grid and tapered recess.”
Why Is Seal Primer Necessary Before Painting Drywall Repairs?
Skipping primer on cured joint compound is a frequent cause of repair failure. Standard topcoat paints cannot properly seal bare joint mud on their own.
Preventing Flashing and Suction Differentials
Joint compound is extremely porous compared to painted wall surfaces. If you roll interior latex paint directly over raw joint compound, the dried mud draws water out of the wet paint film instantly.
This uneven absorption causes flashing, leaving dull, chalky spots where the repairs were made. Applying a dedicated seal primer creates a uniform barrier so topcoat paint dries evenly with consistent sheen.
Choosing the Right Drywall Primer
Use a dedicated polyvinyl acetate (PVA) drywall primer sealer on broad repairs. PVA primer seals raw gypsum core particles and paper facings efficiently.
For small spot repairs, a high-quality acrylic stain-blocking primer works well. When evaluating leftover paint for touch-ups after priming, consult our guide on can you use old paint to make sure it is still usable.
How Do Climate and Structural Conditions Impact Drywall Repairs?
Environmental conditions affect how joint compounds cure, expand, and adhere across residential properties. Adhering to standards set by the Gypsum Association helps ensure drywall installations meet structural and safety specifications.
In humid coastal climates, high ambient humidity slows down water evaporation in ready-mixed joint compounds. Applying a second coat over damp mud traps moisture inside, leading to mold growth and paper bubbling. Technicians working in humid environments should use setting-type compounds (like Easy Sand 45) and run dehumidifiers to keep relative humidity below 50 percent during curing. Installation guidelines published by USG Sheetrock Systems emphasize keeping job site temperatures above 55 degrees Fahrenheit during application.
In cold Northern states, winter heating systems dry out the top surface of wet joint mud prematurely while the underlying layer remains soft. This causes shrink-cracking across thick patches. In Western desert regions, low air humidity bakes joint mud rapidly, making it necessary to lightly mist water on deep patch edges before mud application.
If you are planning room renovations that include color updates across walls and ceilings, review our overview on what is color drenching. Material sealing techniques also apply to exterior masonry repairs, as outlined in our guide on can you clean limewashed brick. National service quality is maintained across our brand locations through That 1 Painter.
Drywall Patch Material Selection Matrix
Use this reference table to select materials, tools, and drying windows for various drywall repair types.
- Micro Blemishes (small nail holes under 1 in): Vinyl spackle paste, no tape required, 30 to 60 minutes minimum drying time.
- Medium Surface Dents (door knob dents, 1 to 4 in): Ready-mixed joint mud, self-adhesive mesh patch, 2 to 4 hours minimum drying time.
- Large Surface Holes (structural voids, 4 to 6 in): Setting joint compound, California drywall flap, 1 to 2 hours minimum drying time.
- Full Cutout Patches (major openings over 6 in): All-purpose mud and topping, fiberglass or paper seam tape, 12 to 24 hours per coat minimum drying time.
Answers to Common Drywall Repair Questions
Can I use spackle instead of joint compound for large holes?
No, spackle should not be used for large holes. Spackle lacks the structural binding agents and flexibility required for deep fills. Applying thick layers of spackle inside holes larger than an inch leads to severe cracking, crumbling, and eventual patch failure. Use setting-type joint compound for deep repairs.
Why does my drywall patch show through the fresh paint coat?
A patch shows through fresh paint due to flashing or hard edge lines. Flashing occurs when bare joint compound is not sealed with a primer before painting, causing uneven paint absorption. Hard lines happen when joint compound edges are not feathered outward smoothly into the surrounding wall surface.
How long should joint compound dry before sanding?
Standard ready-mixed joint compound takes 12 to 24 hours to dry completely, depending on room temperature, humidity, and coat thickness. Setting-type joint compounds harden in 20 to 90 minutes based on their chemical formulation, though they should still be allowed to dry fully before sanding.
Do I need to use tape when patching a hole in drywall?
Yes, any repair where a new drywall piece meets an existing wall opening requires tape. Without paper or fiberglass mesh tape bridging the seam, natural house settling and thermal expansion will cause hairline cracks to form along the repair border.
What grit sandpaper should I use for drywall compound?
Use 120-grit to 150-grit sandpaper or a medium sanding sponge for initial coat shaping. For final skim coats, use 220-grit fine sandpaper or a fine damp sanding sponge to smooth edges without gouging the surrounding wall paper.
Ready to Restore Your Interior Walls with Professional Quality?
Repairing damaged drywall, matching surface textures, and achieving a seamless paint finish requires precise trade preparation and proper materials. Protect your home investment from visible patch lines, flashing, and weak repair seams. Complete finishing steps should follow established finishing guidelines like those in the ASTM International C840 Standards.
“Pro Tip 3: High-Intensity Raking Light Inspection. Professional painters never rely on ambient overhead room lighting to inspect drywall repairs before priming. Hold a bright LED work light flat against the wall surface, shining the beam sideways across the patch. This low-angle raking light casts long shadows behind tiny ridges, pinholes, or uneven mud transitions. Fill any micro-shadows with a final skim coat before applying primer.”
Note: Pricing estimates are based on 2026 regional averages. Every home is unique, and final quotes require an on-site assessment to account for material costs, prep work, and structural conditions.
Contact the team at That 1 Painter today to schedule your detailed, obligation-free on-site estimate, and bring smooth, durable surfaces back to your living spaces. Book Your Free Professional Estimate Now
