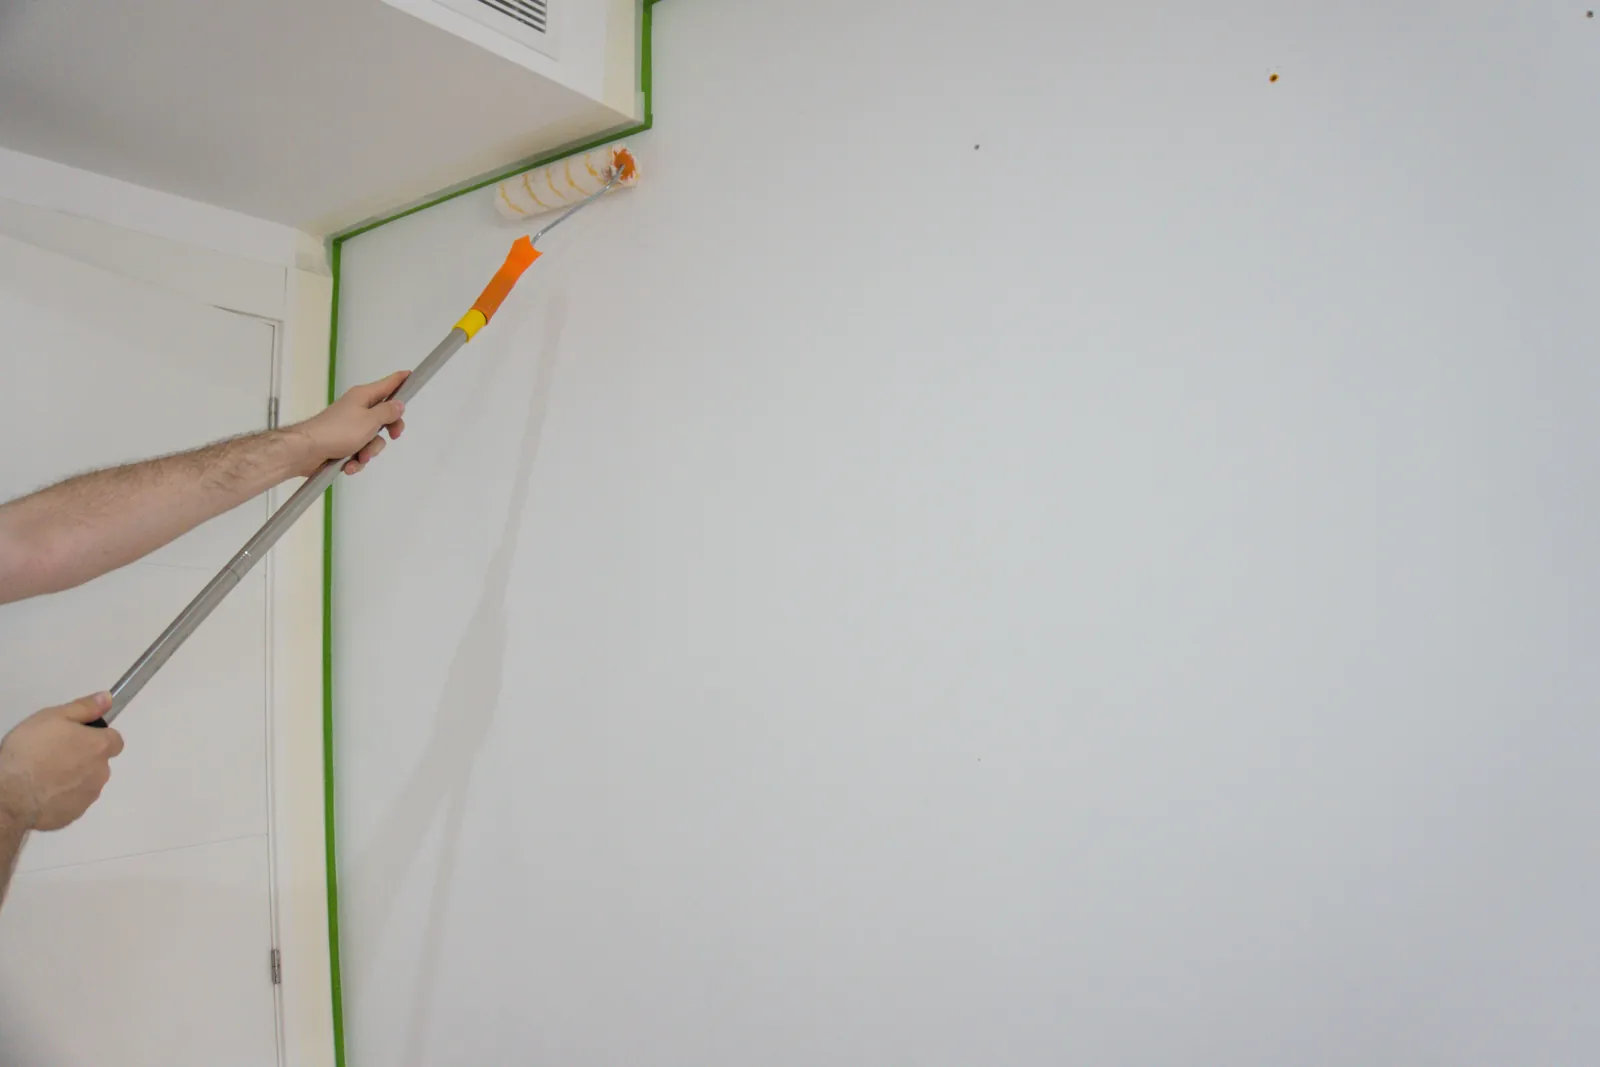
By Norman R.
You need primer before painting when the surface is new, patched, stained, peeling, or changing from a dark color. You can often skip primer when the wall is clean, in good condition, and being repainted in a similar color. Primer helps paint adhere, blocks stains and dark colors, prevents peeling, improves durability, and creates a smoother finish. Knowing which situation you are in saves time and money on every painting project.
Skipping primer is one of the most common reasons DIY paint jobs fail. Paint applied directly over new drywall looks blotchy. Paint applied over a water stain lets the stain bleed back through. Paint applied over peeling layers peels right along with them.
Regional weather shifts, indoor humidity, and local building materials heavily influence when priming becomes necessary. In humid Southern coastal climates, bathrooms and exterior-facing walls often carry mildew and moisture stains that require a stain-blocking primer before painting. In high-altitude Western regions with dry air, porous patches and raw drywall absorb paint quickly, making a sealing primer essential to avoid flashing and lap marks. In historic Northern properties subject to winter freeze-thaw cycles, older plaster and previously oil-painted trim need a bonding primer to keep new latex paint from peeling. Below is a complete technical guide explaining when you need primer before painting and when you can safely skip it.
Quick Reference Summary for Priming Before Painting
- Always Prime: New drywall, wall patches and repairs, stained walls, and surfaces with peeling paint.
- Usually Prime: Dramatic color changes, especially when covering dark paint colors.
- Can Often Skip: Clean, sound walls repainted with a similar color.
- What Primer Does: Improves adhesion, blocks stains and dark colors, prevents peeling, improves durability, and smooths the finish.
- Payoff: Correct priming creates a longer-lasting finish and can save time and money overall.
When Should You Use Primer Before Painting?
Primer is a problem-solver. If the surface has a problem, prime it. These five situations almost always call for primer:
- New Drywall. Bare drywall paper and joint compound absorb paint at different rates. Without primer, the seams and screw spots show through as dull patches, a defect called flashing.
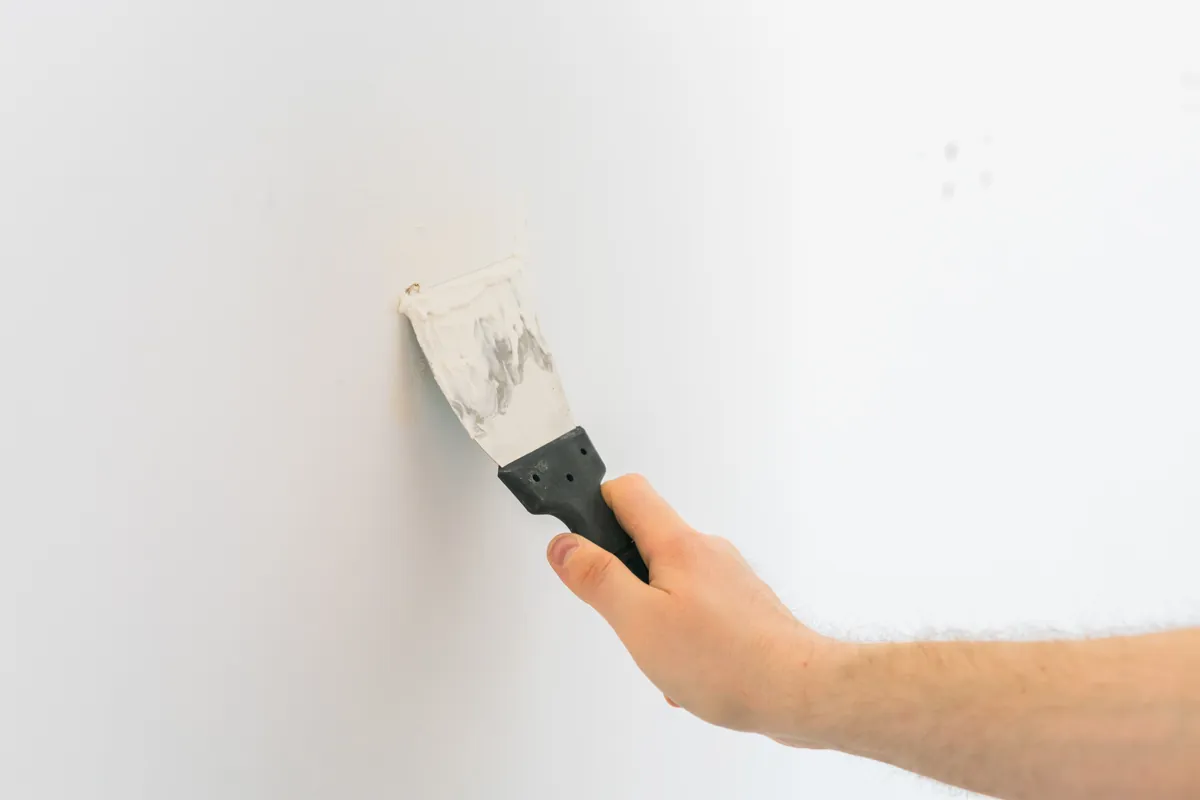
- Wall Patches and Repairs. Spackle and joint compound are porous. Spot-priming patches keeps them from showing as dull halos in the final coat.
- Dark Paint Colors. Covering a deep color with a lighter one can take three or more coats without primer. A tinted primer cuts that down significantly.
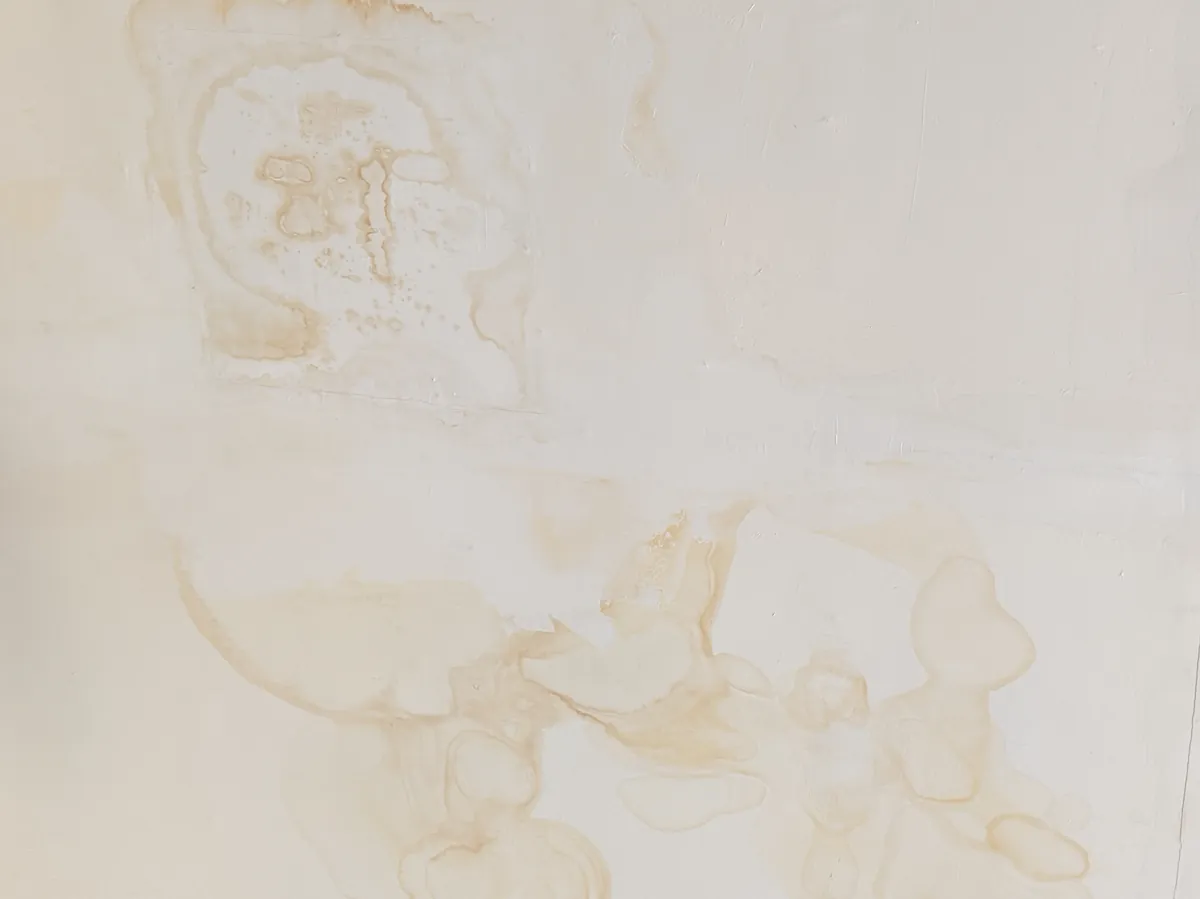
- Stained Walls. Water stains, smoke, crayon, marker, and grease bleed through latex paint. A stain-blocking primer seals them in.
- Surfaces With Peeling Paint. Scrape and sand the loose paint first. Priming the bare and feathered spots helps the new paint bond to a stable base.
If your walls need repairs before priming, our drywall repair team can patch holes, cracks, and water damage so the surface is ready for primer and paint.
“Pro Tip 1: Use a Tinted Primer for Big Color Changes. When covering a dark wall with a lighter color, ask the paint store to tint your primer toward the new topcoat color. A gray-tinted primer is common under deep or saturated colors. Tinting reduces the number of finish coats and helps the final color look true.”
What Does Primer Do Before Painting?
Primer and paint are formulated for different jobs. Paint is built for color, sheen, and washability. Primer is built to prepare the surface. Here is what primer does on a wall:
- Helps Paint Adhere Better: Primer grips the substrate and gives the topcoat a uniform surface to bond to.
- Blocks Stains and Dark Colors: Stain-blocking primers seal in discoloration, and primer reduces how much old color shows through.
- Prevents Peeling: Better adhesion means the paint film is less likely to lift, blister, or peel over time.
- Improves Paint Durability: A properly primed wall holds paint longer and resists wear and moisture better.
- Creates a Smoother Finish: Primer evens out porosity so the topcoat dries with a consistent sheen and color.
Primer also protects your investment in paint. Premium finish paint costs more per gallon than most primers. Priming a problem surface first means the expensive topcoat goes on evenly and lasts longer, instead of being wasted on extra coats that try to hide a defect.
For a deeper look at primer chemistry, read our guide on what paint primer is and what it does.
Standards from the Master Painters Institute (MPI) list specific primer categories for new drywall, stains, and glossy surfaces, which shows why one primer does not fit every wall.
Can You Skip Primer Before Painting?
Sometimes. If the wall is clean, in good condition, and you are repainting with a similar color, primer may not be necessary. Many high-quality interior paints are self-priming on sound, previously painted surfaces.
Use this quick checklist before skipping primer:
- The wall has been painted before with a latex paint.
- There is no peeling, flaking, cracking, or chalking.
- There are no stains, water marks, or smoke discoloration.
- Any nail holes or dings have been filled and spot-primed.
- The new color is similar to or lighter than the old color.
- The surface is clean and free of grease and dust.
Glossy surfaces deserve a second look. Old semi-gloss or gloss paint, especially oil-based enamel on trim, is too slick for new latex to grip. Scuff-sand it and use a bonding primer, even if the color is staying the same.
If all six are true, two coats of a quality paint will usually give you a durable, uniform finish. If even one is false, prime at least the problem areas. Our interior painting crews evaluate every wall this way before deciding on primer.
Technical Comparison of Primer Types by Surface
This reference table matches common wall conditions with the right type of primer.
- New drywall: Yes. PVA or drywall sealer primer. Seals paper and mud evenly to prevent flashing.
- Patches and repairs: Yes (spot-prime). Drywall or multipurpose primer. Stops dull halos over porous filler.
- Dark color to light color: Usually. Tinted latex primer. Reduces finish coats and improves color accuracy.
- Water, smoke, or tannin stains: Yes. Stain-blocking primer (oil or shellac). Prevents bleed-through in the topcoat.
- Peeling paint (after scraping): Yes. Bonding or multipurpose primer. Restores adhesion on bare and feathered areas.
- Sound wall, similar color: Often no. Self-priming paint. Existing paint film already acts as a base.
How Do You Prime Walls Before Painting?
Follow this professional process to prime walls correctly:
- Inspect the Surface: Check walls under bright, angled light to spot stains, patches, peeling, and glossy areas.
- Make Repairs: Fill holes and cracks with spackle or joint compound. Let them dry fully and sand smooth.
- Clean the Walls: Wipe away dust and grease with a damp cloth or mild cleaner. Let the walls dry.
- Choose the Right Primer: Match the primer to the problem using the table above.
- Apply the Primer: Cut in edges with a brush and roll the field in even sections. One coat is usually enough.
- Let It Dry: Most latex primers dry to the touch in about 30 minutes to 1 hour and can be topcoated in 1 to 3 hours. Follow the label for your product.
- Sand Lightly if Needed: On smooth walls or trim, a light pass with 220-grit sandpaper removes raised fibers before painting.
“Pro Tip 2: Do Not Rely on Self-Priming Paint Over Stains. Most self-priming latex paints are not designed to stop water, smoke, or tannin stains. The stain often looks covered when wet, then reappears as the paint dries. Seal stains with a dedicated stain-blocking primer before any topcoat.”
If your walls were painted before 1978, the U.S. Environmental Protection Agency (EPA) requires lead-safe work practices from certified contractors before sanding or scraping.
What Are the Most Common Priming Mistakes?
- Skipping Primer on New Drywall: This is the most frequent cause of blotchy, uneven finishes in new construction and remodels.
- Forgetting to Spot-Prime Patches: Unprimed repairs show through as dull spots, even after two finish coats.
- Using the Wrong Primer: A standard latex primer will not block a water stain. Match the primer to the problem.
- Painting Over Peeling Paint: Primer cannot fix loose paint. Scrape and sand first, then prime.
“Pro Tip 3: Use a Liquid Deglosser When You Cannot Sand. Glossy trim, doors, and cabinets need some tooth before primer will grip. If sanding dust is a problem, or the surface has tight profiles a sanding sponge cannot reach, wipe it with a liquid deglosser following the label directions. Let it sit for the time the manufacturer specifies, then apply a bonding primer within the window listed on the can.”
Answers to Common Questions About Priming Before Painting
Can you paint over a painted wall without primer?
Yes, if the wall is clean, in good condition, and you are using a similar color. Two coats of a quality paint usually perform well on a sound painted surface. Prime any stains, patches, or glossy spots first.
Do you need primer on new drywall?
Yes. New drywall paper and joint compound absorb paint unevenly. A drywall primer seals both so the finish looks uniform.
How many coats of primer do you need?
One coat is enough for most walls. Heavily stained areas or very dark colors may need a second coat. Check the surface after the first coat dries.
Do you need primer when painting a light color over a dark color?
It is strongly recommended. A tinted primer reduces how many finish coats you need and helps the new color look accurate.
Can primer be used as a final coat?
No. Primer is not designed for washability, UV resistance, or color durability. Always finish with at least one, and usually two, coats of paint.
Workplace safety guidelines from the Occupational Safety and Health Administration (OSHA) recommend proper ventilation and eye protection when sanding walls or applying primers indoors.
Ready for Professional Wall Prep and Interior Painting?
Choosing the right primer, repairing damaged surfaces, and applying a smooth, uniform finish takes skill and the right products. Let our experienced painting teams prep and paint your walls so the finish lasts for years.
Note: Pricing estimates are based on 2026 regional averages. Every home is unique, and final quotes require an on-site assessment to account for material costs, prep work, and structural conditions.
Contact the team at That 1 Painter today to schedule your detailed, obligation-free on-site estimate, and enjoy walls that look smooth and stay that way. Book Your Free Professional Estimate Now
