4 Steps To Achieve Long-Lasting Exterior Paint
Our care and consideration for your exterior paint
At That1Painter, we take the time to go beyond just painting. In this post, we walk you through the four steps we take to ensure your exterior paint is long-lasting and looking foiiiiine.
1 Pressure washing. First, we begin by giving your house a good wash, getting rid of the dirt and cobwebs. We like to hit the patios, walkways, and driveways as well as any exposed stone and brick, so your house is nice and clean before we even begin!


2 Prep. Second, our painters go wall-by-wall, inspecting for gaps and cracks, and then we caulk those cracks, making sure everything gets sealed up – even around the trim on your windows.
After crevices are properly sealed, we then begin scraping, sanding, and priming any areas with peeling or chipping. This way, your exterior paint goes on completely smooth.
Next, we mask off the home, protecting areas that we don’t want to be affected by paint. We take care using tape, paper, plastic – whatever is needed – to get it masked up and covered. No untamed splatters will end up where they don’t belong!
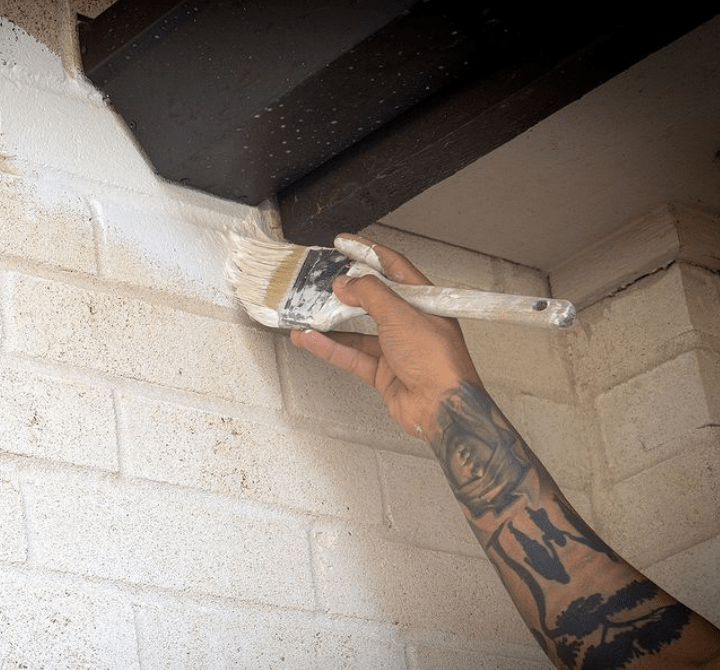
3 Paint. Third – and the most important step – actually applying the paint. Now, on exteriors, a lot of times we spray your exterior paint on, but we also brush and roll areas, as needed, to make sure the paint is applied evenly, ensuring full coverage and taking time to “cut in” around your trim and smaller areas. No holidays here or bald spots here!


4 Touch-up, clean-up. Last, but not least, we like to inspect the perimeter of your house, making sure your exterior paint has gone on clean and sharp. Then, but of course, we clean up your yard! We don’t want to leave behind any trash or debris. We’ll walk around the outside of the house a few times to make sure nothing has been left but a beautiful new paint job. We take pride in leaving your space even better than we found it!
We hope this overview of our process has given you some insight into the finer details of our work and has boosted you with the confidence you need when you hire someone to work on your property.