By Ben M.
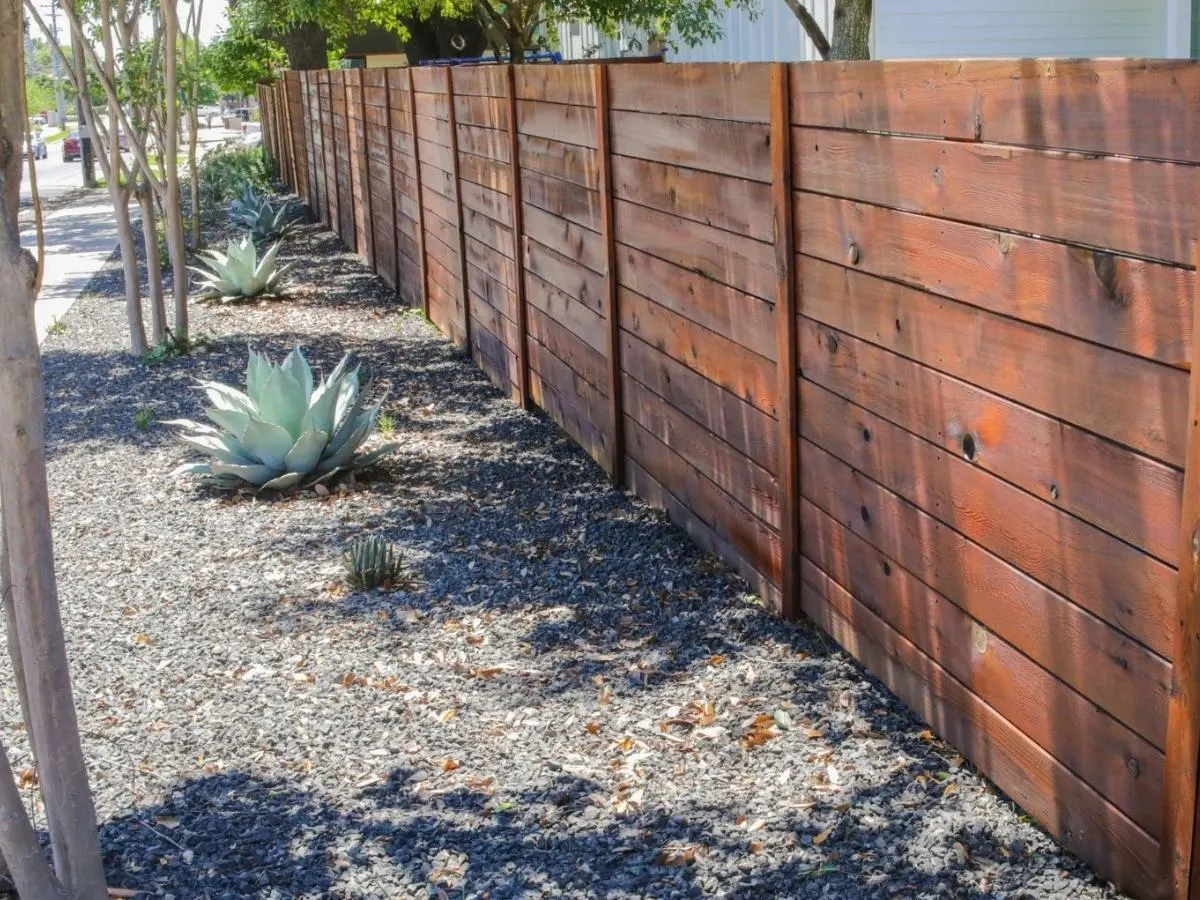
To stain a fence successfully, you must clean the wood using a sodium percarbonate cleaner, rinse under low pressure below 800 PSI, allow the lumber to dry below 12 percent moisture content, sand away mill glaze or raised grain, and apply a penetrating oil or hybrid acrylic stain using a brush or sprayer with back-brushing. Staining protects exterior vertical wood pickets from ultraviolet radiation, rot fungi, and water intrusion. Applying penetrating stain over dry, properly prepped wood seals the cellular structure, preventing cupping, splitting, and premature wood decay.
Quick Reference Summary for Staining a Wood Fence
Protecting wooden boundary fences requires systematic surface preparation, moisture verification, and proper coating selection. Achieving a smooth, long-lasting fence finish depends heavily on how well the stain penetrates into the interior wood fibers.
Regional weather patterns, seasonal humidity levels, and local wood preferences change how fence stains dry and perform across different geographic areas. In humid Southern coastal regions, elevated ambient humidity and heavy summer rains cause pressure-treated pine pickets to swell, making deep-penetrating oil stains mandatory to block water absorption. In high-altitude Western mountain regions with intense sun exposure and low humidity, rapid surface drying desiccates cedar fences, requiring high-solids stains loaded with transoxide iron pigments to stop UV damage. In historic Northern markets subject to severe winter freeze-thaw cycles, trapped water inside film-forming fence stains expands as ice, making breathable penetrating stains necessary to prevent surface peeling. Below is a complete technical guide detailing how to stain a fence correctly.
- Primary Cleaning Rule: Wash bare or weathered pickets using a biodegradable wood cleaner and brightener; let dry for 24 to 48 hours.
- Moisture Limit Standard: Test wood pickets with a moisture meter to confirm internal moisture levels fall below 12 to 15 percent before staining.
- Best Application Method: Spray the stain evenly using an airless or pump sprayer, then immediately back-brush the wet pass into the wood grain.
- Top Formulation Choice: Deep-penetrating alkyd-oil or waterborne oil hybrid stains that condition wood fibers without forming a peeling film layer.
Should You Use Oil Based or Water Based Fence Stain?
Selecting the proper fence stain chemistry requires evaluating resin binders, solvent carriers, and long-term maintenance needs. Technical wood preservation standards published by the Forest Products Laboratory (USDA FPL) emphasize that vertical outdoor wood structures require flexible, non-film-forming sealers.
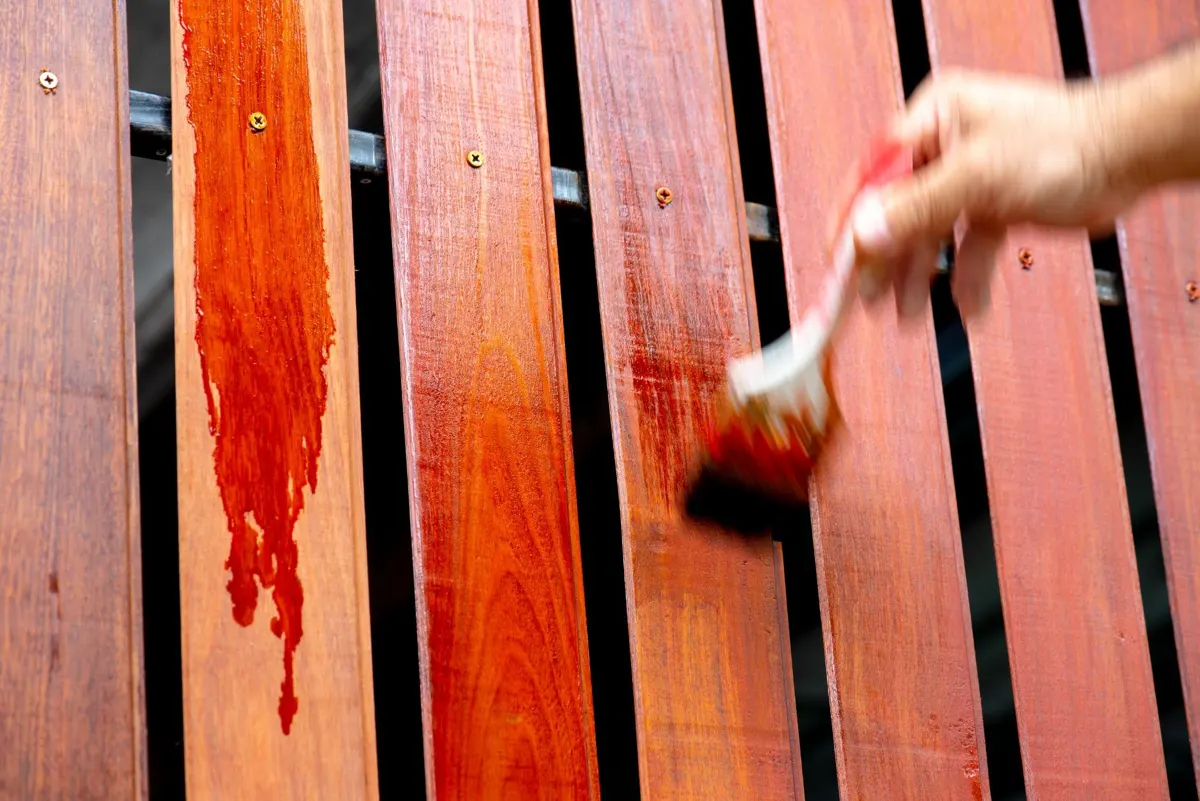
Oil-based fence stains (alkyd or natural oil formulas) feature small molecular structures that penetrate deep into porous wood cell walls. They condition the lumber, repel standing rainwater, and wear away slowly over time through mild chalking rather than peeling. They are the easiest stains to re-apply during future maintenance cycles because they do not require aggressive sanding.
Water-based acrylic fence stains utilize larger polymer resins that dry quickly and offer excellent color retention. Modern waterborne acrylic-alkyd hybrids offer high UV protection and low VOC off-gassing. However, if pure acrylic stains are applied too heavily or over un-sanded wood, they form a surface film that can trap internal moisture and peel off in sheets.
If you are inspecting stored stain buckets or primer cans in your garage before starting your fence project, read our technical guide on can you use old paint to test material stability.
“Pro Tip 1: Pinless Wood Moisture Content (WMC) Threshold Testing. Never apply fence stain based solely on visual surface drying or elapsed time after pressure washing. Exterior wood pickets can feel dry to the touch while retaining 20 percent or higher internal moisture content. Use a pinless wood moisture meter set to the specific wood species (cedar, pine, or redwood). The lumber must register below 12 percent Wood Moisture Content (WMC) before applying oil stains, and below 15 percent for waterborne acrylics. Staining over wet wood traps moisture inside the cellular core, leading to internal timber rot and causing the stain to blister within 90 days.”
What Tools Are Needed to Stain a Wood Fence?
Gathering proper application equipment, surface cleaners, and specialized wood brighteners ensures smooth coating penetration across vertical pickets.
1. Cleaning and Surface Preparation Supplies
- Sodium Percarbonate Wood Cleaner: Dissolves gray oxidation, mold spores, and old weathering stains.
- Oxalic Acid Wood Brightener: Neutralizes cleaner alkalinity, lightens dark wood fibers, and re-opens closed wood pores.
- Low-Pressure Washer (Under 800 PSI) or Garden Hose: Rinses away chemical residue without gouging soft wood pickets.
- Pinless Wood Moisture Meter: Measures internal moisture depth prior to stain application.
2. Staining and Application Tools
- Deep-Penetrating Fence Stain: High-solids oil or hybrid formula containing UV absorbers and mildewcides.
- Airless Paint Sprayer or Pump Sprayer: Deposits fast, even liquid coats across large vertical fence runs.
- 4-Inch Natural or Synthetic Stain Brush: Back-brushes wet stain into recessed wood grain and board overlaps.
- Canvas Drop Cloths and Plastic Sheeting: Protects adjacent landscaping, concrete footings, and neighboring property.
If you are evaluating modern color schemes or coordinating fence stain tones with your exterior trim, explore our feature on what is color drenching for palette inspiration. For exterior stone or masonry maintenance along patio borders, review our guide on can you clean limewashed brick for maintenance rules. Learn more about our national brand standards via That 1 Painter.
“Pro Tip 2: Transoxide UV Pigment Volume Concentration. Clear sealers without pigment offer virtually zero protection against solar radiation, allowing wood lignin to break down and turn gray within 12 months. When selecting semi-transparent fence stains, specify formulas containing transoxide (transparent iron oxide) pigments rather than organic color dyes.”

Micronized transoxide pigments absorb harmful ultraviolet light wavelengths while remaining transparent enough to showcase natural wood grain, doubling the lifespan of the stain finish.
Technical Comparison of Fence Stain Opacities and Formulations
This technical reference table breaks down stain opacity levels, resin chemistry, average lifespans, and ideal application zones for wood fences.
- Clear Sealer: paraffin oil or synthetic resin. Low UV protection, lasts about 1 year. Best on new cedar or redwood (requires frequent maintenance).
- Semi-Transparent: transoxide oil or alkyd. High UV protection, lasts 2 to 3 years. Best on new or sound pressure-treated pine, cedar and redwood.
- Semi-Solid: high-solids oil hybrid. Very high UV protection, lasts 3 to 4 years. Best on weathered cedar or pine with minor color flaws.
- Solid Color: 100% acrylic polymer. Maximum UV protection, lasts 4 to 5 years. Best on older, heavily weathered fences and previously painted wood.
If you are refinishing exterior wood trim, doors, or cabinetry adjacent to your fence line, review our step-by-step guide on painting cabinets with doors for smooth surface preparation.
“Pro Tip 3: Wet-on-Wet Back-Brushing Mechanics. Spraying fence stain without back-brushing leaves liquid stain pooling on top of dense wood grain, resulting in shiny, sticky patches that peel off. Always execute a two-pass wet-on-wet application. Spray or roll the first coat across 3 to 4 fence pickets, then immediately back-brush the wet pass using a 4-inch stain brush attached to an extension pole. Back-brushing forces liquid stain past surface tension barriers down into the wood pores, seals end-grain cut edges, and eliminates drip marks.”
What Steps Should You Follow to Prep and Stain a Fence?
Follow this professional application process to ensure your fence stain absorbs evenly and lasts for years:
- Inspect and Repair Fence Structure: Replace rotted pickets, re-nail loose boards, and tighten fence post hardware.
- Apply Oxygen-Based Cleaner: Spray a sodium percarbonate wood cleaner across the pickets to dissolve dirt, gray wood oxidation, and mold spores. Scrub with a stiff synthetic brush.
- Low-Pressure Rinse: Rinse the fence thoroughly using a pressure washer set below 800 PSI with a 40-degree wide fan tip. Keep the wand tip 12 inches away from the wood to avoid gouging soft grain.
- Apply Acidic Brightener: Spray an oxalic acid wood brightener over the wet pickets to neutralize cleaner alkalinity, open closed wood pores, and restore natural lumber color. Rinse clean and let dry 24 to 48 hours.
- Check Moisture Levels: Test pickets using a pinless moisture meter to confirm internal moisture levels are below 12 percent.
- Apply Penetrating Stain with Back-Brushing: Spray or brush penetrating stain along vertical pickets from top to bottom. Back-brush immediately to force stain into wood cells, working continuous board lengths to prevent lap marks.
If structural posts, retaining walls, or attached drywall partitions show water damage near your fence lines, utilize our expert drywall repair services and carpentry support. Combine fence staining with our full exterior house painting services or interior house painting services for complete home protection.
Environmental regulations enforced by the U.S. Environmental Protection Agency (EPA) limit Volatile Organic Compounds (VOCs) in architectural stains, promoting waterborne alkyd hybrids that protect outdoor air quality while delivering oil-like wood penetration.
What Are the Most Common Fence Staining Mistakes to Avoid?
Avoiding these common DIY execution errors ensures your fence staining project results in a durable, beautiful finish:
- Staining Wet or Un-Sanded Wood: Applying stain over wet lumber or mill glaze prevents oil absorption, causing the stain to pool and peel off.
- Staining in Direct Hot Sunlight: Applying stain under hot direct sun causes liquid solvents to flash-dry on contact, leaving lap marks and sticky dark patches.
- Over-Applying Solid Acrylic Stain: Applying thick layers of solid acrylic stain creates a surface film that cracks and peels under weather expansion.
- Skipping Wood Brightener: Skipping an acidic brightener after cleaning leaves the wood alkaline, which darkens the wood and reduces stain adhesion.
Answers to Common Questions About Staining a Fence
How long should a new pressure-treated fence dry before staining?
New pressure-treated pine pickets contain high internal moisture from factory chemical treatments. Allow new pressure-treated fences to dry for 1 to 3 months of dry weather. Check with a wood moisture meter; when internal moisture drops below 12 percent, the fence is ready for stain.
Is it better to spray or roll a fence stain?
Spraying combined with immediate back-brushing is the best method. Spraying applies liquid stain rapidly across large picket areas, while back-brushing forces the stain deep into wood pores and eliminates drips.
Do you need to sand a fence before staining?
Sanding is recommended for new lumber to remove factory mill glaze, and for weathered wood to smooth rough, fuzzy fibers raised by pressure washing. Use 60-grit or 80-grit sandpaper on an orbital sander.
Can you stain over an old coat of fence stain?
You can apply new penetrating stain over an old coat if the original stain was a penetrating oil and has worn down evenly. If the old stain is a solid acrylic or peeling film-forming finish, you must strip or sand it off completely before applying new penetrating stain.
How often should a wood fence be stained?
Fences treated with semi-transparent penetrating oil stains require maintenance every 2 to 3 years. Solid color acrylic stains last 4 to 5 years before requiring a maintenance coat. Workplace safety and chemical handling guidelines established by the Occupational Safety and Health Administration (OSHA) require proper respiratory protection, eye safety, and chemical-resistant gloves when spraying architectural stains or handling wood cleaners.
Ready for Professional Fence Staining and Home Painting Services?
Evaluating wood moisture levels, selecting proper stain chemistries, managing wet-edge back-brushing, and executing clean surface prep require technical skill and professional equipment. Let our experienced finishing teams restore and protect your outdoor wood fence structures safely and efficiently.
Note: Pricing estimates are based on 2026 regional averages. Every home is unique, and final quotes require an on-site assessment to account for material costs, prep work, and structural conditions.
Contact That 1 Painter today to schedule your detailed, obligation-free on-site estimate and give your property a crisp, durable finish. Book Your Free Professional Estimate Now
