By Mary C.
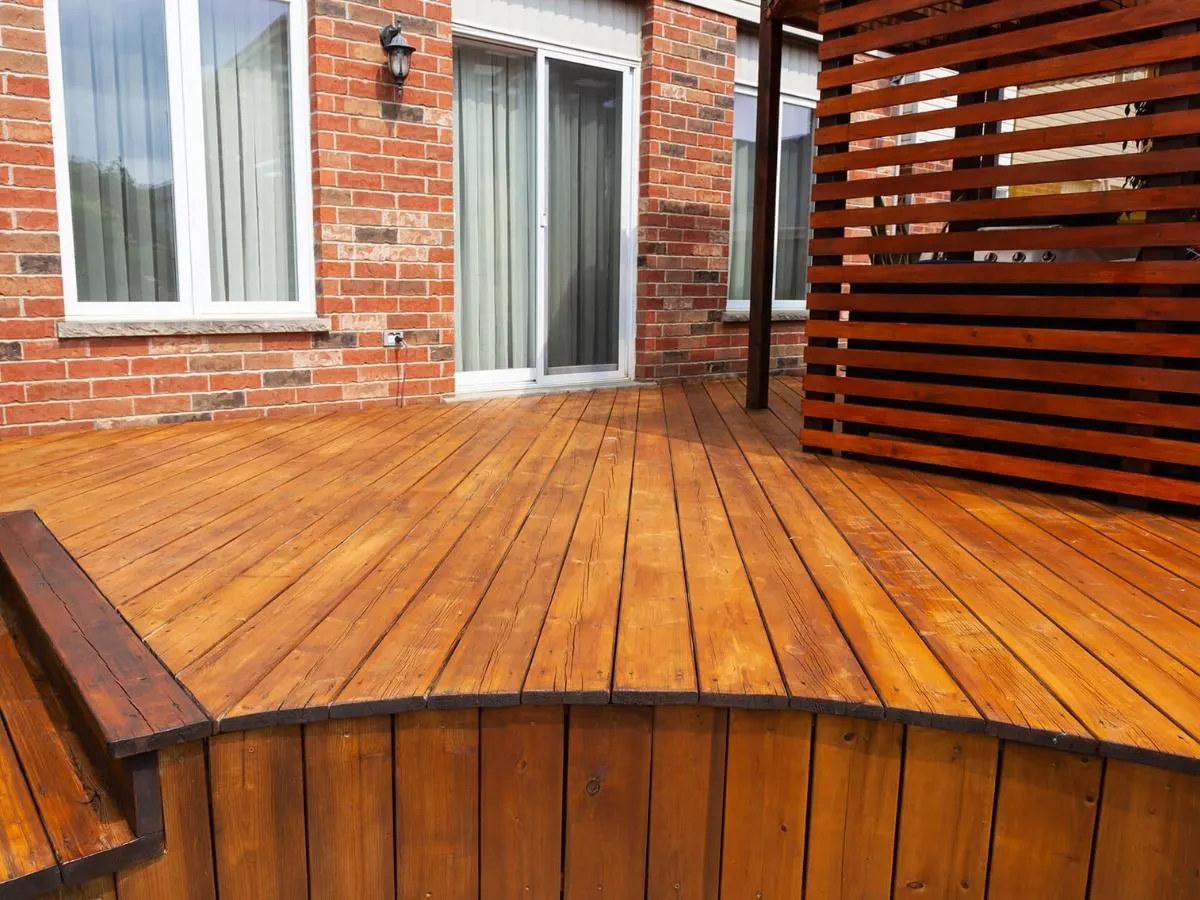
How do you stain a deck correctly? The process requires thorough wood cleaning, complete moisture drying, proper surface sanding, and controlled application of an exterior stain designed for horizontal foot traffic. If the deck boards are dirty, grayed from sun exposure, sealed, or damp, the new stain will fail to penetrate the wood fibers and will peel prematurely. Start by cleaning the deck with an oxygenated wood cleaner to remove loose finish and organic buildup, then allow the lumber to dry completely. Test a small, hidden area to ensure the stain absorbs into the wood rather than sitting on top. Apply an exterior deck stain along the full length of three to four boards at a time, working in the direction of the wood grain, maintaining a wet edge, and avoiding over-application. Applying too much stain creates a sticky, uneven surface that cracks and lifts under foot traffic.
Quick Reference Summary for Deck Staining
Applying stain over exterior decking involves managing wood porosity, resin density, and environmental exposure. Wood is a porous, natural material that expands and contracts as it absorbs and releases atmospheric water vapor. Applying deck stain over damp or un-sanded wood seals internal moisture inside, causing the coating to blister when heat forces water vapor to the surface. Regional climate factors across the country directly dictate how exterior finishes perform over time. In humid Southern environments with intense sunshine, high UV exposure breaks down clear finishes quickly, making semi-transparent finishes with trans-oxide pigments essential to prevent graying.
In wet coastal zones like the Pacific Northwest, persistent rainfall accelerates algae growth on damp wood, requiring specialized brighteners with oxalic acid before staining. In cold Northern climates, winter freeze-thaw cycles trap ice inside open wood pores, causing film-forming stains to crack if the lumber was not sanded to open the grain prior to application. Below is the complete step-by-step technical guide for cleaning, preparing, and staining exterior decking.
- Wood Preparation: Clean boards with a sodium percarbonate cleaner, scrub away dead wood fibers, apply an oxalic acid brightener, and let dry completely.
- Moisture Testing: Verify that internal wood moisture content is below 12 percent before applying any oil or acrylic stain.
- Application Technique: Brush or roll stain along the full length of whole boards, back-brushing continuously to maintain a wet edge.
- Excess Removal: Wipe away any unabsorbed stain after 15 minutes; pooling stain creates a soft, sticky film that peels.
In What Order Do You Prepare Wood for Staining?
Proper surface preparation accounts for the vast majority of any coating's lifespan. Applying fresh stain over weathered, dirty, or sealed wood leads to early failure.
Washing and Cleaning Weathered Wood Surfaces
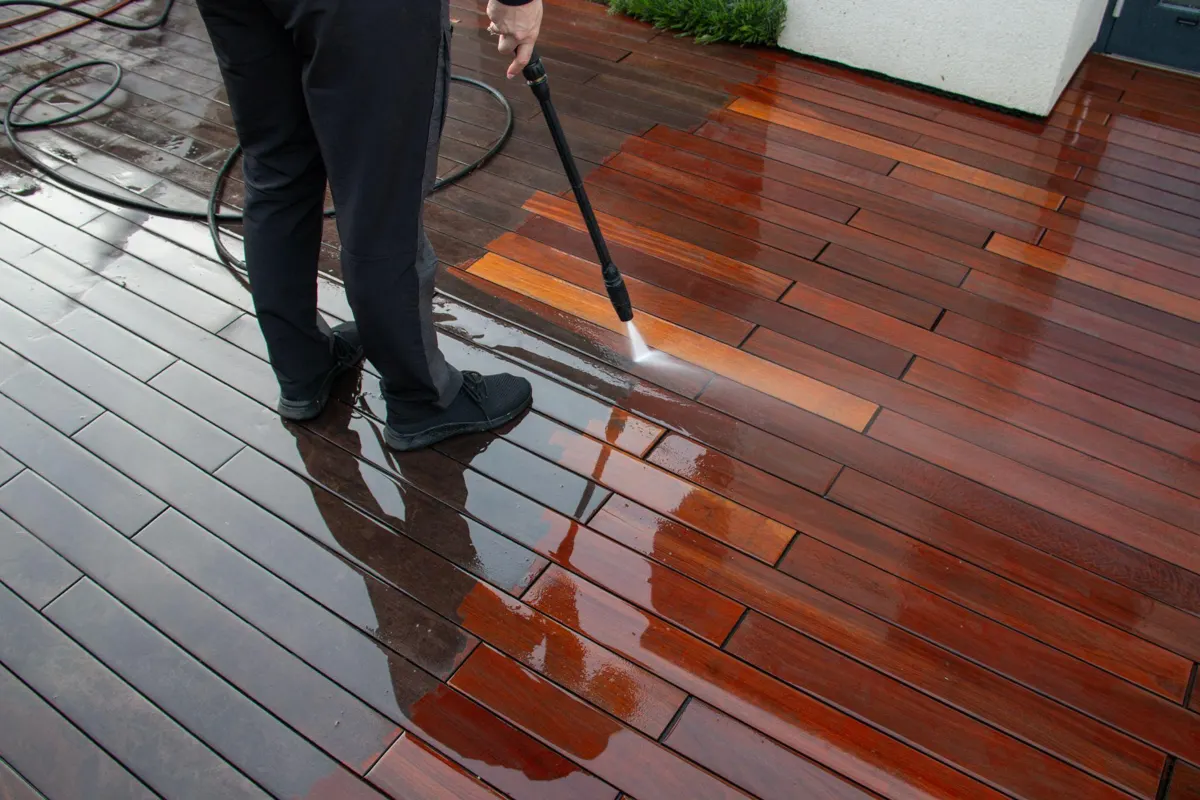
Bare exterior lumber develops a microscopic layer of UV-damaged wood fibers over time, giving the deck a gray appearance. Applying stain over these loose fibers prevents the finish from bonding to solid wood underneath. Research from the Forest Products Laboratory (USDA) confirms that removing dead surface fibers through chemical cleaning and light washing is mandatory for maximum stain adhesion.
Use an oxygenated sodium percarbonate cleaner rather than harsh chlorine bleach. Chlorine bleach breaks down lignin, the natural binding agent in wood fibers, causing soft pine and cedar to become fuzzy. Spray the cleaner, scrub the boards with a stiff synthetic brush along the grain, and rinse thoroughly using pressure under 1,200 PSI to avoid gouging the lumber.
Neutralizing Wood with Oxalic Acid Brighteners
After cleaning, wood surfaces often look dark due to high alkalinity from cleaning chemicals and natural tannin bleeding. Applying an oxalic acid wood brightener restores the natural tone of lumber species like cedar and redwood by balancing the pH level.
Wood brighteners also neutralize chemical residues and open the cellular pore structure of the wood, allowing new penetrating stain to sink deep into the grain.
“Pro Tip 1: Pin-Type Moisture Meter Testing. Never apply stain based on surface feel or dry weather on a calendar. Wood can feel dry on top while holding 20 percent moisture deep inside the board core. Trapping internal water under new stain causes blistering as solar radiation pulls that moisture upward. Use a digital pin-type wood moisture meter pushed 1/4-inch into multiple boards across shaded and sunny deck sections. Never apply stain until the average moisture content drops below 12 percent for oil-based stains or 15 percent for acrylic stains.”
Should You Choose Oil Based or Acrylic Deck Stain?
Selecting the correct stain formulation depends on wood age, previous coatings, and visual goals.
Transparent and Semi Transparent Deck Stains
Transparent and semi-transparent stains contain light pigment loads that highlight natural wood grain patterns. These finishes penetrate deep into wood fibers rather than forming a hard surface film.
They perform best on new or newer pressure-treated pine, cedar, and redwood decks in good condition. Guidance from the Western Red Cedar Lumber Association recommends penetrating semi-transparent oil finishes on softwood decking to allow natural moisture vapor transfer without surface flaking.
Semi Solid and Solid Color Deck Stains
Solid color stains contain high pigment concentrations that hide the wood grain while leaving the physical surface texture visible. They form a protective film over the wood, functioning similarly to thin exterior paint.
Solid stains are ideal for older decks with mixed lumber species, heavy checking, or deep stains from previous finishes that cannot be completely stripped out.
How to Apply Deck Stain Without Lap Marks
Applying deck stain correctly requires controlling wet edges and managing film thickness.
Working Full Board Lengths to Maintain a Wet Edge
A lap mark occurs when fresh stain overlaps an area that has already dried, creating a darker, double-thick stripe. To prevent lap marks, pick three to four contiguous deck boards and stain them continuously from the house wall to the outer edge.
Never stop midway across a board. Complete the full length of those selected boards before moving on to the next set.
Back Brushing for Deep Pigment Penetration
While pump sprayers or long-nap stain rollers speed up stain distribution, spraying or rolling alone leaves stain sitting on top of wood ridges.
Always back-brush behind sprayers or rollers using a high-density natural-bristle brush for oil formulations or a thick synthetic brush for water-borne products. Brushing forces the oil pigments down into the open cellular pores.
“Pro Tip 2: The Back-Brushing and Wipe-Off Protocol. Penetrating deck stains are designed to protect wood from within the pore structure, not to form a thick plastic skin on top. When using penetrating semi-transparent oils, allow the stain to soak into the wood for 15 to 20 minutes after back-brushing. Then, take a clean, dry microfiber towel or lint-free cotton rag and wipe away every drop of unabsorbed, shiny stain remaining on the board surface. Leaving unabsorbed stain to dry on top results in a sticky, soft film that scuffs under foot traffic and peels within months.”
What Causes Deck Stain to Peel and Fail?
Understanding common failure points protects exterior wood investments from premature coating failure.
Over Application and Surface Film Buildup
Applying too much stain is the single most common mistake on exterior wood decks. Wood can absorb only a finite volume of liquid pigment.
When excess stain is applied, the unabsorbed liquid hardens into a shiny, uneven surface film that cracks as the wood expands and contracts with seasonal temperature changes. If you are preparing adjacent exterior walls or trim before working on your deck, review our guide on painting cabinets with doors to learn about proper surface prep sequencing. For overall property care, our teams provide full exterior house painting services alongside specialized deck staining services.
Direct Sunlight and High Heat Application
Staining in direct, blazing sunlight causes the solvents or water in the stain to evaporate before the oil pigments can sink into the wood grain.
This leads to uneven blotching, rapid drying, and weak adhesion. Always stain deck surfaces during cool morning or evening hours, following the shade across the deck as the sun moves. If you are evaluating leftover finishes for touch-ups around your property, refer to our article on can you use old paint. Complete interior and exterior care instructions are available through That 1 Painter.
“Pro Tip 3: Mill Scale Removal by Mechanical Sanding. Brand new, un-weathered lumber often looks ready for stain, but it contains a smooth, crushed surface layer created by high-speed planer blades during lumber mill processing. This flat layer, called mill scale, blocks stain absorption. Never stain new deck boards immediately upon installation. Allow pressure-treated lumber to dry down to proper moisture levels, then perform a pass over all board faces using an orbital sander equipped with 60-grit to 80-grit sandpaper. Sanding breaks through the mill scale and opens the wood grain to absorb maximum stain volume.”
Deck Stain Material and Maintenance Selection Matrix
Environmental exposure dictates how frequently deck finishes need maintenance and what prep tools are required. Review standards set by the American Wood Protection Association (AWPA) to ensure wood treatment choices align with ground-contact safety rules.
In humid Southern regions, high heat and intense UV radiation dry out wood binders quickly, requiring semi-transparent maintenance coats every 18 to 24 months. In cold Northern climates, winter snow accumulation sits on horizontal deck surfaces for weeks, making water-repellent oil treatments essential to limit wood swelling.

In dry Western zones, low ambient humidity causes decking to split along the grain, making deep-penetrating oil finishes necessary to keep lumber flexible. When coordinating broader home color updates alongside deck restoration, consult our guide on what is color drenching. For exterior hardscape care around your outdoor living space, read our breakdown on can you clean limewashed brick.
- Humid Coastal / South: threat is high UV rays and mildew growth. Use a semi-transparent trans-oxide oil stain, prep with sodium percarbonate plus brightener, and plan maintenance every 18 to 24 months.
- Northern Freeze-Thaw: threat is snow accumulation and ice cracking. Use a deep-penetrating synthetic oil, prep with 80-grit sanding plus a deep wash, and plan maintenance every 2 to 3 years.
- Arid Western Zones: threat is thermal splitting and grain checking. Use a paraffin/naphtha oil-based stain, prep with a light wash plus hydrating brightener, and plan maintenance every 2 years.
- Pacific Northwest: threat is persistent rain and surface algae. Use a water-borne acrylic/oil hybrid, prep with heavy algaecide plus a pressure wash, and plan maintenance every 12 to 18 months.
Answers to Common Deck Staining Questions
How long should new wood dry before staining?
New pressure-treated lumber is injected with liquid preservatives during manufacturing and typically has a high moisture content. Depending on climate, sun exposure, and regional humidity, new pressure-treated wood needs 30 to 90 days to dry below 12 percent moisture content. Always verify with a digital moisture meter rather than guessing based on time alone.
Can you spray stain on a deck without brushing?
Spraying alone is not recommended for horizontal deck boards. Spraying deposits stain on top of wood ridges without pushing the finish into the pores. Un-brushed spray applications wear away quickly under foot traffic and dry blotchy. Always back-brush behind a sprayer to push pigment into the wood grain.
Is oil based or water based deck stain better?
Oil-based stains penetrate deeper into wood fibers, making them easier to re-apply without heavy sanding later. Water-based acrylic stains offer better color retention, dry faster, and perform well in areas with strict low-VOC environmental regulations. For weathered wood, deep-penetrating oil stains generally provide superior flexibility.
What happens if it rains after staining a deck?
If heavy rain falls within 12 to 24 hours of applying an oil-based stain, the water can force un-cured oil out of the wood pores, causing white water spots or a tacky surface finish. If this occurs, let the deck dry, scrub light spots with a mineral-spirit-dampened rag, or lightly wash and re-apply a thin coat once dry.
How many coats of deck stain should you apply?
For penetrating semi-transparent stains, apply one heavy coat or two thin wet-on-wet coats. Wet-on-wet means applying the second coat while the first coat is still damp, usually within 15 to 30 minutes. Never allow a penetrating oil stain to dry completely between coats, or the second coat will be rejected and dry sticky on top.
Ready to Restore Your Exterior Deck Safely?
Preparing, cleaning, and staining an exterior wood deck requires specialized equipment, proper chemical brighteners, and precise back-brushing techniques to deliver durable protection. Protect your outdoor living space from moisture rot, board warping, and premature coating failure.
Note: Pricing estimates are based on 2026 regional averages. Every home is unique, and final quotes require an on-site assessment to account for material costs, prep work, and structural conditions.
Contact the team at That 1 Painter today to schedule your detailed, obligation-free on-site estimate, and ensure your deck is prepped and stained for long-lasting performance. Book Your Free Professional Estimate Now
