By Ben M.
To repair paint chips, remove any loose or peeling paint around the chip, then lightly sand the edges so there is no visible ridge around the damaged area. If the chip is deep, fill it with spackle or patching compound, let it dry completely, and sand it smooth and even with the rest of the wall. Once the surface is clean and smooth, prime the repaired area if needed and finish with your matching wall paint. Taking a little extra time on prep is what makes a repair blend right in instead of standing out.
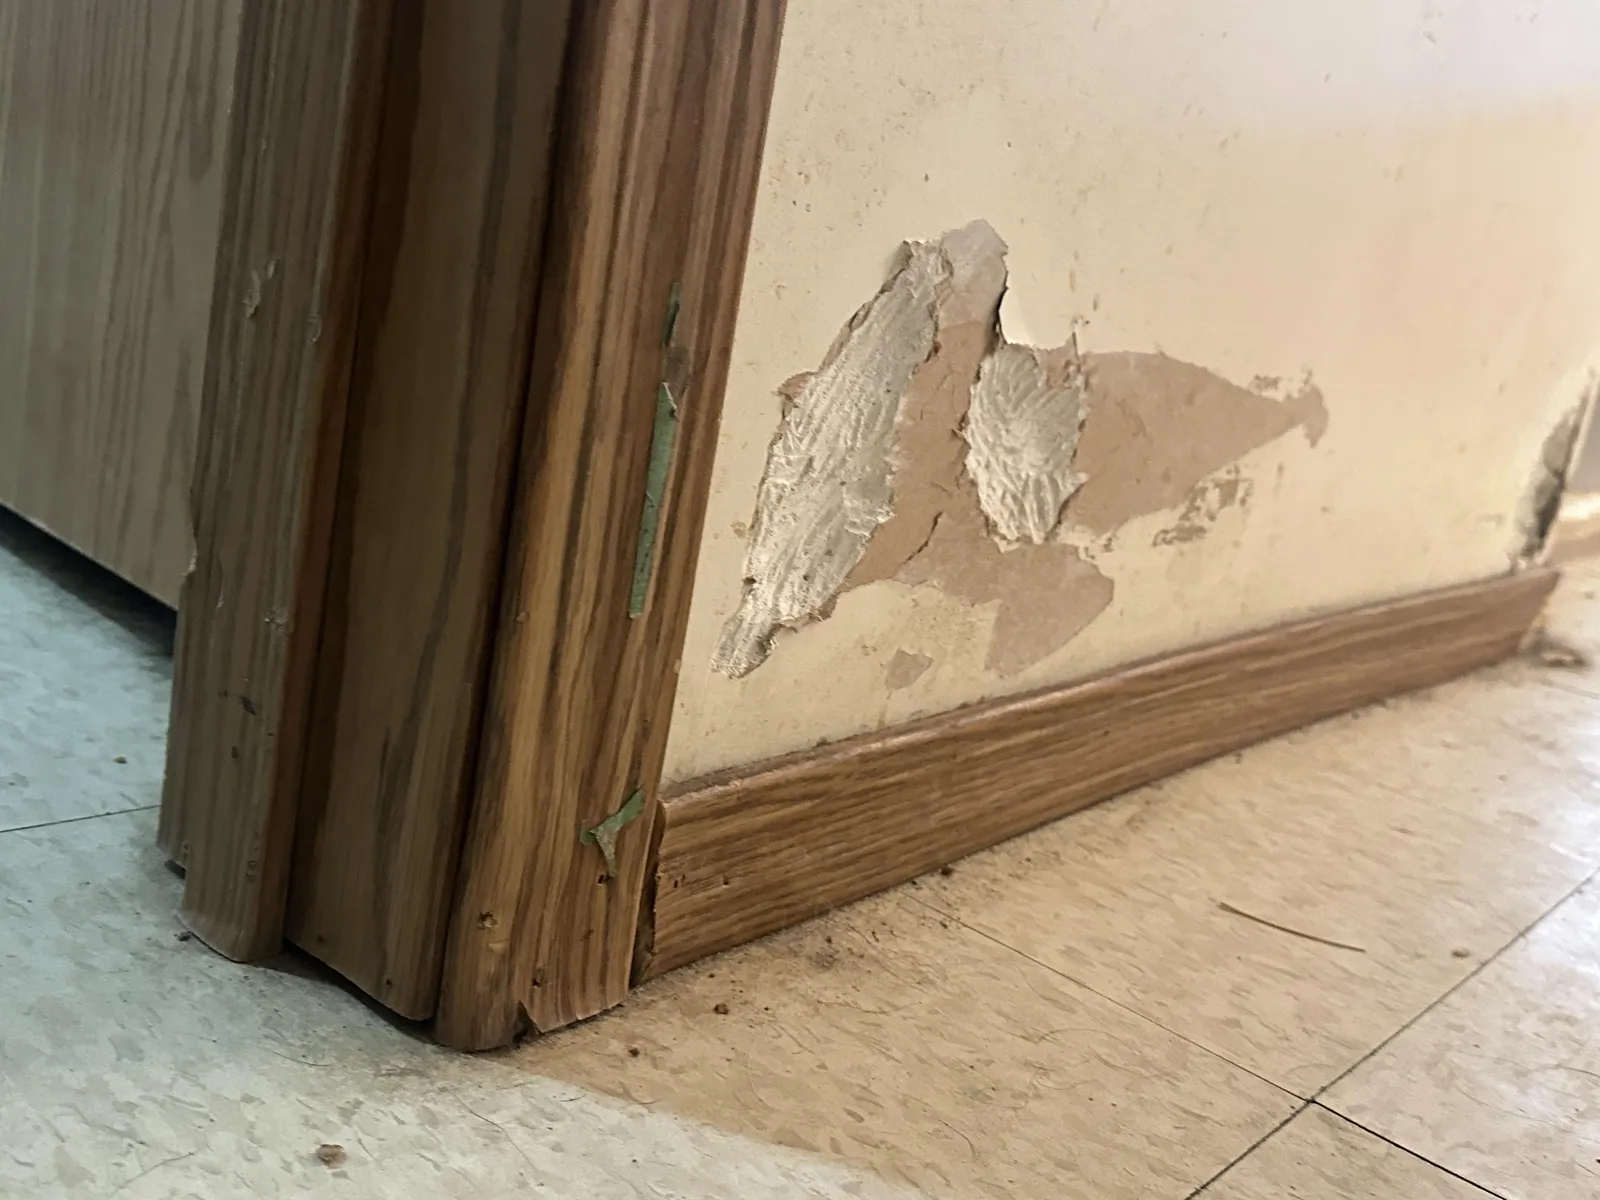
Paint chips happen in every home. Furniture bumps walls, door handles hit drywall, and moving day leaves its marks. Many homeowners dab a little paint over the chip and call it done. The problem is that the edge of the chip is still there. Once the touch-up dries, the outline of the old chip shows through as a visible ring or ridge. Feathering the edges, filling the depth, and priming are what make the repair invisible.
Regional climate, seasonal humidity, and the age of local homes heavily influence how and why paint chips. In humid Southern coastal climates, moisture can weaken paint adhesion, so chips sometimes signal a larger peeling problem worth investigating. In high-altitude and arid Western regions, dry air makes paint films more brittle, and chips tend to have sharp, hard edges that need careful feathering. In older Northern homes with freeze-thaw winters, house movement and many layers of old paint lead to chipping around doors and trim, and some of those older layers may contain lead. Below is a complete guide on how to repair paint chips for a seamless finish.
Quick Reference Summary for Repairing Paint Chips
- First Step: Remove any loose or peeling paint around the chip.
- Feathering Rule: Lightly sand the edges so there is no ridge around the damaged area.
- Deep Chips: Fill with spackle or patching compound, let it dry, and sand it flush.
- Priming: Prime the repaired area if needed so the touch-up paint dries evenly.
- Finishing: Repaint with matching wall paint, using the same sheen and application method.
Why Does Paint Chip in the First Place?
Paint chips when something strikes the wall hard enough to break the paint film, or when the paint has lost its grip on the surface underneath. Impact chips from furniture or doors are usually small and isolated. Chips that spread or keep growing often point to an adhesion problem.
Poor adhesion usually starts with preparation. Paint applied over dirt, grease, glossy surfaces, or incompatible coatings may never bond fully. Moisture behind the surface can also push paint away from the wall. If you see widespread chipping or peeling, read our guide on how to fix cracked or peeling paint to find the cause.
In homes built before 1978, chipped paint may contain lead. The U.S. Environmental Protection Agency (EPA) recommends testing older painted surfaces before sanding or scraping, and using lead-safe work practices if lead is present.
“Pro Tip 1: Find Out Why the Paint Chipped. Before you repair a chip, look at the surrounding area. A single dent from a doorknob is a simple fix. Paint that flakes easily around the chip, or chips that keep appearing nearby, suggest the paint is not bonded well. Press painter's tape firmly over the area and pull it off quickly. If more paint comes off on the tape, the area needs wider scraping and priming.”
What Tools and Materials Do You Need?
Small paint chip repairs require only a few basic supplies.
- Putty Knife or Scraper: For removing loose and peeling paint around the chip.
- Fine-Grit Sandpaper or Sanding Sponge: For feathering the edges and smoothing filler.
- Spackle or Patching Compound: For filling chips that are deeper than the paint layer.
- Primer: For sealing patched areas and bare spots so paint dries evenly.
- Matching Paint: Leftover paint from the original can, or a color-matched sample in the same sheen.
- Small Roller or Brush: Match the applicator used on the rest of the wall.
Step-by-Step Guide on How to Repair Paint Chips
Follow this process to make paint chips disappear:
- Remove Loose Paint: Use a putty knife or scraper to remove any loose or peeling material around the chip until the edges are firm.
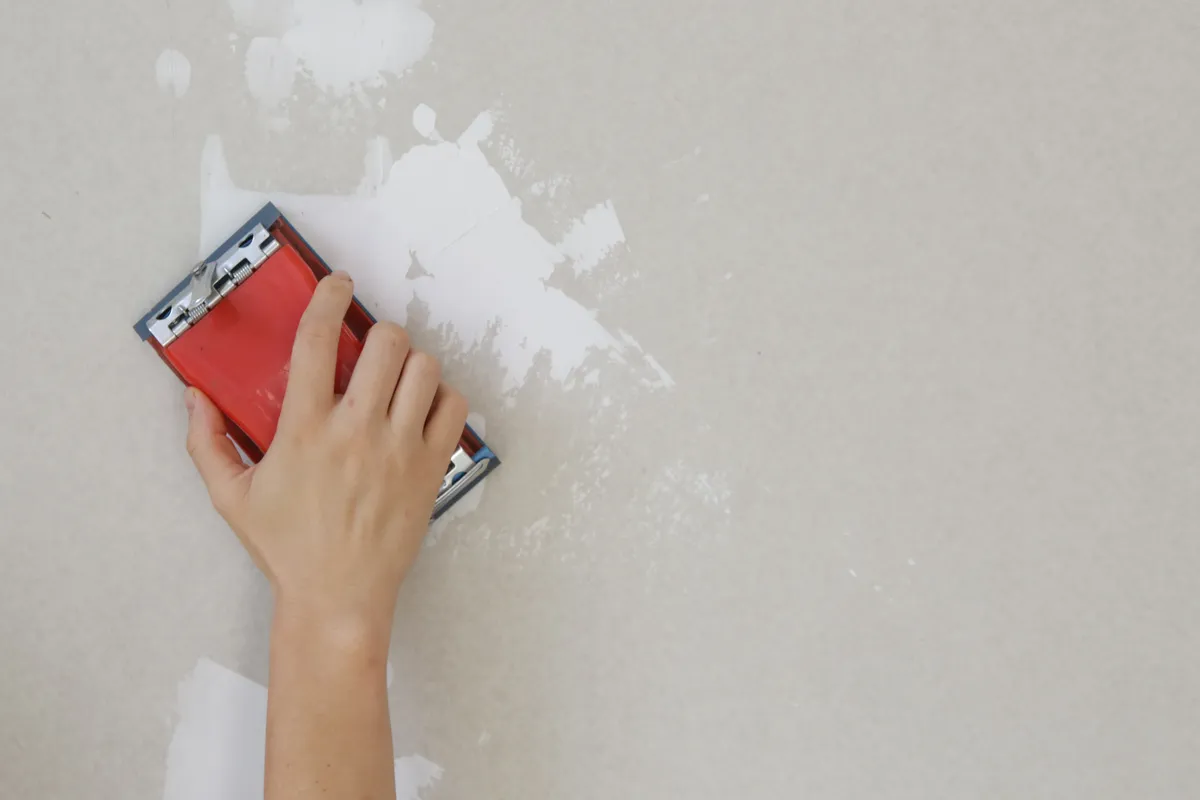
- Feather the Edges: Lightly sand the edges of the chip so the paint tapers smoothly into the bare area. You should not feel a ridge when you run your hand across it.
- Fill Deep Chips: If the chip goes deeper than the paint, fill it with spackle or patching compound. Let it dry completely.
- Sand Smooth: Sand the filled area until it feels smooth and even with the rest of the wall. Wipe away all dust.
- Prime if Needed: Prime patched areas and any bare drywall or wood so the topcoat dries evenly.
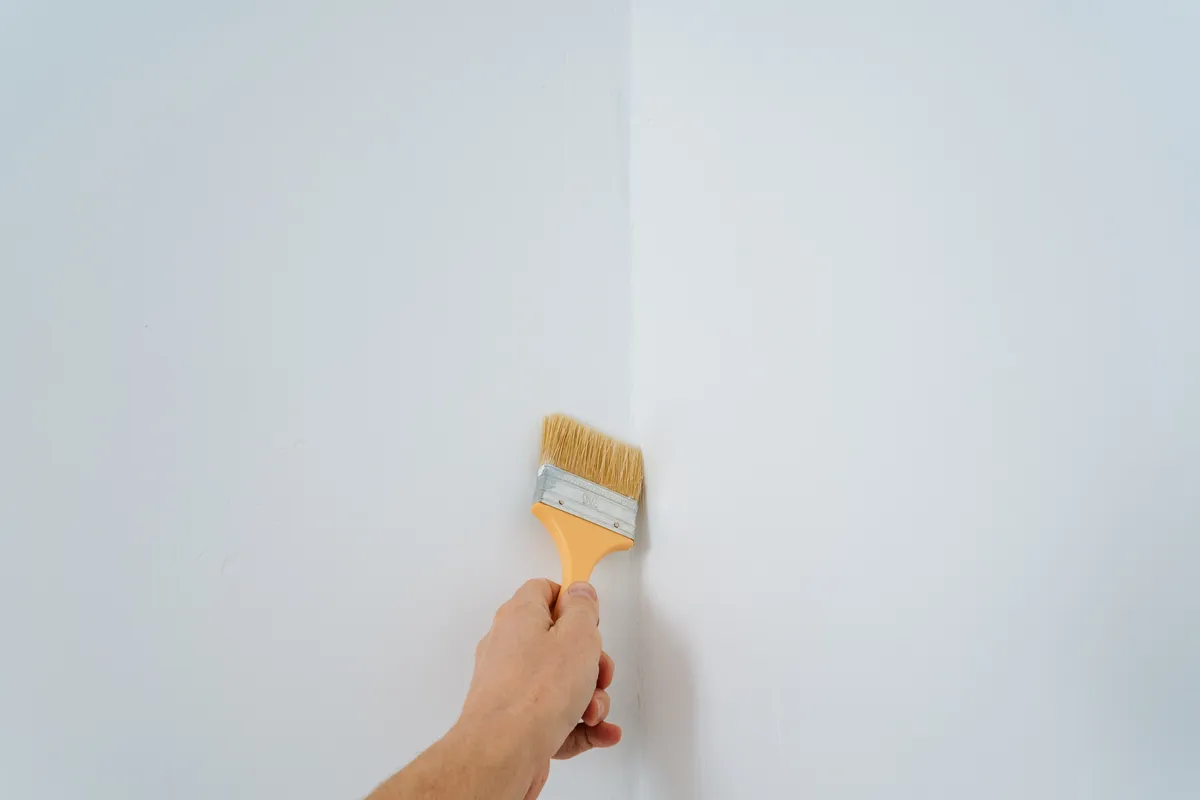
- Repaint: Apply matching wall paint with the same type of applicator used on the wall. Feather the paint outward so it blends into the surrounding area.
Our guide on how to fix small drywall holes covers deeper damage that goes into the drywall itself.
Technical Comparison of Paint Chip Repair Methods
This technical reference table matches common chip types with the best repair approach.
- Surface scuff or small chip: Paint layer only. Feather sand, touch up. Prime bare spots if needed.
- Chip through several paint layers: Multiple paint layers. Feather sand, fill, sand smooth. Prime before painting.
- Chip into drywall: Paper or gypsum exposed. Fill with patching compound, sand. Prime to prevent flashing.
- Chipping around trim or doors: Varies. Scrape loose paint, sand, prime. Use enamel on trim.
- Widespread chipping: Large area. Scrape, sand, spot prime, repaint wall. Find the adhesion cause first.
“Pro Tip 2: Repaint the Whole Wall Section if the Touch-Up Shows. Touch-ups can show up as a shiny or dull spot, especially on eggshell, satin, or older paint that has faded. If a feathered touch-up still shows, repaint the wall from corner to corner. Painting a full section hides the repair better than trying to blend a patch in the middle of a wall.”
Paint manufacturers like Sherwin-Williams can color-match a chip of your existing paint if you no longer have the original can, which helps your touch-up blend in.
What Are the Most Common Mistakes When Repairing Paint Chips?
Avoiding these common DIY errors keeps your repairs invisible:
- Painting Over the Chip Without Sanding: The edge of the chip shows through as a visible ring.
- Skipping Filler on Deep Chips: Paint alone cannot fill a dent, so the chip remains visible.
- Not Priming Patches: Patching compound absorbs paint differently and can flash through.
- Using a Different Sheen or Applicator: Mismatched sheen or texture makes the touch-up stand out.
- Sanding Old Paint Without Testing for Lead: Homes built before 1978 may have lead paint under newer layers.
“Pro Tip 3: Label Leftover Paint for Future Touch-Ups. After any painting project, label each leftover can with the room, the color name and code, the sheen, and the date. Store cans in a place that stays above freezing. When chips happen later, you will have the exact paint ready, which is the easiest way to make touch-ups disappear.”
Answers to Common Questions About Repairing Paint Chips
Can you just paint over a paint chip?
You can, but the edge of the chip usually shows through. Sanding the edges smooth and filling deeper chips before painting makes the repair blend in.
Do you need to prime before touching up paint chips?
Prime any patched areas and bare drywall or wood. Primer seals the surface so the touch-up paint dries evenly and does not flash.
Why does my touch-up paint look different?
Touch-ups can look different because of sheen, fading of the original paint, or a different applicator. Using the original paint and applicator helps, and repainting the full wall section is the most reliable fix.
How do you fix chipped paint on trim?
Scrape loose paint, sand the edges smooth, prime bare wood, and repaint with a durable enamel in the same sheen as the existing trim.
Is chipped paint dangerous?
In homes built before 1978, chipped paint may contain lead. Test before sanding or scraping, and follow lead-safe work practices if lead is present.
Ready for Professional Wall Repair and Painting?
Scraping, feathering, patching, priming, and repainting so repairs disappear take skill and experience. Let our experienced teams handle your walls with our drywall repair services and interior painting services, safely and efficiently.
Note: Pricing estimates are based on 2026 regional averages. Every home is unique, and final quotes require an on-site assessment to account for material costs, prep work, and structural conditions.
Contact the team at That 1 Painter today to schedule your detailed, obligation-free on-site estimate, and enjoy smooth, flawless walls. Book Your Free Professional Estimate Now
