By Norman R.
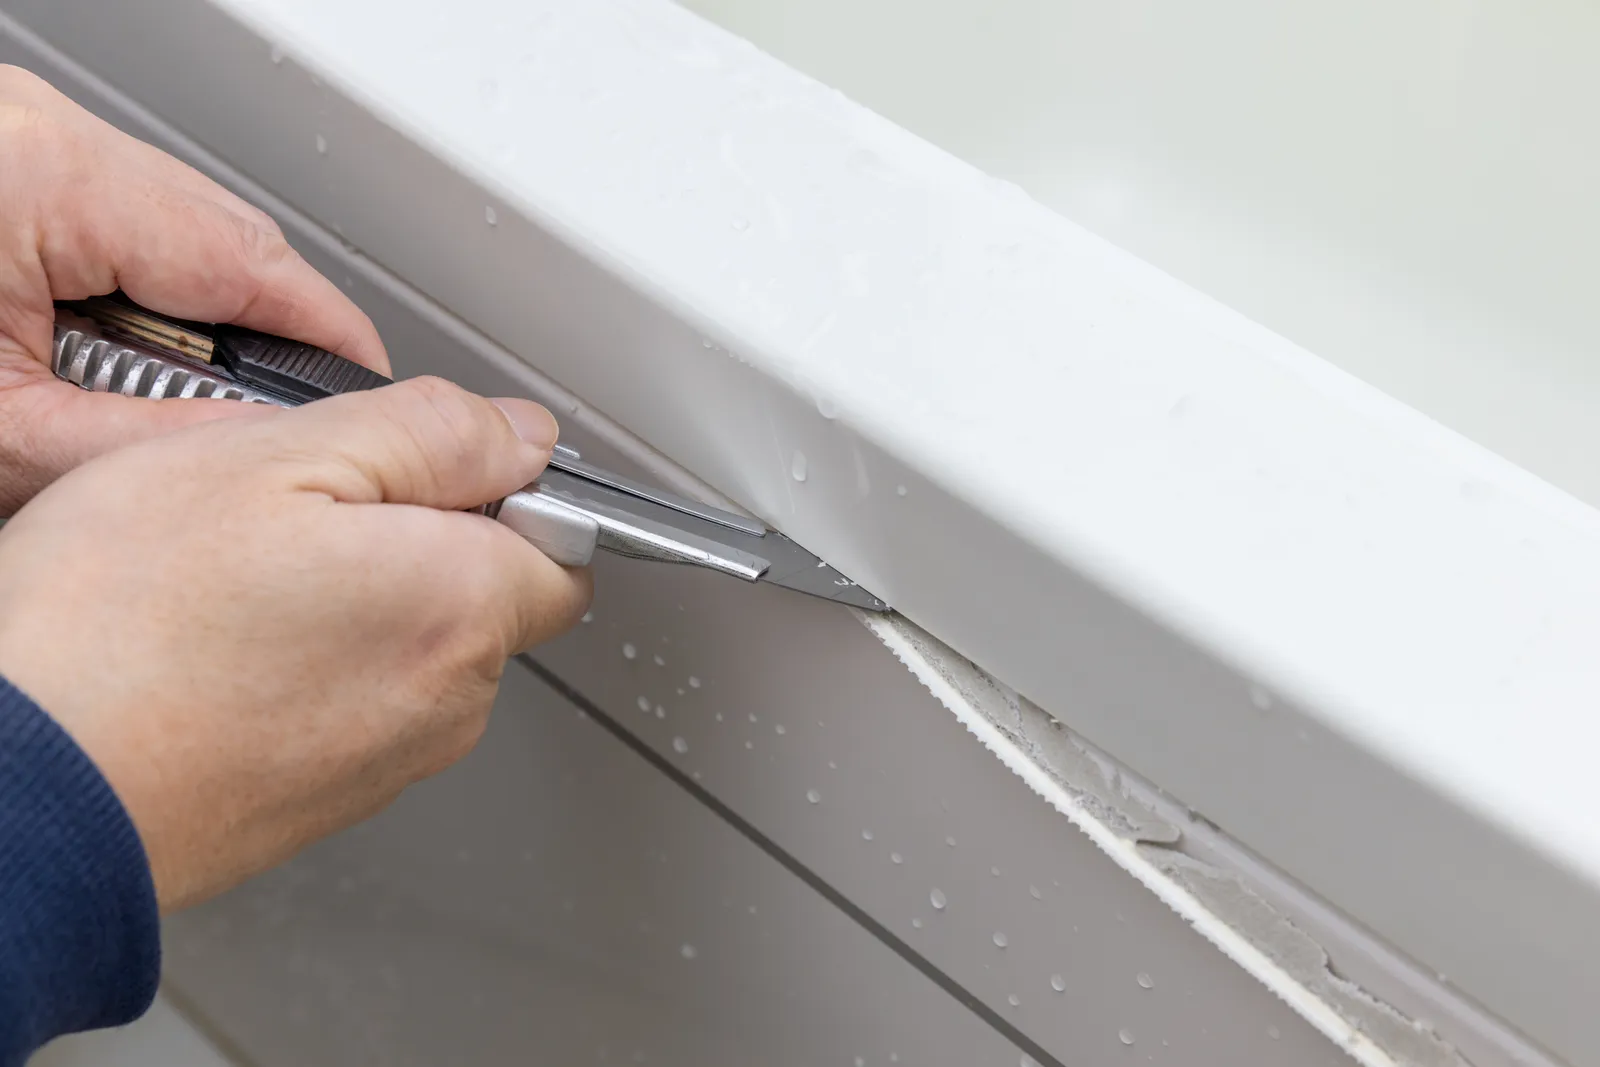
To remove old caulk, carefully cut along both sides of the existing caulk line with a utility knife or 5-in-1 tool, then scrape or pull away as much of the old caulk as possible. Clean off every bit of leftover residue so the surface is bare, clean, and dry. Do not rush this step, because even a small amount of leftover caulk can keep the new product from adhering and sealing properly. Once the old caulk is out, you have a solid foundation for a fresh, clean caulk line.
Caulk seals the gaps between trim and walls, around windows and doors, and along tubs, sinks, and counters. Over time, it dries out, cracks, shrinks, yellows, or grows mildew. Many homeowners try to fix this by running a new bead right over the old one. That shortcut almost always fails. New caulk does not bond well to old, cracked, or dirty caulk, and the repair peels away within months. Removing the old material completely is the step that makes a new caulk line last.
Regional climate, seasonal temperature swings, and local building materials heavily influence how quickly caulk fails and how it should be replaced. In humid Southern coastal climates, caulk around tubs, sinks, and windows is prone to mildew, so removing every trace of old, stained caulk is essential before resealing. In high-altitude and arid Western regions, intense sun and low humidity dry out exterior caulk until it cracks and pulls away from siding and trim. In Northern homes with freeze-thaw winters, joints expand and contract with the seasons, which tears brittle old caulk and lets water reach the framing. Below is a complete guide on how to remove old caulk for a clean, long-lasting seal.
Quick Reference Summary for Removing Old Caulk
- Best Tools: A sharp utility knife and a 5-in-1 painter's tool handle most caulk removal jobs.
- First Step: Cut along both sides of the existing caulk line to release it from each surface.
- Removal Method: Scrape or pull away as much of the old caulk as possible in long strips.
- Key Rule: Remove all leftover caulk and residue, since new caulk will not seal well over old material.
- Final Prep: Clean and dry the joint completely before applying a fresh bead.
Why Is Removing Old Caulk So Important?
New caulk needs to bond directly to clean, solid surfaces on both sides of a joint. Old caulk that is cracked, shrunken, or loose gives new caulk nothing firm to grab. When the old caulk moves or peels, it takes the new bead with it.
Leftover caulk also creates an uneven surface. A new bead run over bumps and ridges of old material looks lumpy and uneven, especially on trim that will be painted. Removing it completely leaves a clean joint for a straight, smooth line.
Finally, old caulk can hide problems. Mildew, water damage, and rotted wood often sit behind failing caulk around tubs, windows, and exterior trim. Removing the old caulk lets you find and fix these issues before you reseal. Our guide on how bad caulk can ruin great paint explains why caulk condition matters so much to a finished paint job.
“Pro Tip 1: Score Both Sides Before You Pull. Run your utility knife along both edges of the caulk line, holding the blade against the surface on each side. Cutting both sides first breaks the bond so the caulk comes out in long strips instead of tearing into small pieces. It also keeps you from pulling paint or drywall paper off the wall along with the caulk.”
What Tools Do You Need to Remove Old Caulk?
The right tools make removal faster and protect the surfaces around the joint.
- Utility Knife: A sharp blade cuts along the edges of the caulk line. Change blades often, since dull blades slip and gouge.
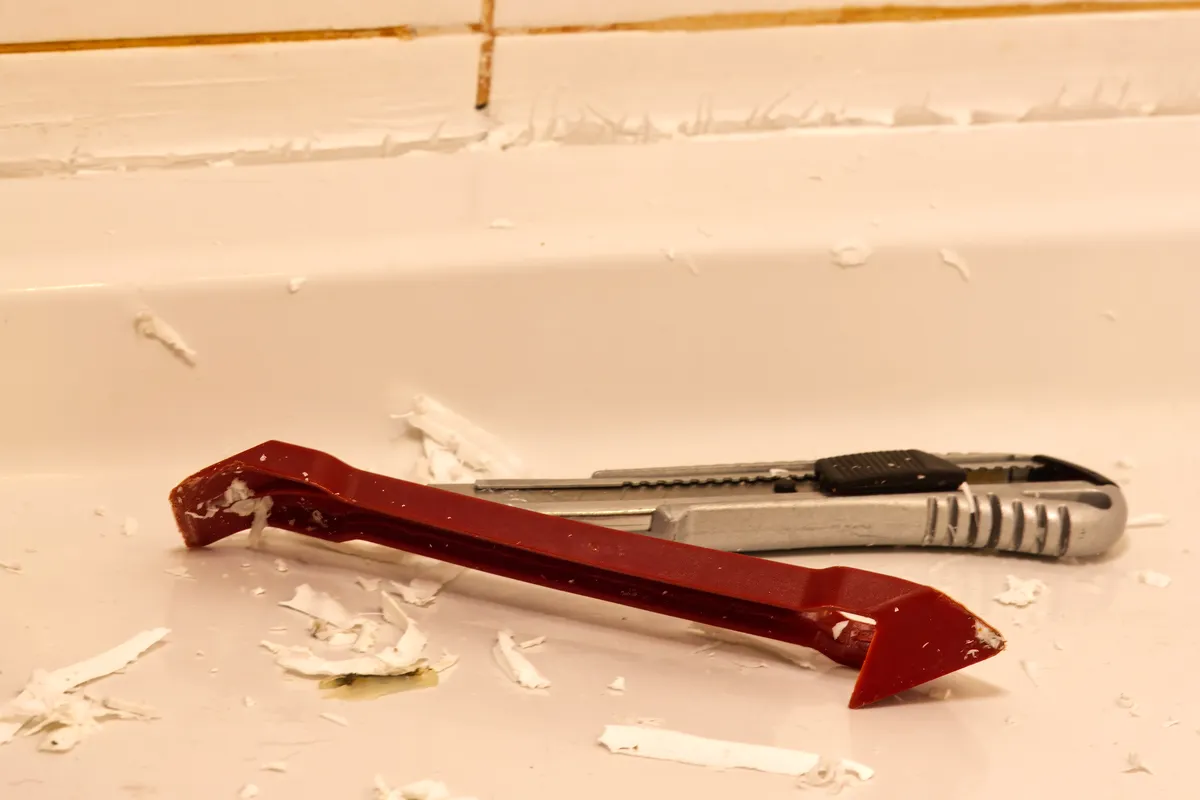
- 5-in-1 Tool: A painter's 5-in-1 tool scrapes old caulk out of joints and corners.
- Caulk Removal Tool: A plastic or hooked caulk remover helps pull caulk from tub and tile joints without scratching.
- Needle-Nose Pliers: Grip and pull long strips of caulk once they are loosened.
- Cleaning Supplies: Use a rag and a cleaner suited to the surface. Follow the caulk manufacturer's recommendation for removing residue.
- Painter's Tape: Tape both sides of the joint later for a clean new bead.
Caulk manufacturers like DAP publish surface prep and application instructions for each product, so check the label of your new caulk for any specific cleaning steps before you reseal.
Step-by-Step Guide on How to Remove Old Caulk
Follow this process to remove old caulk completely and prepare the joint for a fresh seal:
- Cut Along Both Sides: Carefully slice along each edge of the caulk line with a utility knife or 5-in-1 tool to release it from both surfaces.
- Scrape or Pull It Out: Use the 5-in-1 tool to lift the caulk, then pull it out in strips. Use pliers to grip stubborn sections.
- Remove Remaining Residue: Scrape away thin layers and leftover bits. Do not rush, since even small pieces can affect adhesion.
- Clean the Joint: Wipe the joint with a cleaner suited to the surface and the type of caulk you removed. Remove dust, soap scum, and mildew.
- Let It Dry Completely: The joint must be fully dry before new caulk is applied. Wet areas like tubs may need extra time.
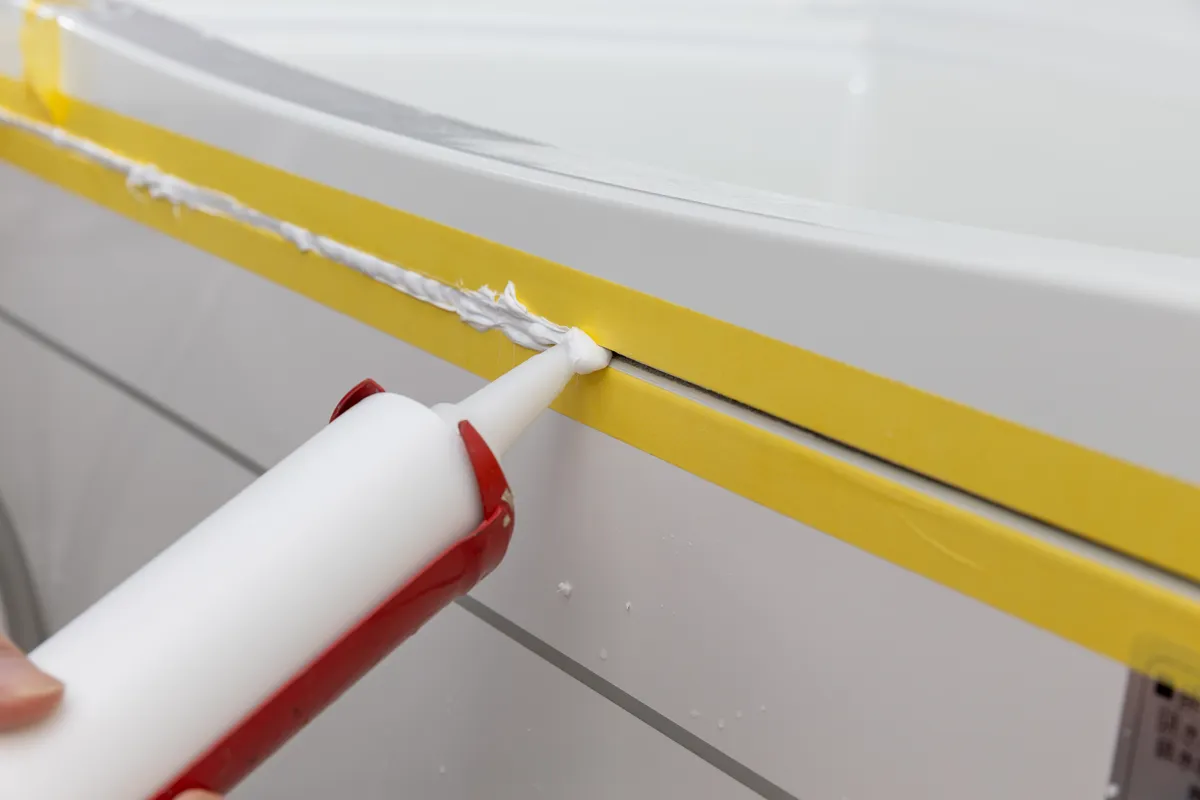
- Apply a Fresh Bead: Tape the edges if desired, apply new caulk, tool it smooth, and remove the tape while the caulk is still wet.
For help choosing your new product, read our guide on how to choose the right caulk for trim gaps and cracks. Once applied, our guide on how long caulk takes to dry explains when it is ready for paint.
Technical Comparison of Caulk Types and Removal Methods
This technical reference table summarizes how common caulk types behave during removal.
- Acrylic latex: Trim, baseboards, crown molding. Cut both sides, scrape out. Damp cloth, light scraping.
- Silicone: Tubs, showers, sinks, windows. Cut both sides, pull in strips. Remove all film, since paint and most caulk will not stick to it.
- Polyurethane: Exterior joints, siding, concrete. Cut and scrape firmly. Scrape thoroughly, follow label.
- Hybrid / siliconized acrylic: Interior and exterior trim. Cut both sides, scrape out. Damp cloth and scraping.
“Pro Tip 2: Get Every Trace of Silicone Out. Silicone caulk leaves a thin, invisible film that new caulk and paint will not bond to. After pulling out the bulk of old silicone, scrape the joint carefully and follow the new caulk manufacturer's directions for cleaning the surface. If water beads up on the area, silicone residue is probably still there.”
If mildew is present around tubs or windows, follow cleanup guidance from the U.S. Environmental Protection Agency (EPA), which notes that controlling moisture is key to controlling mold indoors.
What Are the Most Common Mistakes When Removing Old Caulk?
Avoiding these common DIY errors keeps your new caulk line clean and long lasting:
- Caulking Over Old Caulk: New caulk peels away quickly when applied over old, cracked material.
- Leaving Residue Behind: Even small leftover pieces can keep the new caulk from sealing properly.
- Gouging the Surface: Pressing too hard with a blade can damage trim, tile, or tubs.
- Caulking a Wet Joint: Moisture trapped under new caulk prevents adhesion and can lead to mildew.
- Ignoring Damage Behind the Caulk: Rot or water damage should be fixed before resealing.
“Pro Tip 3: Check Older Homes for Lead Before Scraping Painted Joints. In homes built before 1978, caulk lines along trim and windows are often painted over with lead-based paint. Scraping or cutting those joints can create lead dust. The U.S. Environmental Protection Agency (EPA) recommends testing older painted surfaces for lead and using lead-safe work practices before disturbing them.”
Answers to Common Questions About Removing Old Caulk
Can you put new caulk over old caulk?
It is not recommended. New caulk does not bond well to old, cracked, or dirty caulk, and the repair usually fails quickly. Removing the old caulk first gives the new bead a clean surface.
What is the best tool to remove old caulk?
A sharp utility knife and a 5-in-1 painter's tool work for most jobs. A plastic caulk removal tool helps on tubs and tile where you want to avoid scratches.
How do you remove silicone caulk residue?
Scrape away as much as possible, then follow the new caulk manufacturer's instructions for cleaning the surface. Silicone leaves a film that new caulk and paint will not stick to, so thorough cleanup matters.
How long should a joint dry before re-caulking?
The joint should be completely dry. Wet areas like tubs and showers may need several hours or longer after cleaning.
How often should caulk be replaced?
Replace caulk whenever it cracks, shrinks, pulls away, or shows mildew. Inspect exterior caulk and wet-area caulk at least once a year.
Ready for Professional Caulking and Painting?
Removing old caulk, repairing hidden damage, and running clean, straight beads take skill and patience. Let our experienced teams handle your project with our caulking services and interior painting services, safely and efficiently.
Note: Pricing estimates are based on 2026 regional averages. Every home is unique, and final quotes require an on-site assessment to account for material costs, prep work, and structural conditions.
Contact the team at That 1 Painter today to schedule your detailed, obligation-free on-site estimate, and enjoy clean, sealed joints throughout your home. Book Your Free Professional Estimate Now
