By Mary C.
To prep cabinets before painting, remove the doors, drawers, and hardware, label every piece so it goes back in the same spot, clean and degrease all surfaces, then scuff sand the existing finish and remove every trace of sanding dust. Only after those steps are done should primer and paint go on. Cabinet painting is all about the prep, and taking the time to do it correctly makes the biggest difference in how smooth and durable the finished result looks.
Kitchen cabinets take more abuse than almost any other painted surface in a home. They are opened and closed dozens of times a day, splashed with cooking oils, wiped with cleaners, and bumped by pots, shoes, and vacuum cleaners. A fresh coat of paint over dirty, glossy, or greasy cabinets will look good for a few weeks before it starts to chip and peel. Proper preparation is what allows primer and paint to bond tightly and hold up for years.
Regional climate, seasonal humidity, and the age of local housing stock heavily influence how cabinet prep should be handled. In humid Southern coastal climates, moisture in the air slows the drying of degreasers and primers, so doors need extra time and good airflow between steps. In high-altitude and arid Western regions, dry air speeds drying but can cause cleaners to flash off before they finish cutting grease, so work in small sections. In older Northern homes with freeze-thaw winters, cabinets are often finished with oil-based varnish or paint that requires a bonding primer, and garage prep areas must stay above the minimum temperature listed on the product label. Below is a complete step-by-step guide on how to prep cabinets before painting for a professional, long-lasting finish.
Quick Reference Summary for Cabinet Painting Prep
- First Step: Remove all doors, drawers, and hardware before any cleaning or sanding begins.
- Organization Rule: Number each door and its matching cabinet opening, and bag hardware in labeled bags.
- Cleaning Standard: Degrease every surface, since kitchen grease prevents primer from bonding.
- Sanding Goal: Scuff the existing finish to dull the sheen and remove loose or flaking material.
- Final Check: Remove all sanding dust before primer, using a vacuum and a tack cloth or damp microfiber cloth.
Why Is Prep the Most Important Part of Painting Cabinets?
Paint does not stick to grease, glossy finishes, or dust. Cabinets, especially in kitchens, collect a thin film of cooking oil, fingerprints, and grime that is often invisible until you wipe a white cloth across the surface. Paint applied over that film sits on top of it instead of bonding to the cabinet. The result is a finish that scratches with a fingernail and peels around handles and edges.
Most existing cabinets also have a factory finish or clear coat with a smooth, slick surface. Primer needs some tooth to grip. Scuff sanding gives the surface a fine texture that primer can lock into. Skipping this step is one of the most common reasons DIY cabinet paint jobs fail early.
Finally, prep is the time to fix problems you do not want to paint over. Loose veneer, dents, deep scratches, and old drips all show through new paint, especially in semi-gloss and satin sheens. Addressing them during prep keeps them from becoming permanent features of your new cabinets. For a deeper look at sanding, read our guide on whether you need to sand your cabinets before painting.
“Pro Tip 1: Label Everything as You Take It Apart. Number each cabinet door and drawer front with a small piece of painter's tape, then put the matching number inside the cabinet opening. Doors that look identical are rarely interchangeable, and hinges are adjusted to fit one specific opening. Labeling as you go is the easiest way to make reassembly fast and keep every door hanging straight.”
Surface preparation is a core part of the industry standards published by the Painting Contractors Association (PCA), and cabinet failures most often trace back to skipped cleaning or sanding.
How Do You Remove and Organize Cabinet Doors and Hardware?
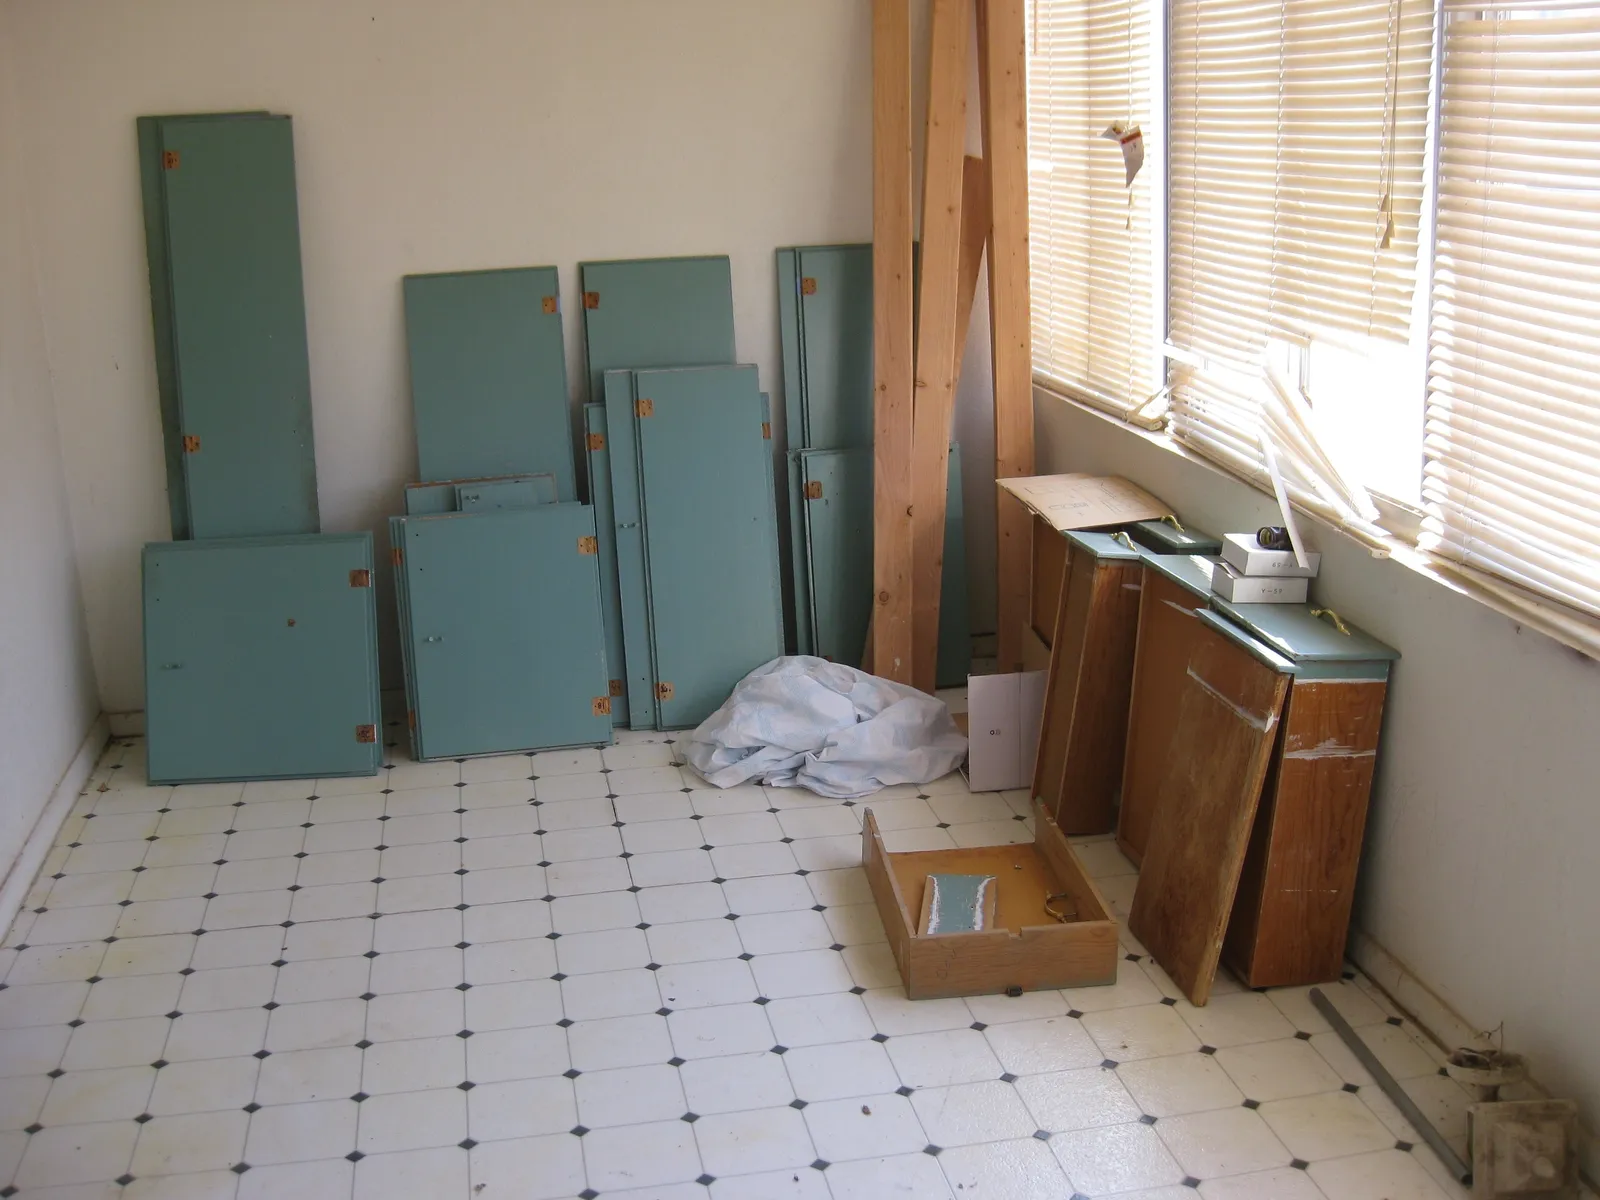
Taking cabinets apart is what allows you to prep and paint every surface properly. Painting doors in place leaves unpainted hinge areas, paint on hinges, and drips along edges. Follow this order to keep everything organized.
- Remove Doors and Drawers: Unscrew hinges from the cabinet boxes and pull out the drawers. Work one section at a time so the boxes stay organized.
- Remove All Hardware: Take off knobs, pulls, hinges, and any bumpers. Painting around hardware is slower and almost always looks less professional.
- Label Each Piece: Put a number on each door, drawer, and opening using painter's tape. Write the number on the tape in a spot that will not be painted, such as inside the hinge cup hole.
- Bag the Hardware: Keep screws and hardware organized in labeled zipper bags that match each door number so nothing gets lost during the project.
- Set Up a Work Area: Lay doors flat on painter's pyramids or sawhorses in a clean, ventilated space where they can stay for several days.
How Do You Clean and Degrease Cabinets Before Painting?
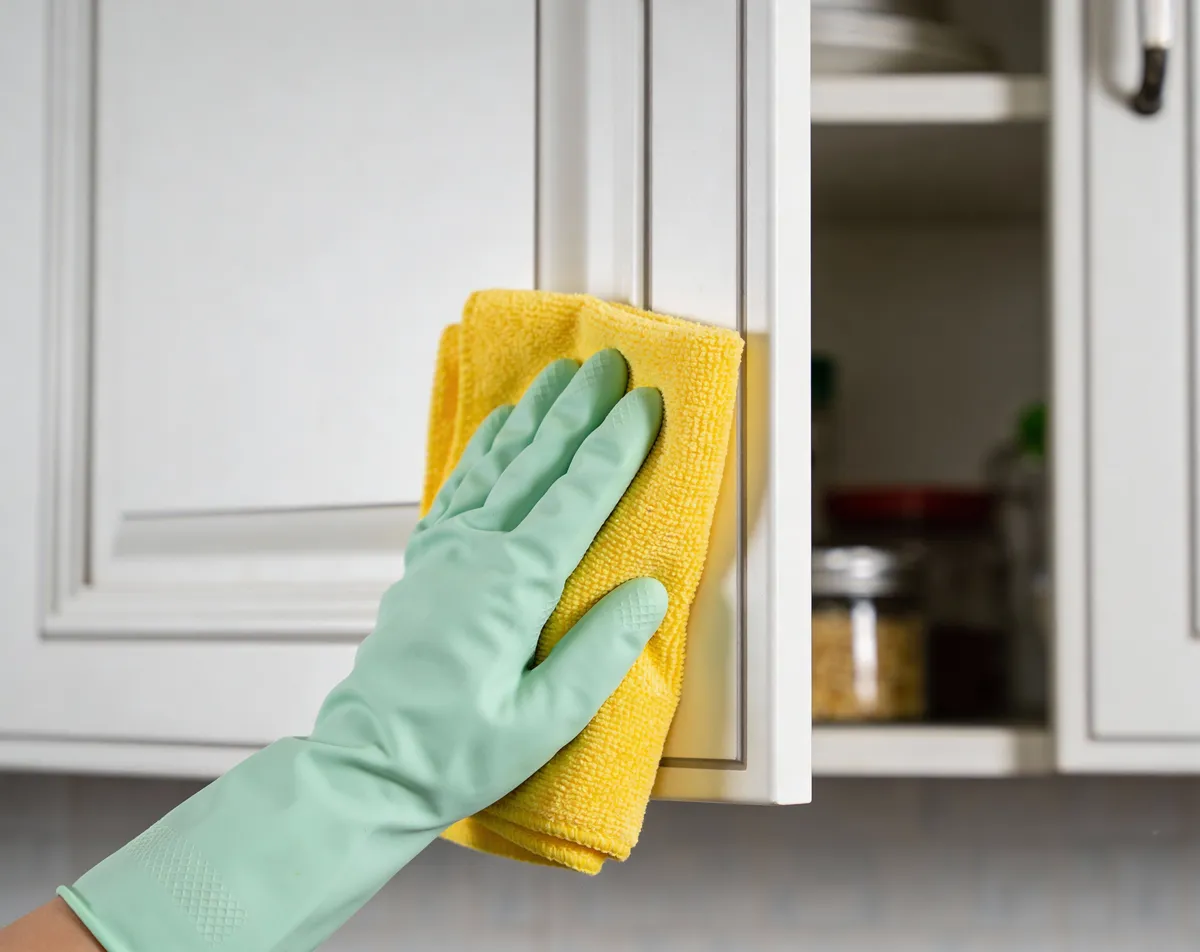
Cleaning is the most overlooked step in cabinet prep. Even cabinets that look clean often have a layer of cooking oil and hand oils near the handles and above the range. These areas are where paint fails first.
Use a dedicated degreaser made for pre-paint cleaning, or a mild detergent solution for lightly soiled cabinets. Scrub every surface, including edges, the backs of doors, and the face frames around the openings. Pay extra attention to the area around handles, the cabinets next to the stove, and the doors under the sink. Rinse with clean water if the product label calls for it, since leftover cleaner residue can also interfere with adhesion.
Let everything dry completely before sanding. Sanding damp or greasy cabinets just pushes the grease deeper into the wood grain and clogs the sandpaper. Our guide on how to clean walls before painting covers similar cleaning principles for other interior surfaces.
Technical Comparison of Cabinet Surfaces and Prep Methods
This technical reference table breaks down common cabinet surfaces and how each one should be prepared before primer.
- Stained and lacquered wood: Degreaser, then clean water rinse. Scuff sand with fine grit to dull the sheen. Bonding primer or stain-blocking primer.
- Previously painted (latex): Degreaser or mild detergent. Scuff sand, remove any peeling paint. High-adhesion latex primer.
- Previously painted (oil-based): Degreaser. Scuff sand thoroughly. Bonding primer made for glossy surfaces.
- Laminate or thermofoil: Degreaser. Light scuff only, avoid sanding through. Bonding primer rated for laminate.
- Raw or repaired wood: Wipe free of dust. Sand smooth, fill grain if needed. Stain-blocking primer.
If you are not sure what finish is on your cabinets now, read our guide on oil-based vs. water-based paint to learn how to test it. Choosing the right topcoat matters too, and our guide to the best paint for cabinets compares the most popular options.
How Do You Sand and Repair Cabinets Before Priming?
Once the cabinets are clean and dry, inspect the existing finish closely. Sanding is not about removing all of the old finish. It is about creating a dull, uniform surface that primer can grip.
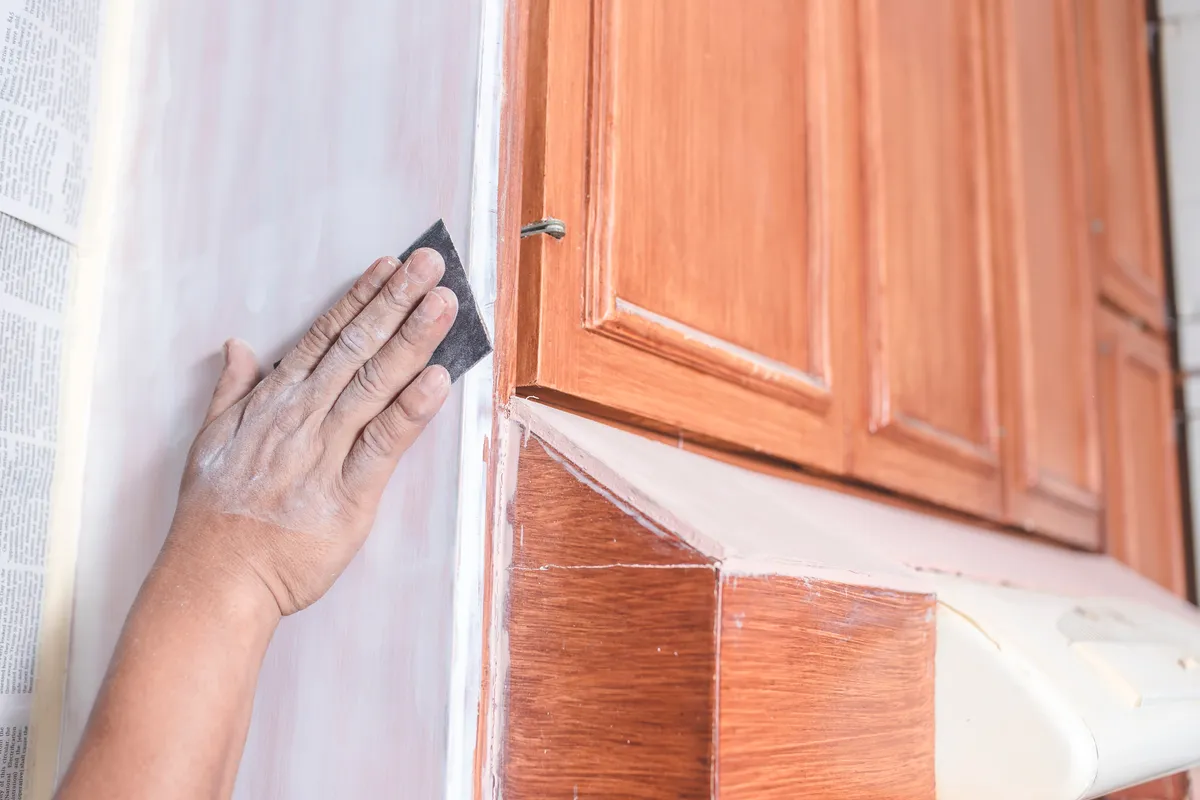
- Scuff Sand the Finish: Use a fine-grit sanding sponge or sandpaper to dull the sheen across every surface. Sanding sponges work well on profiled door edges and raised panels.
- Remove Loose Material: Scrape and sand away any loose or flaking paint, peeling clear coat, or lifted veneer until the edges are firm.
- Fill Dents and Holes: Fill dents, gouges, and old hardware holes with wood filler if you are changing hardware. Let it dry and sand it flush.
- Clean Off All Dust: Vacuum every surface with a brush attachment, then wipe with a tack cloth or slightly damp microfiber cloth. Dust left behind will show up as bumps in the finish.
“Pro Tip 2: Check Your Prep With Your Hand and a Light. After sanding and dust removal, run your hand lightly across each door and hold a work light at a low angle to the surface. Shiny spots mean the sheen has not been dulled enough, and rough or raised areas mean a filler or edge needs more sanding. It is much easier to fix these problems now than after primer goes on.”
Once prep is finished, the cabinets are ready for primer and paint. For the full painting process after prep, see our guide on how to paint cabinets like a pro.
If your cabinets were finished before 1978, the U.S. Environmental Protection Agency (EPA) requires lead-safe work practices from certified firms before sanding, and Occupational Safety and Health Administration (OSHA) recommends dust masks and eye protection when sanding indoors.
What Are the Most Common Cabinet Prep Mistakes?
Avoiding these common DIY errors keeps your new cabinet finish smooth and durable:
- Painting Doors on the Cabinets: Painting in place leaves missed spots behind hinges and paint on hardware.
- Skipping the Degreaser: Paint will not bond to cooking grease, even if the cabinets look clean.
- Not Labeling Doors: Unlabeled doors can take hours to sort out and may never hang perfectly again.
- Sanding Before Cleaning: Sanding greasy surfaces spreads grease into the wood and clogs sandpaper.
- Leaving Sanding Dust Behind: Dust trapped under primer creates a rough, gritty finish.
- Rushing Dry Times: Primer or paint applied over damp cleaner or filler can bubble or peel.
“Pro Tip 3: Test the Old Finish Before You Choose a Primer. Rub a small hidden spot on a cabinet with a cotton ball soaked in denatured alcohol. If the finish softens or comes off on the cotton, it is likely water-based or shellac. If nothing happens, it is likely oil-based or a hard lacquer that needs a bonding primer. Knowing what you are painting over helps you choose a primer that will actually stick.”
Answers to Common Questions About Prepping Cabinets for Paint
Do you have to remove cabinet doors to paint them?
Removing the doors is strongly recommended. It allows you to prep and paint every edge and the backs of the doors, keeps paint off hinges, and produces a smoother finish because doors can be painted flat.
What is the best cleaner to use before painting cabinets?
A degreaser made for pre-paint cleaning works best on kitchen cabinets. Follow the product label for dilution and rinsing. Lightly soiled cabinets in bathrooms or laundry rooms may only need a mild detergent.
Do you need to sand cabinets if you use a bonding primer?
A light scuff sand is still a good idea in most cases. Bonding primers are designed to grip slick surfaces, but scuffing improves adhesion and removes any loose material. Always follow the primer manufacturer's instructions.
How long does cabinet prep take?
For an average kitchen, removing, labeling, cleaning, sanding, and dust removal can take one to two full days. Larger kitchens, damaged cabinets, or cabinets with heavy grease buildup take longer.
Should you paint the inside of cabinet boxes?
It depends on the look you want. Many homeowners paint only the exterior face frames and the outside of the doors. If you plan to paint the interiors, prep them the same way.
Ready for Professional Cabinet Painting?
Removing, labeling, degreasing, sanding, priming, and spraying cabinets takes time, skill, and the right equipment. Let our experienced painting teams handle every step of your cabinet project safely, cleanly, and efficiently with our cabinet painting services.
Note: Pricing estimates are based on 2026 regional averages. Every home is unique, and final quotes require an on-site assessment to account for material costs, prep work, and structural conditions.
Contact the team at That 1 Painter today to schedule your detailed, obligation-free on-site estimate, and give your kitchen a smooth, durable new look. Book Your Free Professional Estimate Now
