By Robert R.
To clean walls before painting, dry dust the walls first, wash them with warm water or a degreaser, and let them dry completely before final surface prep. Most rooms only need warm water and a rag, while kitchens and high-traffic areas need a degreaser to cut oils and grime. After the walls dry, lightly sand where needed and wipe away the sanding dust. This three-step process gives new paint a clean surface to bond to, so the finish lasts.
Fresh paint can only stick to what it touches. If that is a film of dust, cooking grease, or hand oils, the paint bonds to the contamination instead of the wall. The most common mistake is skipping cleaning because walls look clean. Invisible residue still causes poor adhesion, fisheyes, peeling, and a finish that fails early.
Regional climate conditions, seasonal humidity, and local building materials heavily influence how walls should be cleaned and dried before painting. In humid Southern coastal climates, washed walls dry slowly, and trapped moisture can encourage mildew growth behind fresh paint, so allow extra drying time and run a fan or dehumidifier. In high-altitude or arid Western regions, fine dust from dry air settles quickly on walls and trim, making a thorough dry dusting step essential. In Northern properties subject to freeze-thaw cycles, closed-up winter homes collect heating soot and cooking residue, so degreasing is often needed in more rooms. Below is a complete technical guide detailing how to clean walls before painting for long-lasting results.
Quick Reference Summary for Cleaning Walls Before Painting
- Step One Rule: Dry dust walls first with a duster, rag, vacuum, or microfiber cloth to remove loose debris.
- Washing Standard: Use warm water and a rag for most rooms; use a degreaser in kitchens and high-traffic areas.
- Drying Requirement: Let walls dry fully before sanding, patching, priming, or painting.
- Final Prep: Lightly sand if needed, then wipe away dust again so the surface is clean.
- Why It Matters: Paint will not bond properly to a dirty wall, and the finish will not last.
Why Do You Need to Clean Walls Before Painting?
Walls collect more contamination than most homeowners realize. Dust settles on every surface and clings to textured drywall. Cooking vapors leave a thin layer of grease on kitchen walls and ceilings. Hands, pets, and furniture leave oils and scuffs along hallways, light switches, and door frames.
Paint needs direct contact with a sound surface to grip. When it lands on dust, the dust lifts away and takes the paint with it. When it lands on grease, water-based paint can bead up, crawl, or form small craters called fisheyes. Over time, poorly bonded paint peels, scrapes off easily, and shows stains bleeding through.
Cleaning also helps you see the real condition of the wall. Once grime is gone, nail holes, hairline cracks, and dents become easier to spot. If you find damage, review our guide on how to fill nail holes before painting walls before you start. For a broader look at the full process, start with furniture removal, drop cloths, and good lighting so you can see every flaw.
“Pro Tip 1: Use the Tape Test to Check for Residue. Press a strip of painter's tape firmly onto the wall and pull it off. If the tape comes away dusty or barely sticks, the wall needs more cleaning. Grease and dust that block tape adhesion will block paint adhesion too. Test several spots, especially near stoves, switches, and door handles.”
Surface preparation is a core part of the industry standards published by the Painting Contractors Association (PCA), since paint cannot bond to dirty or greasy walls.
How Do You Choose the Right Cleaning Method for Each Room?
Not every room needs the same level of cleaning. Matching the method to the room saves time and avoids leaving residue behind.
- Bedrooms, Living Rooms, and Low-Traffic Spaces: These rooms usually only need dry dusting followed by a wipe with warm water and a rag. Wring the rag out well so you are not soaking the drywall. Work top to bottom so drips land on areas you have not cleaned yet.
- Kitchens and Dining Areas: Kitchen walls collect airborne cooking grease, especially around the range, backsplash, and upper cabinets. Water alone smears grease instead of removing it. Use a degreaser made for pre-paint cleaning, following the label for dilution. Rinse with clean water afterward so no cleaner residue is left on the surface.
- Hallways, Entryways, and Kids' Rooms: High-traffic areas build up hand oils, scuff marks, and smudges at shoulder and hand height. Treat these areas like kitchens and use a degreaser on the dirtiest zones. Pay attention to the areas around light switches, door frames, and stair walls.
- Bathrooms and Laundry Rooms: Moisture-prone rooms can hide soap film and mildew. Clean soap residue with a degreaser and rinse well. If you see mildew spots, they must be treated and removed before painting. Read can you paint over mold or mildew for details.
Technical Comparison of Wall Cleaning Methods by Room
This technical reference table breaks down contamination type, cleaning method, and prep notes across common rooms.
- Bedrooms / Living Rooms: Dust, light smudges. Dry dust, then warm water and rag. Wring rag well; avoid soaking drywall.
- Kitchens: Cooking grease, smoke film. Dry dust, then degreaser and clean-water rinse. Focus on range wall and above cabinets.
- Hallways / Entryways: Hand oils, scuffs. Dry dust, then degreaser on dirty zones. Check switches, door frames, stair walls.
- Bathrooms / Laundry: Soap film, moisture, mildew. Degreaser, rinse, treat mildew separately. Dry thoroughly; ventilate during drying.
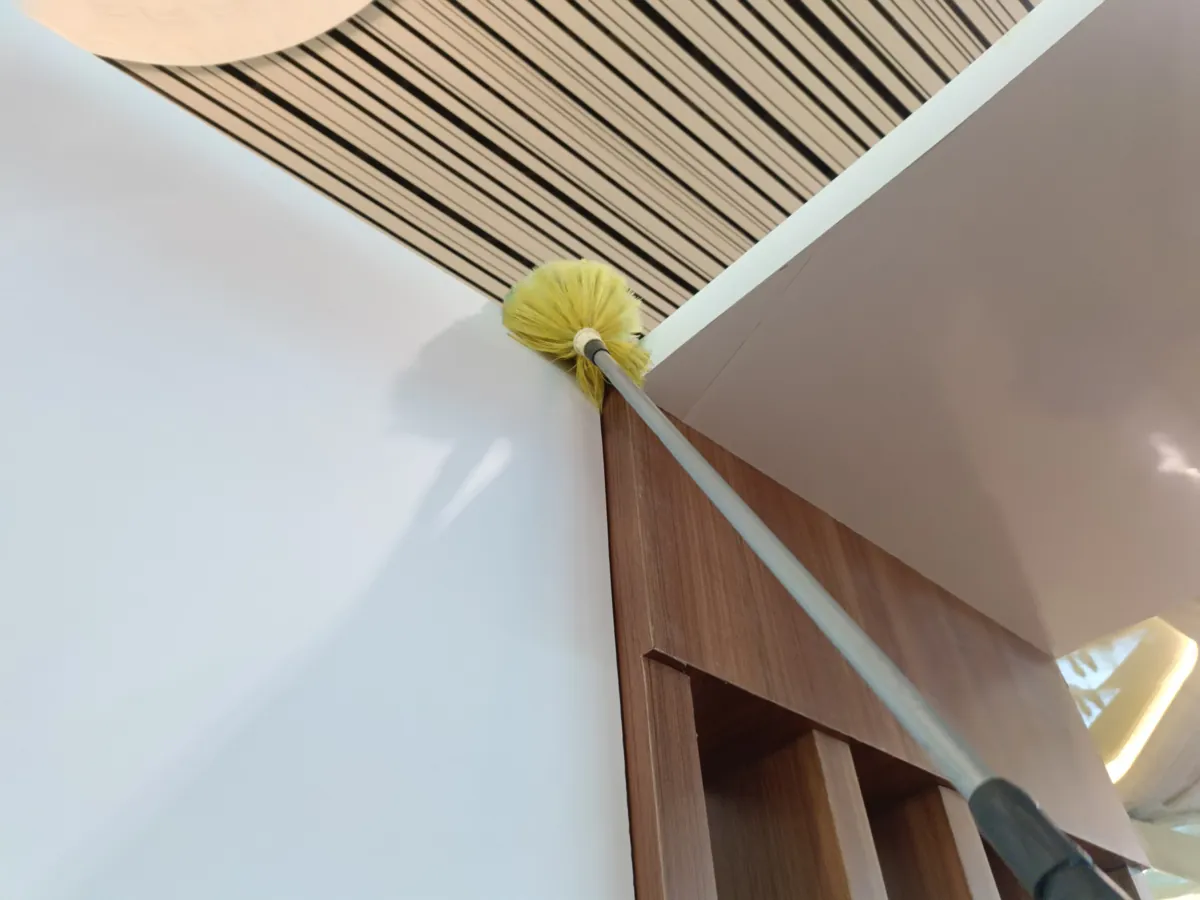
- Ceilings: Dust, cobwebs, kitchen grease. Dry dust with extension pole; degrease kitchen ceilings. Work in small sections to limit drips.
Step-by-Step Guide on How to Clean Walls Before Painting
Follow this professional process to give your new paint the clean, sound surface it needs:
- Protect the Room: Move furniture to the center of the room and lay drop cloths along the baseboards. Turn off power to outlets you will wipe around, or cover them.
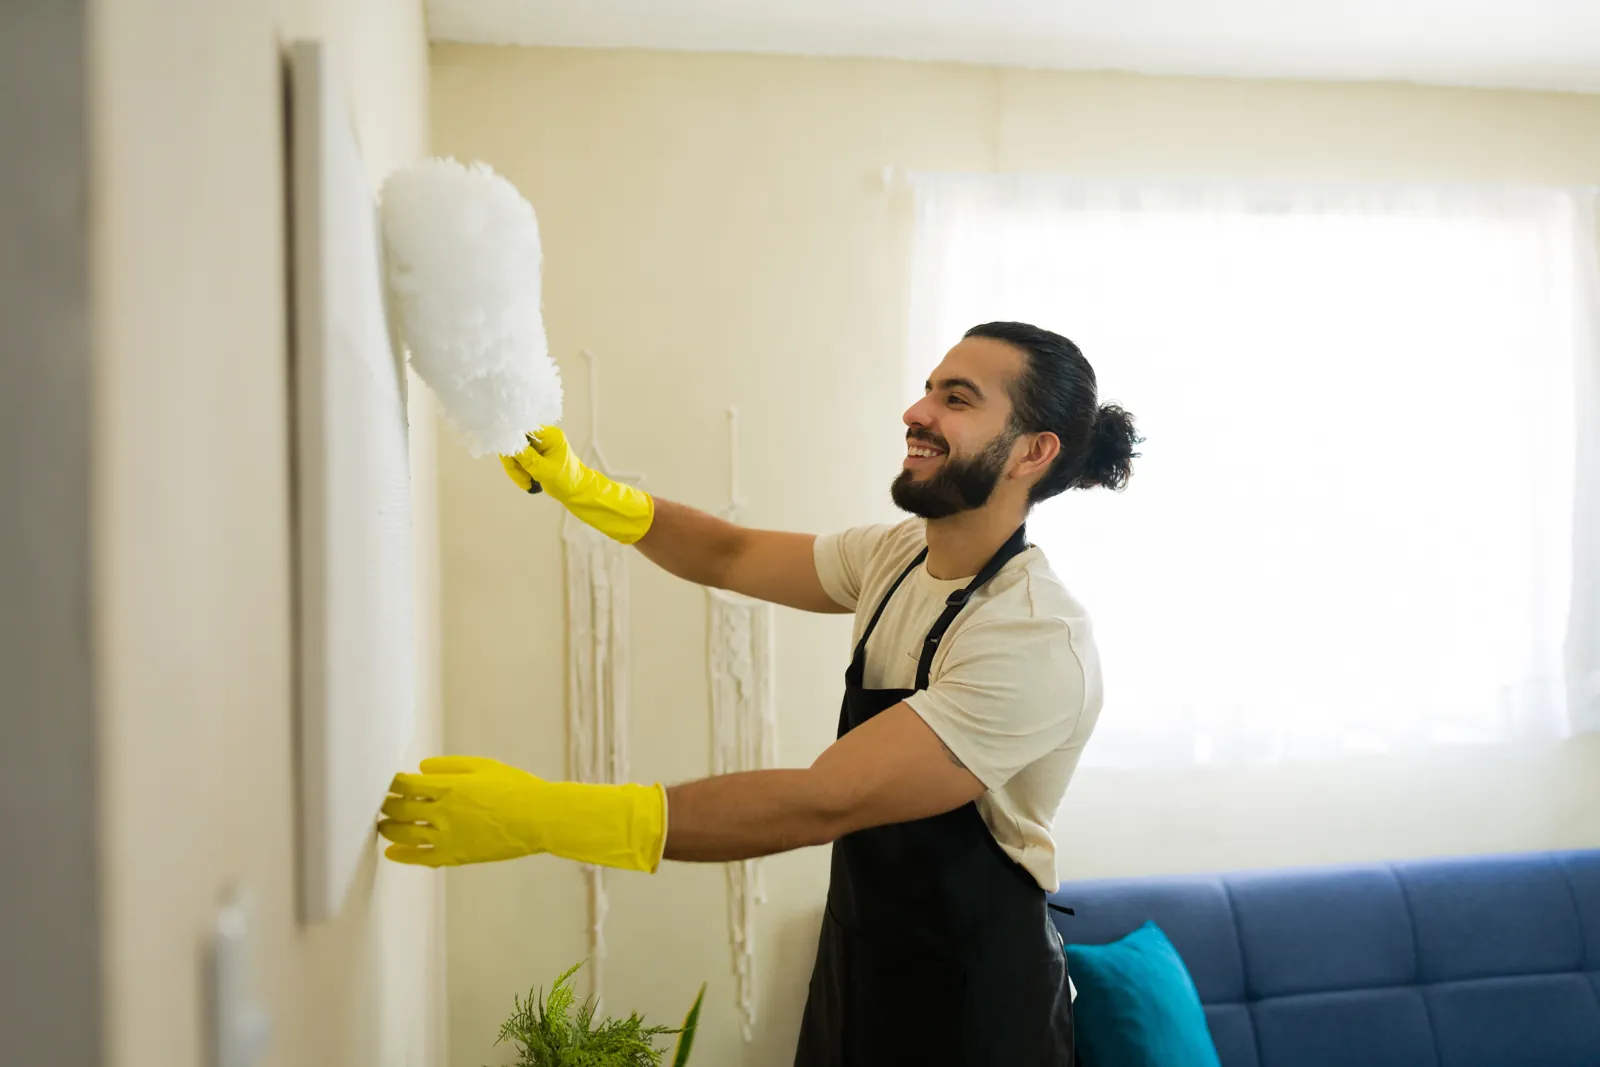
- Dry Dust the Walls First: Use a duster, rag, vacuum brush attachment, or microfiber cloth to remove loose dust and debris. Start at the ceiling line and work down to the baseboards.
- Wash the Walls: Wipe most walls with warm water and a well-wrung rag. Use a degreaser in kitchens and high-traffic areas to remove oils and grime. Rinse degreased areas with clean water.
- Let the Walls Fully Dry: Allow walls to dry completely before any further prep. Drying time varies with humidity and airflow. Fans and open windows help speed it up.
- Prep the Surface: Patch holes and cracks, then lightly sand patches, glossy areas, and rough spots. Our guide on what grit sandpaper to use for walls covers grit selection.
- Wipe the Dust Off Again: Remove sanding dust with a dry microfiber cloth or a slightly damp rag. Make sure the wall is clean and dry before you prime or paint.
“Pro Tip 2: Clean Top to Bottom, Rinse Bottom to Top. Wash walls from the top down so dirty water runs onto areas you have not cleaned yet. When rinsing degreaser, some painters work from the bottom up to avoid streaks forming on dry, dirty sections below. Either way, change your rinse water often. Dirty rinse water just spreads residue back onto the wall.”
If cleaning reveals cracks, water stains, or damaged drywall, our drywall repair services restore a smooth surface before painting. Pair repairs with our full interior painting services for a finish that lasts.
The U.S. Environmental Protection Agency (EPA) requires lead-safe work practices when contractors disturb painted surfaces in homes built before 1978, so test older walls before sanding.
When cleaning mold or mildew, follow the safety guidance from the Centers for Disease Control and Prevention (CDC), including gloves, eye protection, and good ventilation.
What Are the Most Common Wall Cleaning Mistakes Before Painting?
Avoiding these common DIY errors helps your new paint bond properly and last longer:
- Skipping the Dry Dusting Step: Washing dusty walls turns loose dust into muddy streaks that dry back onto the surface.
- Using Water on Greasy Kitchen Walls: Plain water spreads grease around instead of removing it. Kitchens need a degreaser.
- Leaving Cleaner Residue Behind: Degreaser left on the wall can interfere with adhesion. Always rinse with clean water.
- Painting Before Walls Are Dry: Moisture trapped under new paint can cause blistering, bubbling, and poor adhesion.
- Forgetting to Wipe After Sanding: Sanding dust left on the wall creates a gritty finish and weakens the paint bond.
“Pro Tip 3: Use a Bleach Dab to Tell Mildew From Dirt. Dark spots in bathrooms, closets, and corners can be either dirt or mildew, and they need different treatment. Put on gloves and dab a small amount of diluted household bleach on the spot with a cotton swab. If the spot lightens within a couple of minutes, it is mildew and should be cleaned with a mildew remover and allowed to dry fully before priming. If it stays dark, it is most likely dirt that regular washing will remove.”
Answers to Common Questions About Cleaning Walls Before Painting
Do you really need to wash walls before painting?
Most walls need at least dry dusting before painting. Kitchens, bathrooms, and high-traffic areas need a full wash because grease and oils block adhesion. Skipping this step is a leading cause of peeling and early paint failure.
What is the best thing to clean walls with before painting?
For most rooms, warm water and a clean rag are enough. For kitchens and high-traffic areas, use a degreaser designed for pre-paint cleaning. Always rinse degreaser off with clean water.
How long should walls dry after washing before painting?
Walls should be completely dry to the touch and to the eye before painting. In many homes this takes a few hours, but humid conditions can extend drying time. Running fans or a dehumidifier helps.
Can you just prime over dirty walls?
No, primer has the same adhesion needs as paint. Priming over grease or dust traps the contamination and can lead to peeling. Clean the wall first, then prime if the surface needs it.
Do I need to sand walls after cleaning?
Sanding is only needed in certain areas. Lightly sand patches, glossy spots, drips, and rough texture so the surface is smooth. Wipe away all sanding dust before you paint.
Ready for Professional Interior Prep and Painting Services?
Dusting, degreasing, patching, sanding, and painting take time and technical skill to get right. Let our experienced painting teams handle every prep step so your new finish bonds properly and lasts.
Note: Pricing estimates are based on 2026 regional averages. Every home is unique, and final quotes require an on-site assessment to account for material costs, prep work, and structural conditions.
Contact the team at That 1 Painter today to schedule your detailed, obligation-free on-site estimate, and give your walls a clean start and a lasting finish. Book Your Free Professional Estimate Now
