By Ben M.
How do you paint textured walls? Painting textured walls successfully requires selecting a thick 1/2-inch to 3/4-inch roller nap, using a high-adhesion latex primer on raw joint compound, maintaining a heavy wet edge, and back-rolling perpendicular to your initial application to push paint into deep recesses. Standard short 3/8-inch roller naps bridge over texture valleys, leaving thousands of microscopic unpainted pinholes that show up as shadow spots under indoor lighting. To achieve uniform coverage across orange peel, knockdown, or heavy hand-troweled plaster, load your roller fully without pressing heavily, and let the long woven fibers carry the wet paint into every groove. The simple answer is: match your roller nap thickness to the depth of the wall texture, keep a continuous wet edge, and back-roll carefully to eliminate missed pockets.
Quick Reference Summary for Painting Textured Walls
Wall texturing is common across American home building eras, but painting over uneven drywall joint compound presents unique coverage and sheen challenges. Surface depth creates shadows that alter how light reflects off eggshell and satin paint sheens. Regional housing trends and climate factors dictate how texturing materials absorb coatings and dry.
In humid Southern coastal regions, elevated indoor moisture slows paint drying over thick drywall mud, making proper primer selection critical to prevent joint flashing. In dry Western climates where heavy knockdown and orange peel textures dominate residential construction, rapid solvent evaporation can cause paint to skin over prematurely while rolling, leading to visible roller lap marks. In historic Northern properties with aged plaster or heavy slap-brush textures, cold winter indoor heating creates dry air conditions that draw moisture out of latex paint quickly, requiring modified rolling techniques to maintain a wet edge. Below is the step-by-step guide to painting textured walls like a professional painter.
- Light Texture (Orange Peel): Use a 1/2-inch microfiber or woven synthetic roller nap.
- Heavy Texture (Knockdown/Plaster): Use a 3/4-inch to 1-inch thick roller nap to reach deep pockets.
- Rolling Technique: Apply paint using "W" pattern passes, then back-roll vertically without reloading paint.
- Priming Rule: Apply a high-build PVA or latex masonry-style primer over raw joint compound patches before topcoating.
How Do You Paint Textured Walls?
Following a disciplined rolling process prevents missed spots and eliminates uneven sheen bands across raised surfaces.
Step 1: Cleaning and Vacuuming the Texture
Textured walls collect dust, cobwebs, and airborne grease along the top edges of bumps. Vacuum the wall using a soft brush attachment from ceiling to floor. Wipe down high-use areas near light switches with a damp microfiber cloth and a mild degreaser, taking care not to scrub soft joint compound.
Step 2: Patching and Spot Priming
Fill gouges or crack lines with lightweight joint compound, pressing it into the recess with a flexible putty knife. To match the surrounding texture, dab the damp patch lightly with a damp sponge or stipple brush before it dries. Once dry, apply a dedicated high-build primer over the patched areas to equalize surface absorption.
Step 3: Cutting In Around Trim and Corners
Use a 2.5-inch stiff angled sash brush to cut in along baseboards, ceiling lines, and corners. On heavy texture, dab or stipple the brush tip lightly into deep crevices rather than wiping it flat, which leaves unpainted gaps in the texture shadow. Work in 4-foot sections so your cut-in edges remain wet when rolling adjacent wall areas.
Step 4: Loading and Rolling the Texture
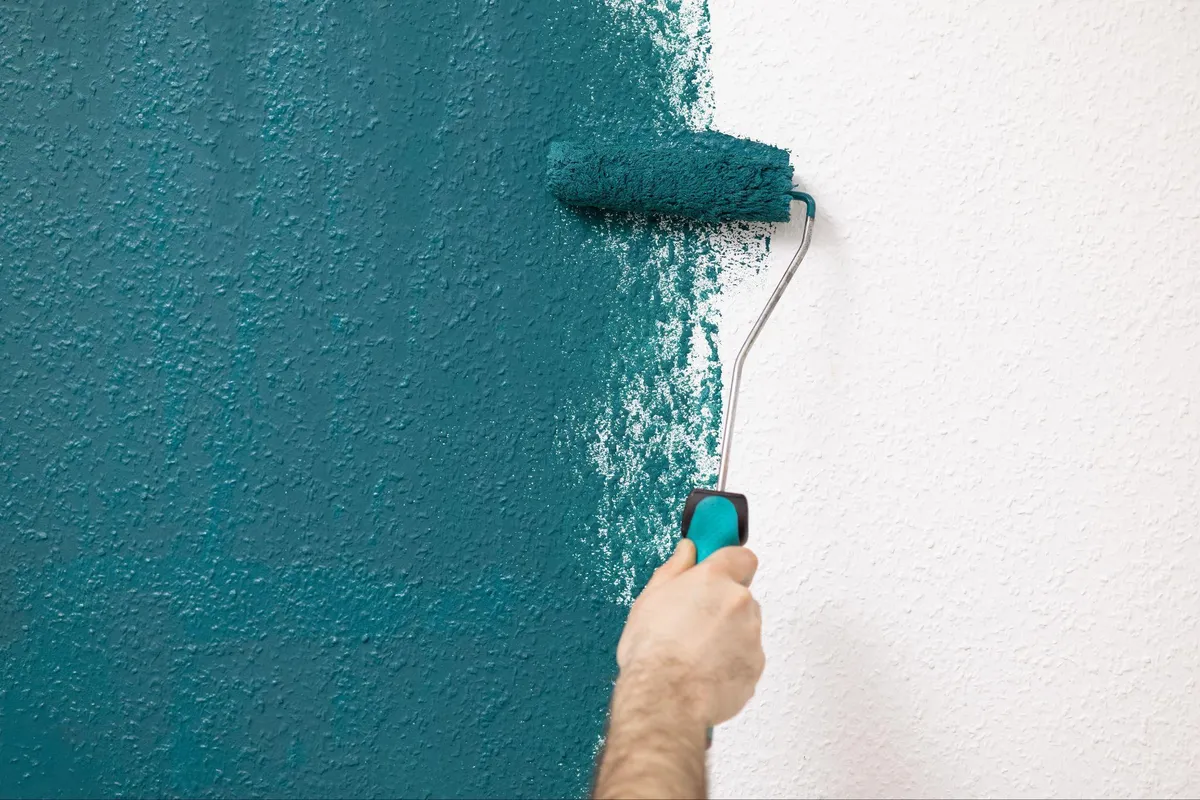
Pour paint into a deep roller tray or a 5-gallon bucket equipped with a roller grid. Dip a long-nap roller sleeve into the paint, rolling it along the grid to saturate the thick fibers fully without dripping. Apply the paint in a "W" pattern across a 3-foot by 3-foot wall section. Immediately back-roll the section in continuous floor-to-ceiling vertical passes using light pressure to push paint into the valleys and lay down uniform stipple.
What Roller Nap Size Should You Use for Textured Walls?
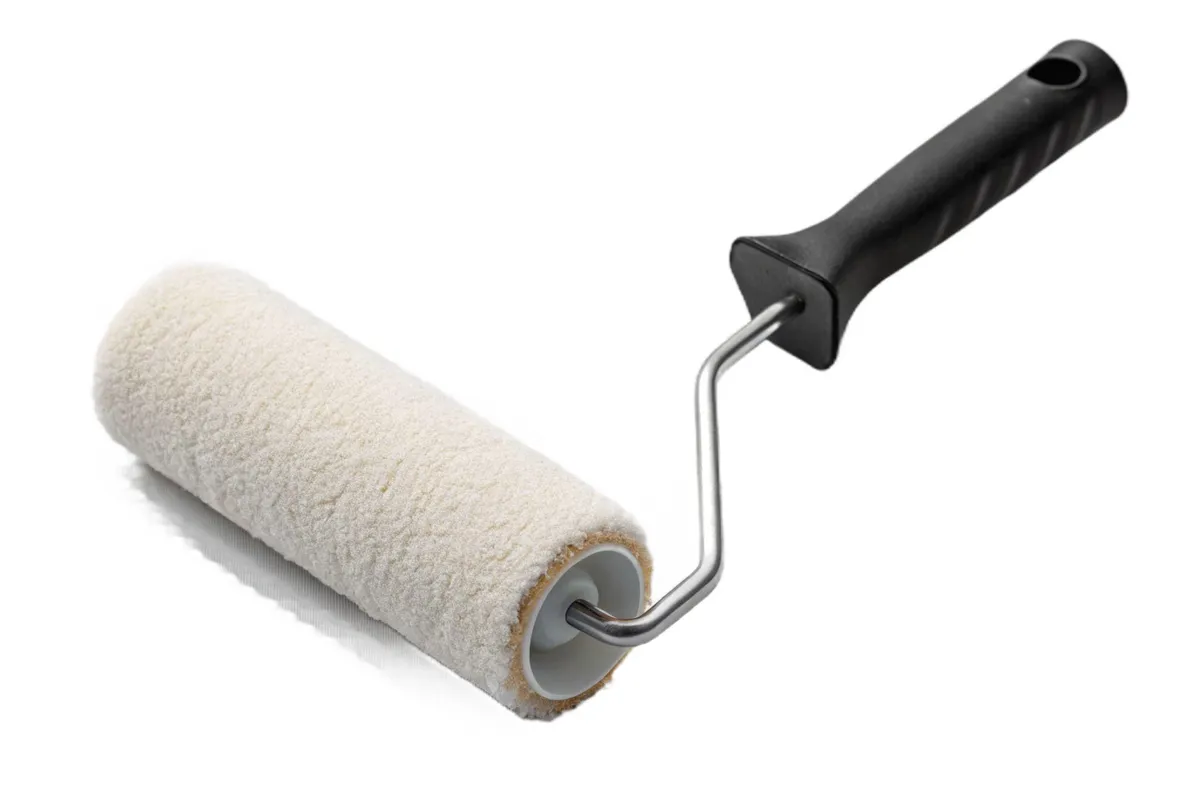
Choosing the correct roller cover thickness makes the difference between complete paint coverage and spotty paint application. Technical standards published by the Master Painters Institute (MPI) highlight how roller core diameter and pile height affect film build over irregular surfaces.
Short Nap (3/8-inch)
Designed exclusively for smooth, non-textured drywall and doors. Using a 3/8-inch nap on textured walls bridges over the valleys, leaving raw spots inside every texture crater.
Medium Nap (1/2-inch)
Ideal for light orange peel, fine sand finishes, and light skip-trowel drywall. The 1/2-inch fibers carry enough material to coat raised bumps while reaching shallow depressions.
Thick Nap (3/4-inch to 1-inch)
Mandatory for heavy knockdown, slap-brush, Spanish lace, and rough plaster surfaces. The long woven fibers compress into deep profile valleys, distributing paint evenly across high peaks and low crevices.
Industry research from the Paint & Decorating Retailers Association (PDRA) confirms that microfiber roller sleeves hold up to 30 percent more paint than standard polyester covers, making them ideal for heavy texture. If you are checking stored paints in your workspace before starting, read our guide on can you use old paint to verify that the paint resins have not separated.
“Pro Tip 1: Multi-Directional Cross-Hatch Back-Rolling. Heavy knockdown and skip-trowel textures contain directional overhangs that create blind spots under standard vertical rolling. To eliminate shadow pinholes, roll your first pass horizontally across a 3-foot section, forcing paint under the ridges. Immediately back-roll the wet section vertically from ceiling to floor using light roller pressure. This cross-hatch motion coats both sides of every texture peak without clogging the pattern.”
How Do You Prep Textured Walls for Painting?
Textured drywall mud is more porous and fragile than smooth drywall paper. Unsealed texture mud pulls liquid out of paint quickly, causing uneven color absorption known as banding or flashing.
Application specifications from Sherwin-Williams Technical Specifications recommend applying a high-build, latex-based wall primer over bare or repaired textured surfaces to lock down soft joint compound.
If your home renovation involves broad interior upgrades, combine wall painting with our interior house painting services or safeguard your exterior trim with our exterior house painting services.
“Pro Tip 2: Wet-Stipple Corner Blending on Heavy Plaster. When cutting in corners on heavy hand-troweled or swirl-textured walls, a standard brush leaves flat brush marks that contrast sharply with adjacent roller stipple. To blend the corner seamlessly, use a 2-inch mini roller with a matching 3/4-inch nap height immediately after brushing. Roll right into the wet corner seam over your brush marks to lay down a matching texture pattern across the joint.”
Textured Wall Roller Nap and Primer Selection Matrix
This reference table outlines roller nap choices, primer needs, and topcoat selections across common wall texture profiles.
- Light Orange Peel: 1/2-inch microfiber or woven roller nap; spot prime raw patches; flat, eggshell, or satin topcoat.
- Medium Knockdown: 3/4-inch heavy-duty woven roller nap; high-build latex primer; matte or low-luster latex topcoat.
- Slap-Brush / Stipple: 3/4-inch to 1-inch microfiber roller nap; full coat of alkali-resistant primer; flat or velvet sheen topcoat.
- Acoustic Popcorn: spray application or 3/4-inch foam roller; stain-blocking oil/stain primer; flat ceiling latex topcoat.
If your wall prep requires removing old acoustic popcorn ceiling texture or repairing water-damaged drywall joints, explore our drywall repair services. For overall home color continuity, review our feature on what is color drenching.
If your home maintenance extends to masonry or interior woodwork, read our articles on can you clean limewashed brick and painting cabinets with doors. Learn more about our national service standards through That 1 Painter.
“Pro Tip 3: Anti-Softening Spray Primer on Raw Drywall Mud. Water-based latex primers can soften raw drywall joint compound on heavy hand-troweled textures if applied too thick, causing the texture ridges to sag or crumble during rolling. When priming raw, unpainted textured drywall, spray apply a light coat of fast-drying shellac or oil-based stain-blocking primer, or apply a low-moisture acrylic sealing primer. This seals the mud instantly without re-wetting the water-soluble joint compound underneath.”
Answers to Common Questions About Painting Textured Walls
What is the best paint finish for textured walls?
Flat, matte, or eggshell sheens are the best finishes for textured walls. High-gloss and semi-gloss paints reflect light sharply off raised ridges and deep valleys, creating glare and accentuating uneven wall patches. Flat and matte sheens absorb light, softening texture shadows and creating a smooth, uniform room appearance.
Can you spray paint textured walls instead of rolling them?
Yes, using an airless paint sprayer is an effective way to paint textured walls, especially heavy knockdown or popcorn surfaces. However, you should back-roll the wet paint immediately behind the sprayer using a 3/4-inch roller nap to force the atomized paint into deep texture recesses and ensure strong mechanical bonding.
Why are there white pinholes visible after painting my textured walls?
White pinholes occur when paint bridges over deep texture valleys without filling them. This happens when using a roller nap that is too short (such as 3/8-inch), failing to load enough paint onto the roller sleeve, or pressing too hard on the roller frame instead of letting the long fibers lay paint into the crevices.
How do you paint over heavy knockdown texture without flattening it?
To maintain the shape of heavy knockdown texture, avoid using heavy oil-based spackle over broad areas, and do not press hard on your paint roller. Use a 3/4-inch soft microfiber roller sleeve fully loaded with paint, applying moderate pressure so the long fibers coat the valleys without build-up over high peaks.
Do textured walls require more paint than smooth walls?
Yes, textured walls require 15 to 25 percent more paint than smooth walls because the peaks and valleys increase the total surface area. While a gallon of paint covers roughly 350 to 400 square feet of smooth drywall, that same gallon will cover only 250 to 300 square feet over heavy knockdown or stucco-style textures.
Ready for Professional Interior Wall Transformation?
Painting textured walls requires the right tools, careful roller control, and precise primer applications to deliver uniform color without pinholes or roller marks. Let our skilled painting crews manage your interior projects with professional precision and clean paint lines throughout.
Note: Pricing estimates are based on 2026 regional averages. Every home is unique, and final quotes require an on-site assessment to account for material costs, prep work, and structural conditions.
Contact the team at That 1 Painter today to schedule your detailed, obligation-free on-site estimate, and bring stunning new finish quality to your home's walls. Book Your Free Professional Estimate Now
