By Mary C.
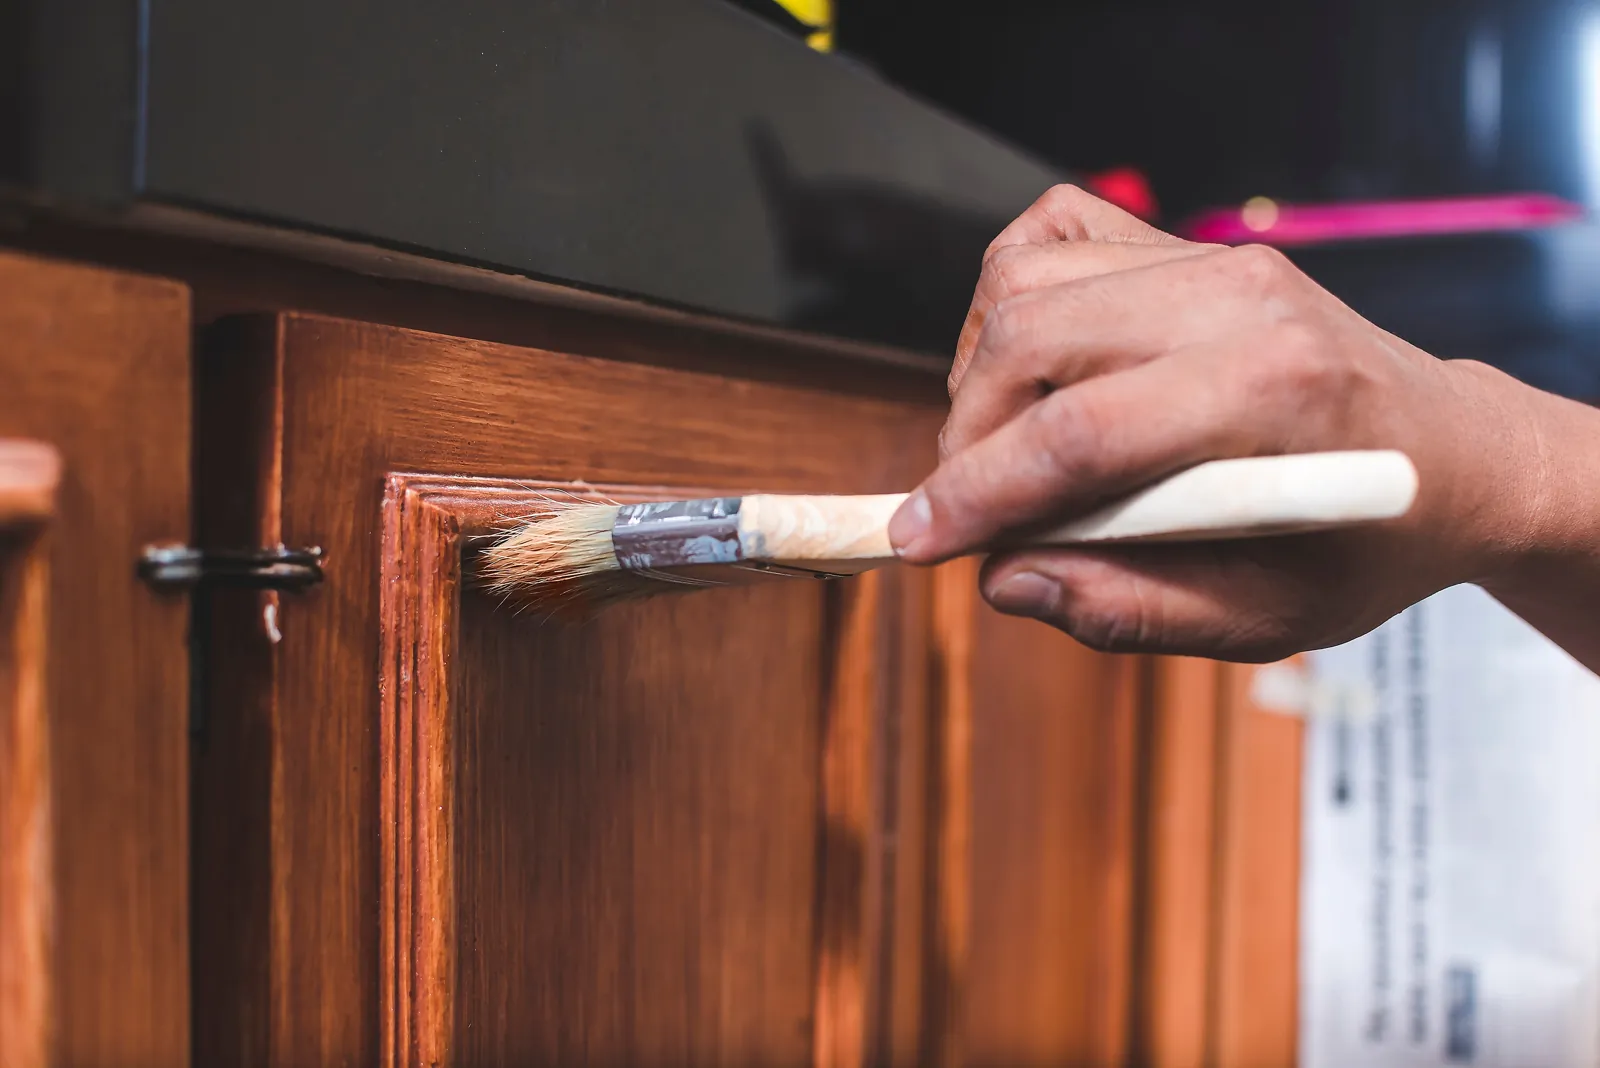
Yes, you can paint stained wood, but only if you prep it correctly. Stained wood is usually sealed with a clear topcoat that is slick, so paint will not bond well without sanding. The proven process is to scuff sand, clean thoroughly, apply a high-quality stain-blocking primer, and finish with two thin coats of durable paint. Skip the sanding or the stain-blocking primer, and peeling and bleed-through are almost guaranteed.
Stained cabinets, trim, doors, and paneling are among the most common surfaces homeowners want to update. Painting them is far cheaper than replacing them, and the results can look custom. The problem is that most DIY failures happen in the first hour of prep. Paint applied straight over glossy varnish or polyurethane can scratch off with a fingernail within weeks.
Regional weather, humidity, and local building materials shape how stained wood accepts primer and paint. In humid Southern coastal climates, moisture swells wood fibers and can drive tannins toward the surface, so a dependable stain-blocking primer is essential. In high-altitude or arid Western regions, dry air shrinks wood and opens joints, so seams and cracks need caulk or filler before painting. In Northern freeze-thaw regions, exterior stained trim and doors expand and contract through winter, so flexible, high-quality topcoats matter. Below is a complete technical guide to painting stained wood for a long-lasting finish.
Quick Reference Summary for Painting Stained Wood
- Core Answer: Stained wood can be painted when the sealed surface is scuff sanded, cleaned, and primed first.
- Sanding Rule: Scuff sand the entire surface with sanding blocks or a sander to dull the sheen; you do not need to strip to bare wood.
- Critical Step: Use a high-quality stain-blocking primer to stop stain and tannin bleed-through and improve long-term adhesion.
- Finish Coats: Apply two thin coats of a durable, high-quality paint rather than one heavy coat.
- Failure Warning: Skipping sanding or stain-blocking primer leads to peeling and bleed-through.
Why Does Stained Wood Need Special Prep Before Painting?
Most stained wood is not just stained. After the stain soaks in, manufacturers and finishers usually add a clear protective coat. That coat might be lacquer, varnish, or polyurethane. It is designed to repel water, grease, and dirt, which means it also repels new paint.
Paint needs a dull, slightly rough surface to grip. A slick clear coat gives it nothing to hold. The result is weak adhesion that shows up as chipping, scratching, and peeling, especially on cabinet doors and handrails.
The second problem is bleed-through. Wood stain contains dyes and pigments, and many woods contain natural tannins. Water-based paint can draw those compounds to the surface. They show up as yellow, pink, or brown blotches, sometimes days after painting. To understand the full range of primer options, read our guide to specialty primers.
“Pro Tip 1: Do a Quick Adhesion Check First. Before painting a full set of cabinets or trim, prime and paint a hidden test area. After it cures for several days, press painter's tape onto the area and pull it off sharply. If paint lifts, your sanding or cleaning needs more attention.”
Gel stains and oil-based stains used without a topcoat bring a different challenge. The wood may feel dull, but the stain still contains oils and dyes near the surface. These finishes are some of the most likely to bleed. They still need a light scuff, a thorough cleaning, and a strong stain-blocking primer.
Older homes add one more consideration. Trim and doors finished before 1978 may have lead in the original coatings beneath the stain or varnish. Test before sanding, and follow lead-safe work practices if results are positive.
The USDA Forest Products Laboratory publishes detailed guidance on how wood finishes perform, including why sealed or stained surfaces need proper prep before paint.
How Do You Prepare Stained Wood for Paint?
Proper preparation follows a specific order. Each step builds on the one before it.
- Remove Hardware and Doors: Take off knobs, pulls, hinges, and cabinet doors. Label each piece so it goes back in the same spot. Working flat reduces drips and runs.
- Clean Off Grease and Grime: Kitchen and bathroom woodwork carry grease, soap film, and hand oils. Wash with a degreasing cleaner, rinse with clean water, and let the wood dry fully. Sanding over grease only spreads it into the scratches.
- Scuff Sand the Entire Surface: Use sanding blocks, sanding sponges, or an orbital sander to dull the clear coat. A medium-fine grit such as 120 to 180 works well for most finishes. You are creating a "tooth," not removing the stain. For grit guidance, read our article on what grit sandpaper to use.
- Remove All Sanding Dust: Vacuum every surface, then wipe with a damp microfiber cloth or tack cloth. Dust left behind creates gritty texture and weakens primer adhesion.
- Fill and Caulk: Fill dents and nail holes with wood filler and sand flush. Caulk open seams on trim and paneling with paintable acrylic caulk.
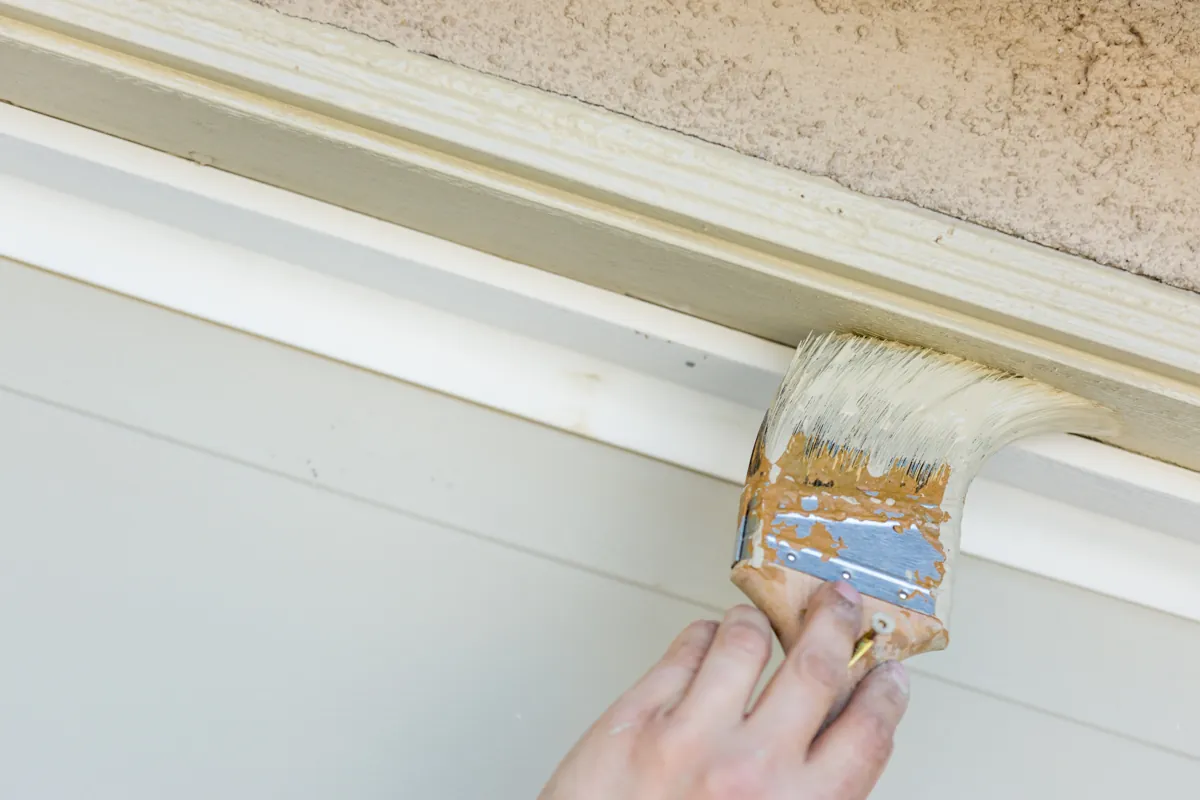
Some homeowners ask whether liquid deglossers can replace sanding. Deglossers soften and dull the surface chemically, and they can help on detailed profiles that are hard to sand. Professionals still pair them with at least a light scuff on flat surfaces. Sanding gives a consistent, visible result you can check by eye and by touch.
If your woodwork was finished before 1978, the U.S. Environmental Protection Agency (EPA) requires lead-safe work practices from certified firms before sanding.
Technical Comparison of Primers for Stained Wood
This reference table compares common stain-blocking primer types for painting over stained wood.
- Oil-based stain-blocking primer: Excellent. Interior and many exterior wood surfaces. Mineral spirits. Stronger odor; longer dry time.
- Shellac-based primer: Excellent. Interior only, spot priming knots and stains. Denatured alcohol. Very fast drying; strong fumes.
- Water-based stain-blocking primer: Good to very good. Interior, light stains. Water. Low odor; may need two coats on heavy tannins.
- Standard latex primer: Poor. Not recommended over stained wood. Water. Tannins and stain often bleed through.
How Do You Paint Stained Wood Step by Step?
After prep, follow this professional application sequence:
- Apply Stain-Blocking Primer: Brush or roll a high-quality stain-blocking primer over every surface. Work it into profiles and corners without leaving heavy buildup. Ask the paint store to tint the primer toward your topcoat color when covering dark stain.
- Inspect for Bleed-Through: Once dry, look for yellow or brown spots showing through. Spot-prime those areas again before moving on.
- Lightly Sand the Primer: Smooth the dried primer with fine-grit sandpaper, around 220 grit, to knock down raised grain and dust nibs. Remove all dust.
- Apply the First Thin Coat: Use a durable, high-quality paint, such as a waterborne alkyd or urethane-modified enamel for cabinets and trim. Apply thin, even coats with a quality brush or fine-finish roller.
- Apply the Second Thin Coat: Wait for the recoat time on the label, then apply the second coat. Two thin coats level better and cure harder than one heavy coat.
- Allow Full Cure Before Heavy Use: Paint can feel dry within hours but takes much longer to cure hard. Treat cabinets and doors gently for the first few weeks.
“Pro Tip 2: Spot-Prime Knots With Shellac. Knots in pine and other softwoods hold concentrated resin that can bleed through almost anything. Spot-prime visible knots with a shellac-based primer before your full primer coat. It locks in resin and stops the yellow rings that appear months later.”
For a full cabinet walkthrough, read our guide on how to paint cabinets like a pro.
Oil-based and shellac primers release strong fumes, so follow Occupational Safety and Health Administration (OSHA) guidance on ventilation and respiratory protection.
What Are the Most Common Mistakes When Painting Stained Wood?
Avoiding these errors protects your finish from early failure:
- Skipping the Sanding: Paint over glossy varnish or polyurethane has no grip and will peel or scratch off.
- Using Standard Latex Primer: Ordinary primer does not block stain or tannins, which leads to blotchy bleed-through.
- Painting Over Grease: Kitchen grease and hand oils prevent bonding even after sanding. Degrease first.
- Applying Thick Coats: Heavy coats sag, drip, and stay soft longer. Two thin coats always perform better.
- Rushing Reassembly: Rehanging doors and reinstalling hardware too soon can stick, dent, or mark the fresh paint.
“Pro Tip 3: Fill Open Oak Grain If You Want a Smooth Look. Oak has deep, open grain that shows through paint as a textured pattern. If you want a smooth, factory-style finish, apply a grain filler after cleaning and sanding, or build up two coats of a high-build primer and sand between them. Skip this step only if you like the visible grain texture under the paint.”
Answers to Common Questions About Painting Stained Wood
Do you have to sand stained wood before painting?
Yes, in most cases. Stained wood is usually sealed with a slick clear coat. Scuff sanding dulls that surface so primer and paint can bond.
What is the best primer for stained wood?
A high-quality stain-blocking primer is the best choice. Oil-based and shellac-based primers offer the strongest stain and tannin blocking, while some water-based stain blockers work on lighter stains.
Why is stain bleeding through my paint?
Stain dyes and natural wood tannins can migrate through water-based paint. This usually happens when the primer was skipped or was not a stain-blocking formula. Spot-prime with a stain-blocking primer and repaint.
How many coats of paint do you need over stained wood?
Plan on one coat of stain-blocking primer and two thin coats of paint. Dark stains or heavy tannins may need a second primer coat in problem areas. Very dark stains under a light paint color may also need a tinted primer for full hide.
Can you paint stained exterior wood?
Yes, with the same prep principles. Clean, scuff sand, use an exterior-rated primer, and finish with a quality exterior paint. Shellac-based primers are generally limited to interior or spot use.
Coating manufacturers' technical data sheets (TDS) list the approved substrates, sanding requirements, and recoat times for each stain-blocking primer.
Ready for Professional Cabinet and Woodwork Painting?
Sanding sealed finishes, blocking tannins, and applying smooth enamel coats require technical skill and patience. Let our experienced teams handle your cabinet painting or interior painting project with a primer system built for stained wood.
Note: Pricing estimates are based on 2026 regional averages. Every home is unique, and final quotes require an on-site assessment to account for material costs, prep work, and structural conditions.
Contact the team at That 1 Painter today to schedule your detailed, obligation-free on-site estimate, and turn dated stained wood into a clean, durable painted finish. Book Your Free Professional Estimate Now
