By The That 1 Painter Team
If you have ever stood in the sanding aisle staring at 60, 80, 100, 120, 150, and 220 grit sandpaper and asking “what grit sandpaper do I use?”, you are not alone. Most homeowners assume sanding is just “making it smooth,” but the real purpose depends on what you are trying to fix.
Overview
Some sanding is aggressive and meant to remove damage. Some sanding is just to scuff a surface so paint will stick. And some sanding is the final step that separates a rough DIY finish from a smooth professional look.
The good news is this: you do not need every grit on the shelf. Most paint projects fall into a small range, and once you understand what each grit does, choosing becomes easy.
Quick Reference: Best Sandpaper Grit for Painting
Here is the simple breakdown most homeowners need:
80 grit: Heavy removal, damaged surfaces, thick paint buildup 100 grit: Medium removal, rough scuffing, worn surfaces 120 grit: Prep sanding, knocking down edges, common starting point 180 grit: Finish sanding, smoothing before paint, final pass
If you only buy two, get 120 and 180. That combination covers most paint prep.
What Sandpaper Grit Means (In Plain English)
Sandpaper grit is a measurement of how rough the paper is.
- Lower number = rougher and more aggressive
- Higher number = smoother and less aggressive
So 80 grit cuts fast and leaves scratches. 180 grit cuts slower and leaves a smoother surface.
The trick is choosing the grit that matches your surface condition. If you start too aggressive, you create deep scratches that show through paint. If you start too fine, you waste time sanding without actually fixing the problem.
When to Use 80 Grit Sandpaper
80 grit sandpaper is aggressive. This is not a “light scuff” grit. This is what you use when the surface is rough enough that it needs real correction.
Use 80 grit sandpaper when you are dealing with:
- Thick old paint buildup
- Heavy peeling paint
- Damaged wood
- Deep surface texture that needs flattening
- Raised edges from bubbling paint
- Old paint runs or drips you want to remove
If the surface looks like it has multiple layers of paint and feels uneven, 80 grit is the fastest way to knock it down.
Important warning: 80 grit can gouge wood quickly. If you use it, you usually need to follow it with a finer grit afterward.
When to Use 100 Grit Sandpaper
100 grit sandpaper is the “middle ground.” It is still rough enough to remove material, but not as aggressive as 80.
Use 100 grit when:
- The surface is worn but not destroyed
- You want to scuff a glossy surface more aggressively
- You are smoothing peeling edges without digging too deep
- You want to remove old texture but keep control
100 grit is a good choice when the surface needs serious prep, but you do not want to risk chewing it up.
When to Use 120 Grit Sandpaper
120 grit is one of the most useful sandpaper grits for painting. This is where most projects start.
Use 120 grit sandpaper when:
- You are scuff sanding before repainting
- You are knocking down hard edges on peeling paint
- You are sanding patched drywall
- You are smoothing wood trim before priming
- You are dulling glossy paint so primer bonds better
For most interior repainting, 120 grit is the workhorse grit. It is aggressive enough to create adhesion, but fine enough to avoid deep scratches.
If you want a safe “default grit,” this is it.
When to Use 180 Grit Sandpaper
180 grit is your finishing grit. This is what you use when the surface is already close, but you want it smooth before priming or painting.
Use 180 grit sandpaper when:
- You want to smooth out sanding marks from 80 or 100 grit
- You are finishing after 120 grit prep
- You are sanding primer coats for a smoother topcoat
- You are prepping trim for a cleaner enamel finish
- You want to remove roughness without reshaping the surface
If your goal is a professional finish, 180 grit is often the final pass before painting.
This is also a great grit for doors, cabinets, and trim where texture shows easily.
The Most Common Sanding Sequence for Painting
Most paint prep is not one grit. It is a quick progression.
Here is the most common sanding flow:
120 grit to scuff and level edges (scuffing means simply sanding enough to add texture to the wall. The texture is what “grabs” the new paint and holds it on the wall.) 180 grit to smooth the surface for paint (The 180 grit levels the texture so that it still grabs the paint but also doesn’t show through the newly painted surface.)
If the surface is in rough shape, the sequence becomes:
80 grit (heavy removal) 120 grit (prep sanding) 180 grit (finish smoothing)
That is how you fix problems without leaving scratches that show through the final coat.
Why 120 to 180 Grit Covers Most Paint Jobs
Most homeowners are not stripping a surface down to bare wood. Most of the time you are doing one of these:
- Scuff sanding
- Smoothing patched spots
- Knocking down peeling edges
- Preparing for primer
That is why 120 to 180 grit covers about 90% of real paint prep work.
It is the sweet spot between “aggressive enough to matter” and “fine enough to look smooth.”
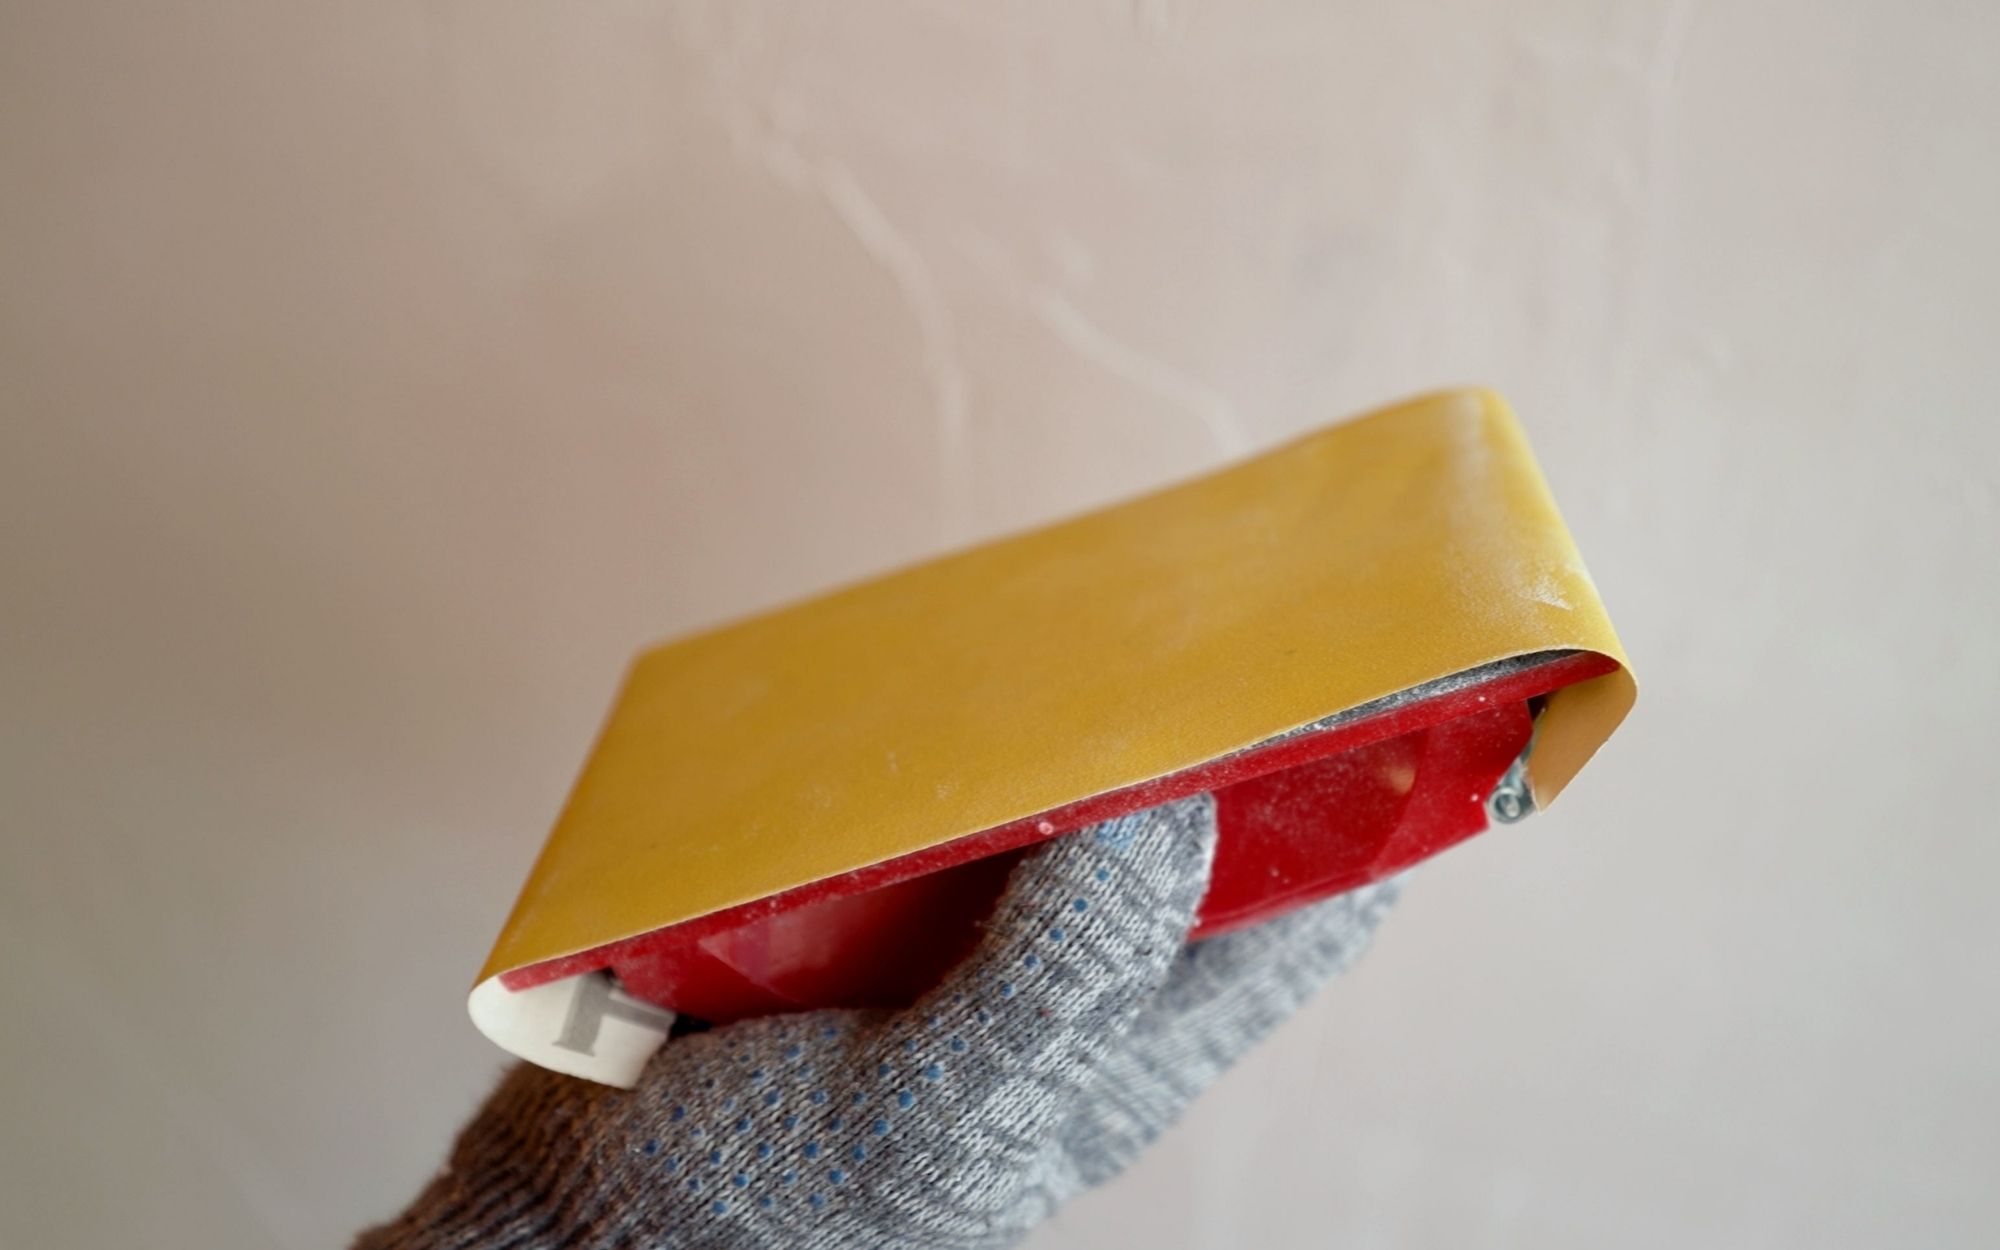
Sanding Blocks vs Electric Sanders
Sandpaper grit matters, but the tool you use matters too.
Sanding Blocks
Sanding blocks are underrated. They are cheap, simple, and give you control.
Use sanding blocks for:
- Trim sanding
- Door edges
- Spot repairs
- Tight corners
- Baseboards
They also help prevent uneven pressure that causes gouges.
Electric Sanders
Electric sanders save time on bigger projects.
Use an electric sander when:
- You are sanding multiple doors
- You are prepping large walls
- You are smoothing down big peeling sections
- You are stripping thick paint buildup
A random orbital sander is the best all-around choice for homeowners.
The Biggest Sanding Mistake: Skipping the Finish Grit
A lot of DIY paint jobs look rough because people sand with something aggressive, then paint right over it.
If you sand with 80 or 100 grit and stop there, your paint will highlight the scratches. Paint does not hide texture. It makes it more visible.
If you start rough, you need to finish smoother.
That is why the final 180 grit pass matters so much.
Pro Tip: Sanding Is Not Enough if the Surface Is Dirty
Sandpaper cannot fix grease or grime and shouldn’t be used to attempt to.
You grind contaminates into the surface if you sand over:
- kitchen oils
- hand oils on trim
- dust buildup
- residue from cleaners
Paint sticks to the surface underneath it. If that surface is grease or cleaner residue, the paint is bonding to that contamination, not the cabinet. Sanding first can spread oils even deeper into the surface, which makes peeling more likely later.
FAQ: What Grit Sandpaper Do I Use?
What grit sandpaper should I use before painting?
For most paint projects, use 120 grit to scuff and prep, then finish with 180 grit to smooth the surface before priming or painting.
Is 80 grit sandpaper too rough for painting?
Yes, 80 grit is very aggressive and is only used for heavy peeling paint, damaged wood, or thick paint buildup. If you use 80 grit, you should usually follow up with 120 and 180 grit before painting.
What grit should I use to sand peeling paint?
Start with 80 or 100 grit to remove loose edges and bubbling paint, then switch to 120 grit, and finish with 180 grit to smooth the transition so it does not show through your new paint.
What grit sandpaper should I use on trim before painting?
Use 120 grit to scuff the trim, then finish with 180 grit for a smoother final surface. Trim shows scratches easily, so finishing with 180 helps the paint look cleaner.
What grit sandpaper should I use between coats of primer or paint?
Use 180 grit for light sanding between coats. You are not trying to remove paint, just smooth dust nibs and improve the finish before the next coat.
Can I paint without sanding first?
Sometimes, but it is risky. If the surface is glossy, dirty, or sealed, paint may not bond well and can peel later. A quick scuff sand with 120 grit is one of the easiest ways to prevent adhesion problems.
Should I use a sanding block or an electric sander for painting prep?
For small areas like trim and edges, a sanding block works great and gives better control. For larger projects or heavy paint removal, an electric sander saves time and creates a more consistent surface.
Final Takeaway: The Best Sandpaper Grit for Painting
If you want the simple answer:
- Use 80 grit for heavy damage and thick peeling paint
- Use 100 grit for rough scuff sanding and worn surfaces
- Use 120 grit for most prep sanding
- Use 180 grit for smoothing before paint
Most homeowners only need 120 and 180 grit to handle almost any repainting project the right way.
If your surface is in bad shape, start rough, then finish smooth. That is how you get paint that looks clean and lasts.
If you want, I can also write the matching post for “Do I Need to Prime After Sanding?” so your cabinet and paint-prep blogs interlink cleanly.