By Norman R.
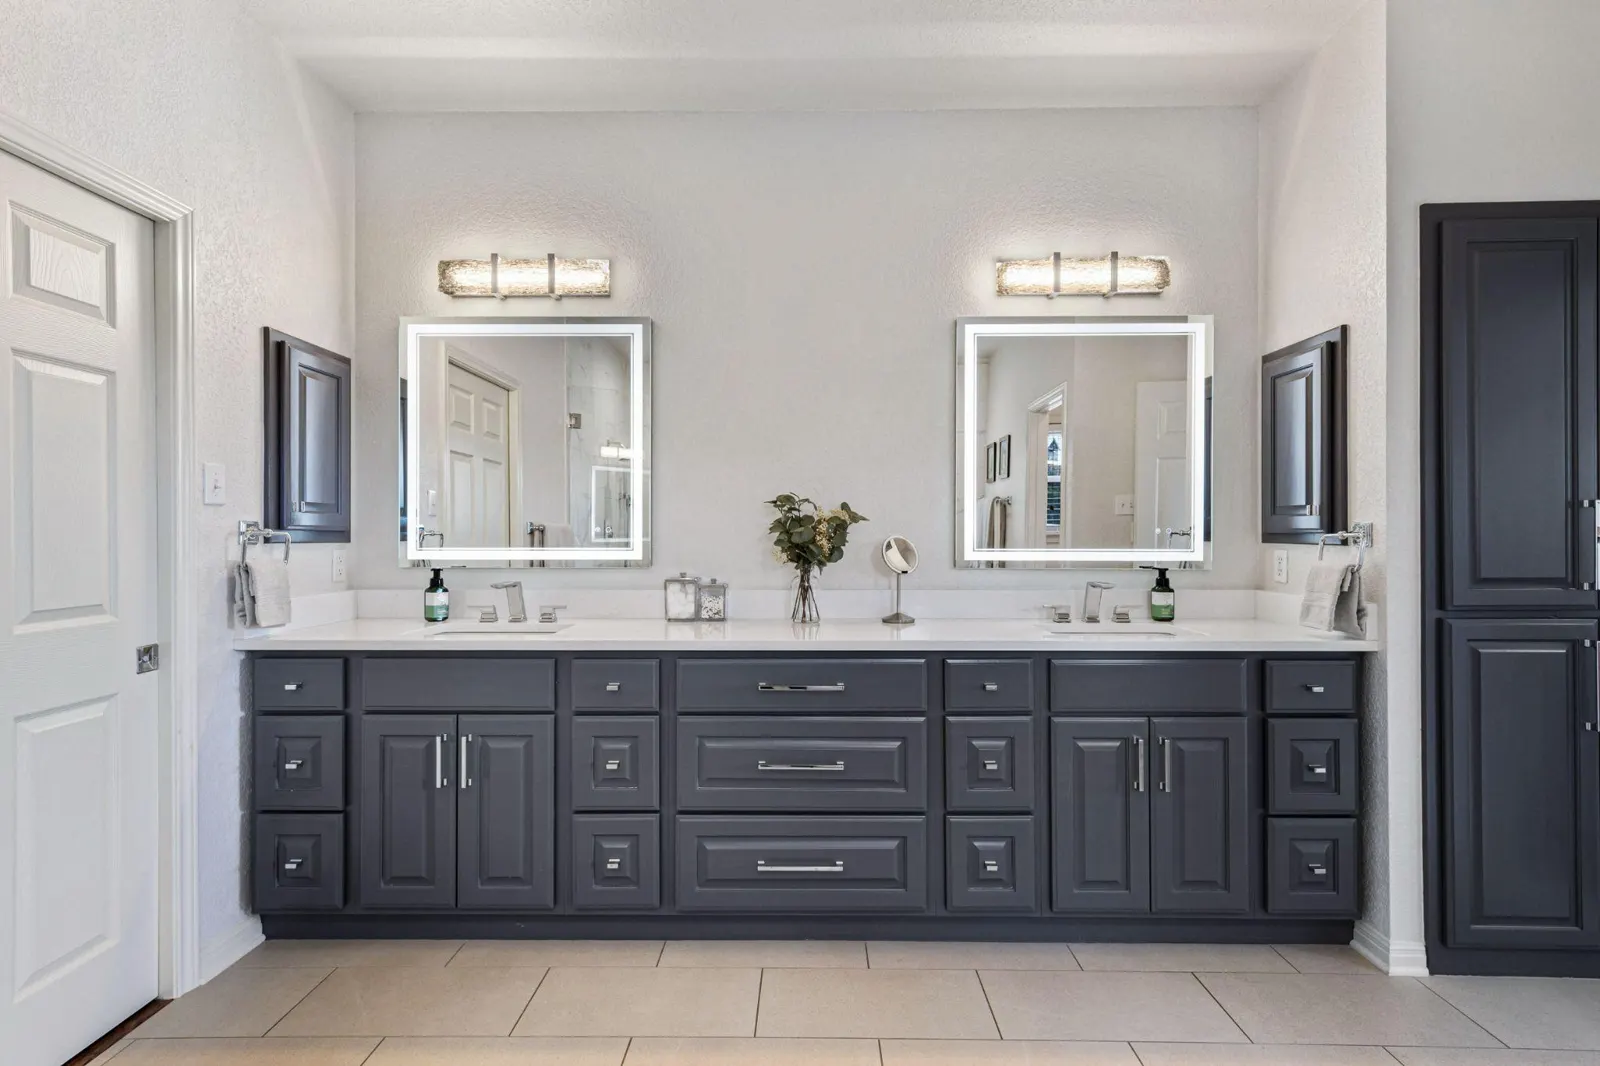
To paint bathroom cabinets successfully, you must clean the wood or laminate with a heavy-duty degreaser, scuff-sand all surfaces, apply an alkali-resistant bonding primer, and finish with two coats of moisture-resistant 100% acrylic or waterborne alkyd enamel. Bathrooms represent high-humidity environments where steam, hairspray, and soap residue quickly break down standard interior wall paints. Following proper surface preparation and selecting high-performance cabinet coatings prevents peeling, chipping, and moisture delamination along vanity doors and drawer fronts.
Quick Reference Summary for Painting Bathroom Cabinets
Transforming a worn bathroom vanity with a factory-smooth painted finish requires specialized surface prep, proper tool selection, and a disciplined application sequence. Bathrooms present unique environmental challenges compared to other living areas due to daily humidity spikes and frequent chemical contact.
Regional weather conditions, indoor ventilation capacity, and housing materials change how cabinet primers and topcoats cure across different geographic locations. In humid Southern coastal environments, elevated indoor humidity traps moisture against newly painted vanity doors, making chemical-curing 2K waterborne urethane enamels necessary to prevent soft, tacky finishes. In high-altitude Western mountain homes with low indoor humidity, rapid surface evaporation can cause water-based cabinet paints to flash-dry on wood frames, requiring applicators to maintain a wet edge during spraying or brushing. In historic Northern properties featuring solid oak or pine vanities, heavy tannin extraction requires specialized solvent-based or shellac stain-blocking primers to keep natural wood oils from bleeding through light topcoats.
Below is a complete technical guide detailing how to paint bathroom cabinets for durable, professional-grade results.
- Core Process: Remove doors and hardware, scrub with Trisodium Phosphate (TSP), scuff-sand with 180-grit paper, apply a high-adhesion bonding primer, and spray or brush two enamel topcoats.
- Best Primer Type: Shellac-based primer or high-adhesion modified acrylic bonding primer engineered for slick, non-porous wood and laminate substrates.
- Best Topcoat Type: Waterborne alkyd enamel, 100% acrylic satin/semi-gloss enamel, or 2K polyurethane cabinet paint.
- Total Cure Timeline: Dry to touch in 2 to 4 hours; full chemical cure requires 14 to 30 days before subjected to heavy scrubbing or standing moisture.
What Is the Difference Between Bathroom and Kitchen Cabinet Painting?
While the mechanical steps for painting cabinets appear similar across a home, bathrooms present distinct environmental factors that impact paint bonding. Coating specifications published by the Paint and Decorating Contractors of America (PDCA / PCA) emphasize that substrate moisture content and chemical exposure dictate coating selection.
Kitchen cabinets face heavy grease buildup, vegetable oils, and food splatters. Bathroom vanities, by contrast, face extreme relative humidity swings, direct water splashes, toothpaste deposits, hairspray resins, and body oils.
When hot showers run, airborne moisture condenses on cold vanity doors. If the underlying paint film lacks high water-resistance or was applied over poorly degreased wood, standing water droplets penetrate micro-cracks in the coating, causing the paint to bubble, soften, and peel away from door edges.
If you are inspecting stored paint inventory in your workshop to see if an old batch of trim paint can be used on your vanity, read our technical guide on can you use old paint to test product integrity.
“Pro Tip 1: Surfactant Leaching Mitigation via 2K Waterborne Polyurethanes. Standard interior latex paints rely on water-soluble surfactants to keep pigment particles suspended. In high-moisture bathrooms, steam draws these surfactants to the surface of newly painted cabinets, creating sticky, tan-colored streaks known as surfactant leaching. To prevent leaching on bathroom vanities, use professional 2K (two-component) waterborne polyurethanes or catalyzed acrylic enamels. These coatings cure via a chemical cross-linking reaction rather than simple evaporation, forming an impermeable moisture barrier that eliminates surfactant leaching.”
How Do You Prepare Bathroom Cabinets for Primer and Paint?
Surface preparation accounts for over 70 percent of a successful cabinet refinishing project. Skipping prep steps on bathroom wood or laminate leads to immediate adhesion failure.
1. Remove Doors, Drawers, and Hardware
Remove all cabinet doors, drawer fronts, hinges, and handles. Label each door and drawer using masking tape placed inside the hinge cup to ensure every piece returns to its exact original opening during reassembly.
2. Decontaminate and Degrease All Surfaces
Scrub vanity face frames, doors, and drawer fronts with a solution of Trisodium Phosphate (TSP) or an industrial cleaner-degreaser. Pay close attention to areas around door handles where hand oils and lotions accumulate. Rinse thoroughly with clean water and allow the wood to dry completely.
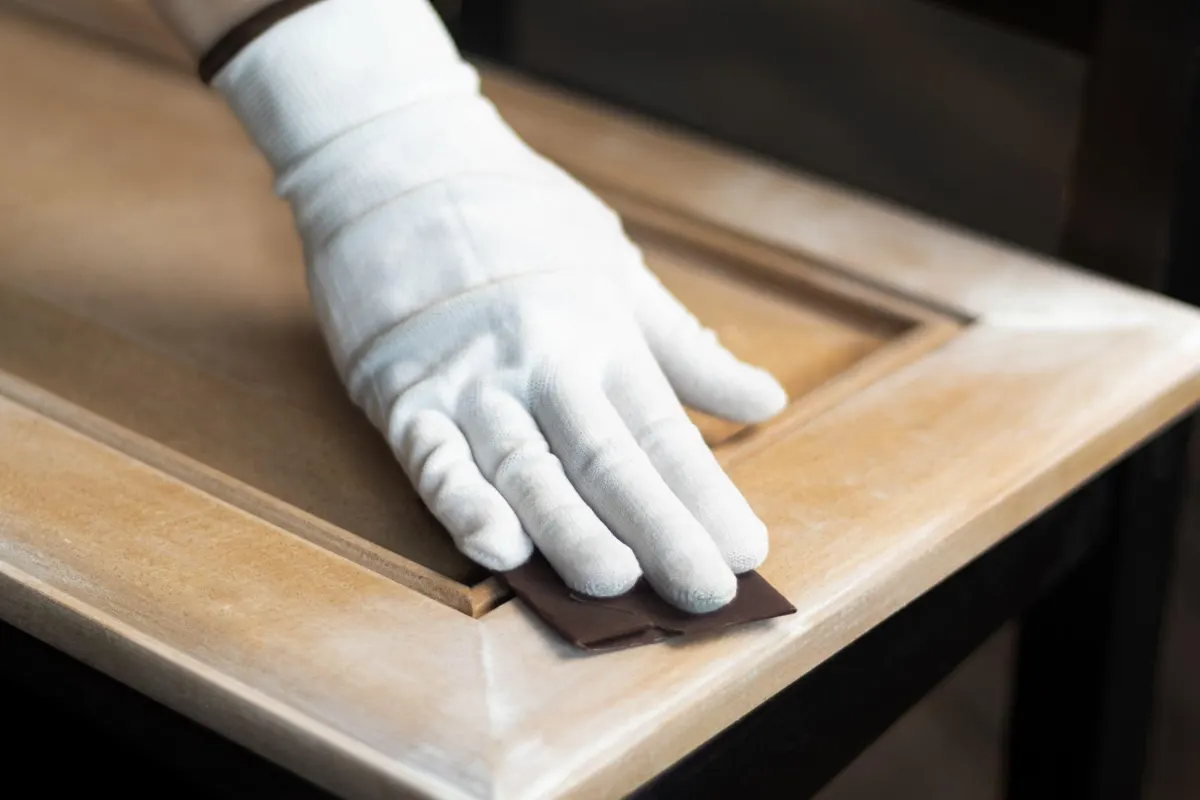
3. Scuff-Sand to Profile the Substrate
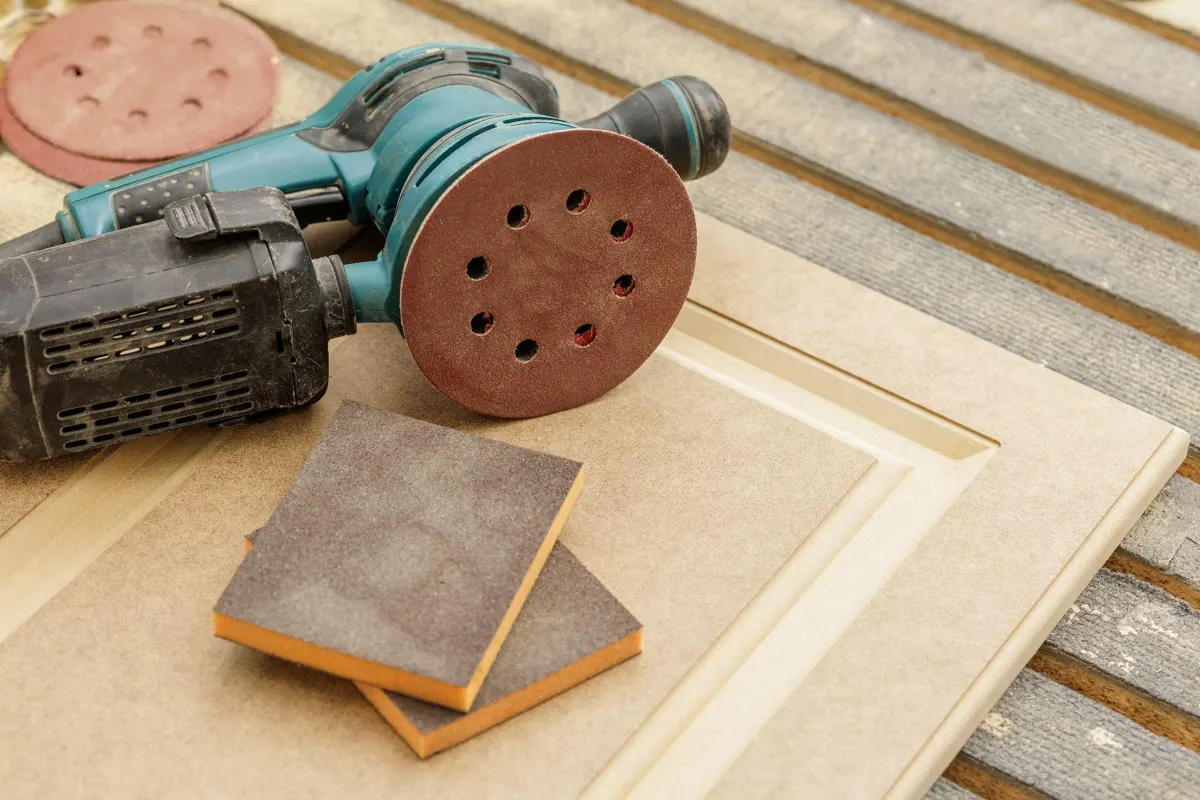
Sand all surfaces using 180-grit to 220-grit sandpaper or medium-grit sanding sponges. The goal is not to strip old paint or stain down to bare wood, but to break the surface shine and create microscopic scratches (profile) that allow new primer to anchor mechanically.
4. Vacuum and Wipe Down Dust
Vacuum away all sanding dust using a soft brush attachment, then wipe every surface clean with a tack cloth or a microfiber rag dampened with denatured alcohol.
If you are planning modern monochromatic design schemes across your bathroom walls, ceiling, and vanity, explore our design feature on what is color drenching for palette inspiration. For exterior stone or brick care along patio transitions, review our guide on can you clean limewashed brick. Learn more about our national brand standards via That 1 Painter.
“Pro Tip 2: Chemical Degreasing and Surface Profiling Sequences. Never sand a bathroom cabinet before scrubbing it clean with a degreaser. Sanding an unwashed vanity forces hairspray resins, body lotions, and soap scum deep into the open grain of the wood or the micro-scratches of old varnish. Once trapped in the grain, these oils prevent primer from bonding, causing the new coating to fish-eye (bead up) or peel off in sheets. Always execute the prep steps in strict order: wash first, rinse second, allow to dry third, and sand fourth.”
Technical Comparison of Cabinet Primers and Topcoats
This technical reference table breaks down primer and topcoat categories, drying times, moisture resistance, and application methods for bathroom cabinet refinishing.
- Shellac-Based Primer: alcohol base, recoat in 45 minutes. Moisture resistance: exceptional (seals tannins). Apply with an HVLP sprayer or natural bristle brush.
- Acrylic Bonding Primer: water base, recoat in 2 to 4 hours. Moisture resistance: very good (high adhesion). Apply with an airless sprayer or microfiber roller.
- Waterborne Alkyd Enamel: hybrid oil-water, recoat in 4 to 6 hours. Moisture resistance: superior (hard finish). Apply with an HVLP sprayer or foam roller.
- 100% Acrylic Satin Enamel: water base, recoat in 2 to 4 hours. Moisture resistance: good (scrubbable). Apply with an airless sprayer and fine finish tip.
- 2K Polyurethane Finish: catalyzed chemical, recoat in 1 to 2 hours. Moisture resistance: maximum (waterproof barrier). Apply with an HVLP sprayer in a dedicated spray booth.
If you are refinishing cabinet doors with complex profiles or raised center panels, review our detailed guide on painting cabinets with doors for step-by-step assembly rules.
“Pro Tip 3: Wet Film Thickness (WFT) Gauge Management. Applying cabinet primer or enamel too heavy in a single pass leads to sags along door edges and soft, un-cured paint layers. Professional cabinet applicators use a stainless steel wet film thickness (WFT) comb gauge to verify paint depth during spraying. Target 3.5 to 4.5 mils WFT per coat, which dries down to roughly 1.2 to 1.5 mils Dry Film Thickness (DFT). Maintaining thin, even coats ensures proper solvent release and maximum film hardness.”
What Steps Should You Follow to Paint Bathroom Cabinets?
Follow this professional application process to achieve a smooth, long-lasting finish on your bathroom vanity:
- Apply a High-Adhesion Stain-Blocking Primer: Spray or roll one coat of shellac or acrylic bonding primer over the face frames, doors, and drawer fronts. Allow the primer to dry for 2 to 4 hours.
- Perform Intermediate Sanding: Sand the primed surfaces lightly with 220-grit sandpaper or a fine sanding block to remove dust nibs and wood grain raised by water-based primers. Vacuum and wipe away dust with a tack cloth.
- Apply First Enamel Topcoat: Apply your chosen cabinet enamel using an HVLP (High Volume Low Pressure) sprayer, an airless sprayer equipped with a fine-finish tip (such as a 208 or 310 tip), or a high-density foam roller.
- Allow Proper Dry Time: Let the first topcoat dry for 4 to 6 hours according to manufacturer specifications.
- Apply Second Enamel Topcoat: Apply a second thin, uniform coat of enamel to build full opacity and film strength.
- Allow Complete Curing Before Reassembly: Allow the cabinets to dry in a clean, dust-free environment for at least 24 to 48 hours before reinstalling hinges, handles, doors, and drawers.
If drywall water damage, vanity plumbing leaks, or wall cracks require attention behind your cabinet frames, utilize our expert drywall repair services. Combine vanity refinishing with our complete interior house painting services or exterior house painting services for a total home transformation.
Environmental protection regulations managed by the U.S. Environmental Protection Agency (EPA) limit Volatile Organic Compounds (VOCs) in architectural cabinet enamels, ensuring modern waterborne paints cure with minimal indoor off-gassing.
What Are the Most Common Bathroom Cabinet Painting Mistakes?
Avoiding these common DIY errors ensures your painted vanity resists moisture and daily physical wear:
- Painting Directly Over Unwashed Surfaces: Applying primer over hand oils, hairspray, or soap film prevents adhesion, causing paint to peel off near door handles.
- Skipping Substrate Sanding: Painting over slick, glossy factory varnish without scuff-sanding creates a weak bond that chips at the slightest impact.
- Using Standard Wall Paint on Cabinets: Applying flat or satin interior wall latex to cabinets results in a soft finish that absorbs water, scratches easily, and feels sticky.
- Reinstalling Doors Too Early: Hanging doors before the topcoat has hardened causes the damp paint to stick along frame bumpers, tearing the finish off when doors are opened.
Answers to Common Questions About Painting Bathroom Cabinets
Can you paint laminate or thermofoil bathroom cabinets?
Yes, you can paint laminate or thermofoil bathroom cabinets if the material is securely attached. Peeling thermofoil must be removed using a heat gun. Once stripped or cleaned, apply a specialty high-adhesion bonding primer before applying your enamel topcoats.
How long do painted bathroom cabinets need to dry before using the shower?
Wait a minimum of 48 to 72 hours after applying your final topcoat before taking hot, steamy showers in the bathroom. Introducing high humidity earlier halts the chemical curing process and can cause surfactant leaching or finish blushes.
What is the best paint finish sheen for bathroom cabinets?
Satin or semi-gloss finish sheens are ideal for bathroom cabinets. These medium-to-high sheens contain higher resin concentrations that shed water droplets, resist soap scum buildup, and allow frequent wiping without dulling the finish.
Do you need to strip old paint off bathroom cabinets before repainting?
You do not need to strip old paint down to bare wood if the existing coating is firmly adhered, clean, and crack-free. Thoroughly clean the surface, scuff-sand to remove gloss, prime bare spots, and apply your new topcoats directly over the old finish.
How long do professionally painted bathroom cabinets last?
Professionally painted bathroom cabinets finished with high-grade waterborne alkyd or 2K polyurethane enamels last 8 to 12 years with routine cleaning and proper bathroom ventilation. Workplace safety standards enforced by the Occupational Safety and Health Administration (OSHA) require adequate fresh air exchange, eye protection, and organic vapor respirators when spraying chemical coatings in enclosed residential bathrooms.
Ready for Professional Cabinet Refinishing Services?
Selecting proper cabinet primers, executing dust-free surface preparation, managing spray equipment, and applying durable water-resistant enamels require technical skill and professional execution. Let our experienced cabinet finishing teams transform your bathroom vanities safely and efficiently.
Note: Pricing estimates are based on 2026 regional averages. Every home is unique, and final quotes require an on-site assessment to account for material costs, prep work, and structural conditions.
Calculate your project budget in seconds using our Instant Estimate Tool or contact That 1 Painter today to schedule your detailed, obligation-free on-site estimate.
