By Mary C.
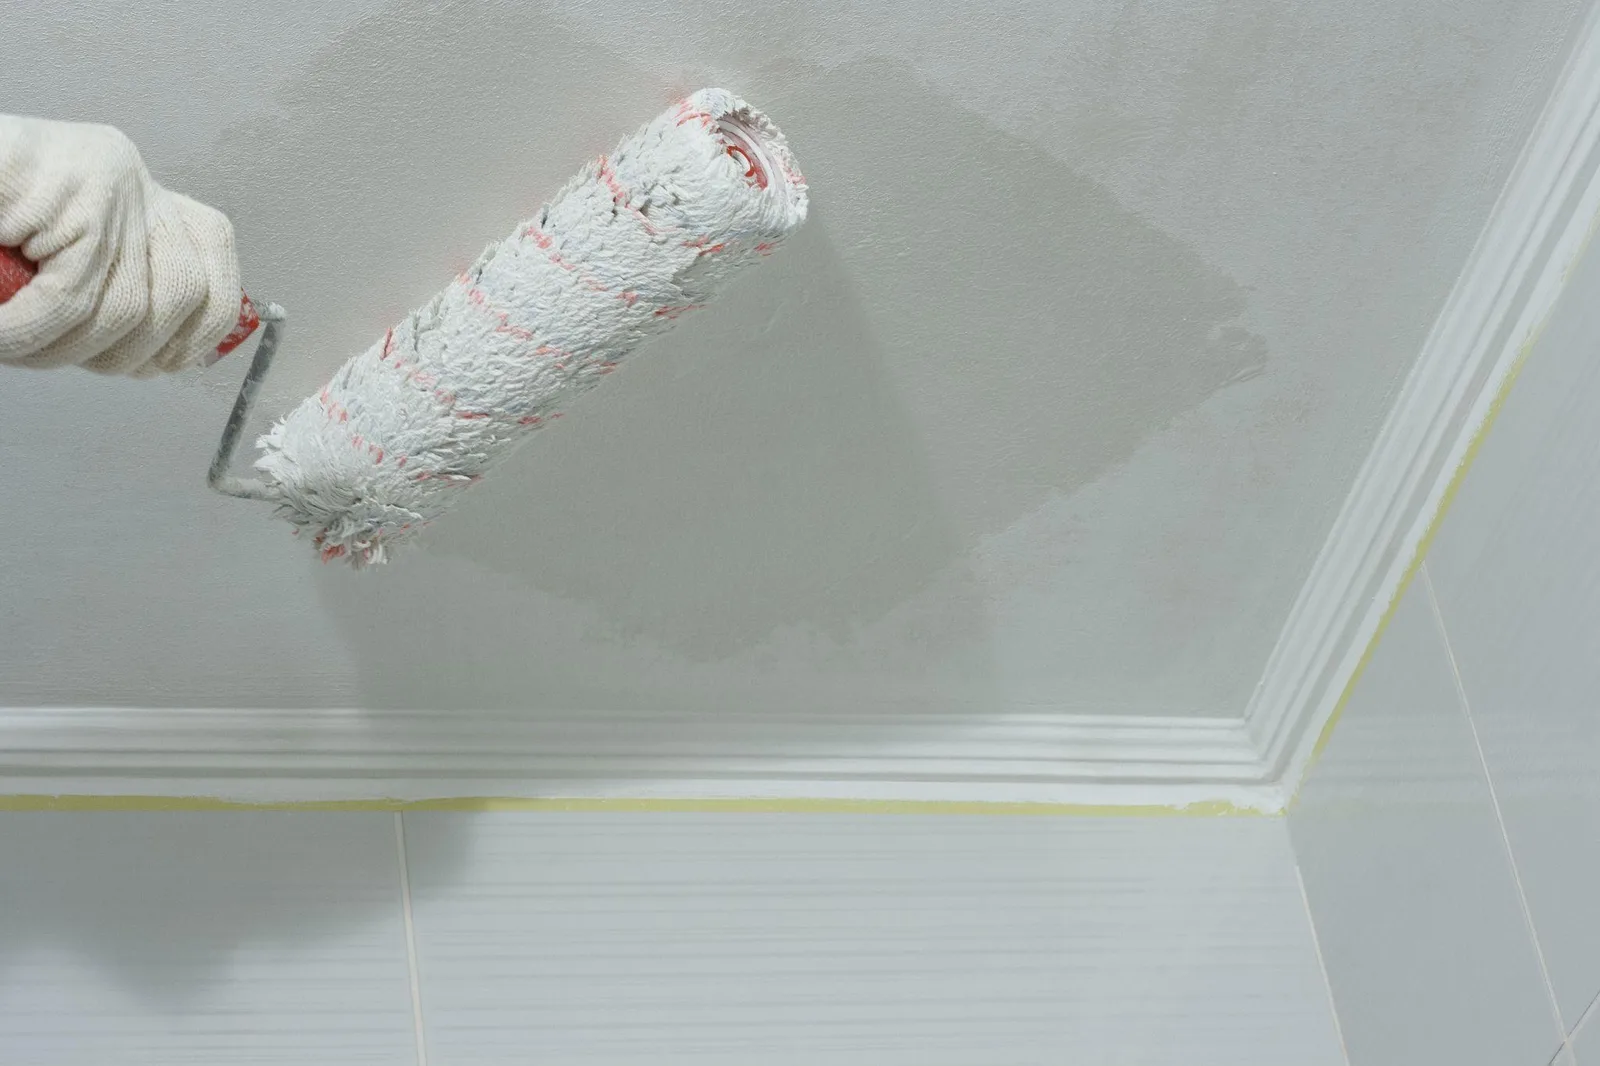
How do I paint my ceiling correctly? Start by protecting the room with heavy drop cloths and painter's tape, then cut in around the edges with a 2.5-inch brush before rolling the main surface with a 3/8-inch or 1/2-inch roller nap. For most ceilings, use a dedicated ceiling paint like Sherwin-Williams Premium Ceiling Paint, which features an ultra-flat finish that reduces light glare, hides minor drywall imperfections, and minimizes roller marks. Work in manageable three-foot sections and keep a wet edge to avoid lap marks across broad expanses. The most common mistake homeowners make is overloading the roller cover or pushing too hard against the drywall, which causes heavy spatter, drips, and an uneven coat. The simple answer is: use a quality flat ceiling paint, cut in first, roll in sections, and let the weight of the extension pole do the work.
Quick Reference Summary for Painting Ceilings
Painting an overhead horizontal plane requires managing paint viscosity, roller nap retention, and ambient room drying times. Standard wall paints contain higher sheen levels that reflect directional light, making small surface defects stand out under overhead fixtures or window light. Specialized flat ceiling coatings contain higher solids by volume to build a non-reflective barrier that masks surface irregularities. Regional climate factors also impact how ceiling finishes cure across different residential environments.
In humid coastal climates, high indoor moisture slows water evaporation, requiring longer dry times between cut-in work and broad rolling to prevent dragging semi-cured paint films. In cold Northern climates during winter heating cycles, dry indoor air bakes water-borne paints rapidly, making it necessary to work quickly to keep a wet edge. In dry Western high-altitude regions, rapid evaporation rates make paint extenders helpful for maintaining open time on large plaster or drywall ceilings. Below is the complete trade breakdown for preparing, cutting in, and rolling ceiling surfaces like a professional.
- Preparation: Clear the room or group furniture in the center, cover floors with canvas drop cloths, and mask upper wall joints if you are keeping existing wall colors.
- Material Selection: Use a flat, non-reflective acrylic ceiling formula designed to minimize roller spatter and hide drywall joints.
- Cutting In: Paint a two-to-three-inch border along the ceiling perimeter using an angled sash brush before rolling the broad area.
- Rolling Strategy: Roll parallel to the primary natural light source in three-foot square sections, keeping a wet edge to eliminate lap lines.
In What Order Do You Paint a Ceiling?
When painting an entire room, the ceiling must always be painted first. Overhead rolling creates fine paint mist, known as roller spatter, that falls onto surrounding surfaces. Painting the ceiling first allows you to cover any overspray when you paint the walls later.
Step 1: Prep and Mask
Clear the room of all movable furniture and cover the entire floor with heavy canvas drop cloths. Mask light fixtures, ceiling fans, and top wall edges using low-tack painter's tape to protect against accidental brush contact.
Step 2: Perimeter Cut-In
Use an angled sash brush to lay down a smooth two-to-three-inch border of ceiling paint along the outer ceiling joint where it meets the wall.
Step 3: First Rolling Pass
Attach a roller frame to an extension pole and roll the main ceiling surface parallel to the primary natural light source in three-foot square sections.
Step 4: Cross Rolling Pass
If a second coat is needed, roll the ceiling perpendicular to your first pass. Cross-rolling fills in micro-voids in the drywall paper and ensures complete coverage.
What Is the Best Ceiling Paint for Hiding Imperfections?
Choosing the right paint for overhead surfaces prevents glare, hides minor joint tape lines, and limits roller misting during application.
Flat vs. Eggshell Sheen Performance
Overhead drywall faces direct light from windows and light fixtures. Any sheen level above dead flat highlights mud joints, tape seams, and drywall patches.
Dedicated ceiling paints are formulated with zero-gloss pigments that absorb light rather than reflect it. Industry standards outlined by the Master Painters Institute (MPI) recommend Level 1 flat finishes for overhead drywall applications to maximize light diffusion.
Using Premium Formulations to Control Spatter
Standard interior wall paints are thinner and tend to fling tiny paint drops when rolled overhead at normal speeds. Dedicated products, such as those detailed in Sherwin-Williams Technical Specifications, use high-viscosity resins that cling to the roller cover.
This reduced-spatter technology keeps paint on the roller cover rather than spraying your face and floor. If you are working with leftover materials from other areas, consult our guide on can you use old paint to make sure it is still usable.
“Pro Tip 1: The Wet-Film Roller Loading Protocol. Homeowners often dip only the outer edge of their roller cover into the paint, causing uneven distribution and thick edge lines. Fully saturate your 3/8-inch woven microfiber roller sleeve in the deep well of a paint grid bucket. Roll the sleeve up and down the grid five to six times until the core is loaded, then lift and let it drip for two seconds. A fully loaded sleeve allows you to lay down a consistent 4-mil wet film thickness across a 3x3 foot grid without pressing down hard on the extension pole.”
How to Cut In Ceiling Edges Without Lap Marks
Cutting in creates a solid paint border along ceiling perimeters where standard rollers cannot reach.
Brush Technique for Clean Corner Lines
Use a 2.5-inch firm nylon-polyester angled sash brush. Dip the bristles one inch into the paint bucket and tap the inside wall to remove excess paint without wiping the bristles clean.
Hold the brush like a pencil near the ferrule. Guide the long edge of the angled bristles along the corner joint, letting the paint flow smoothly ahead of the brush tip.
Blending Brushwork into Rolled Sections
Do not let your cut-in perimeter dry completely before rolling the broad ceiling surface. Roll the main ceiling area while the brushed edge is still wet.
Bring your roller cover as close to the wall as possible to overlap the brush marks. This wet-on-wet blending prevents a visible border ring around the room perimeter.
Proper perimeter prep is essential when updating interior spaces, as noted in our overall interior house painting services guidelines.
How to Roll a Ceiling Smoothly
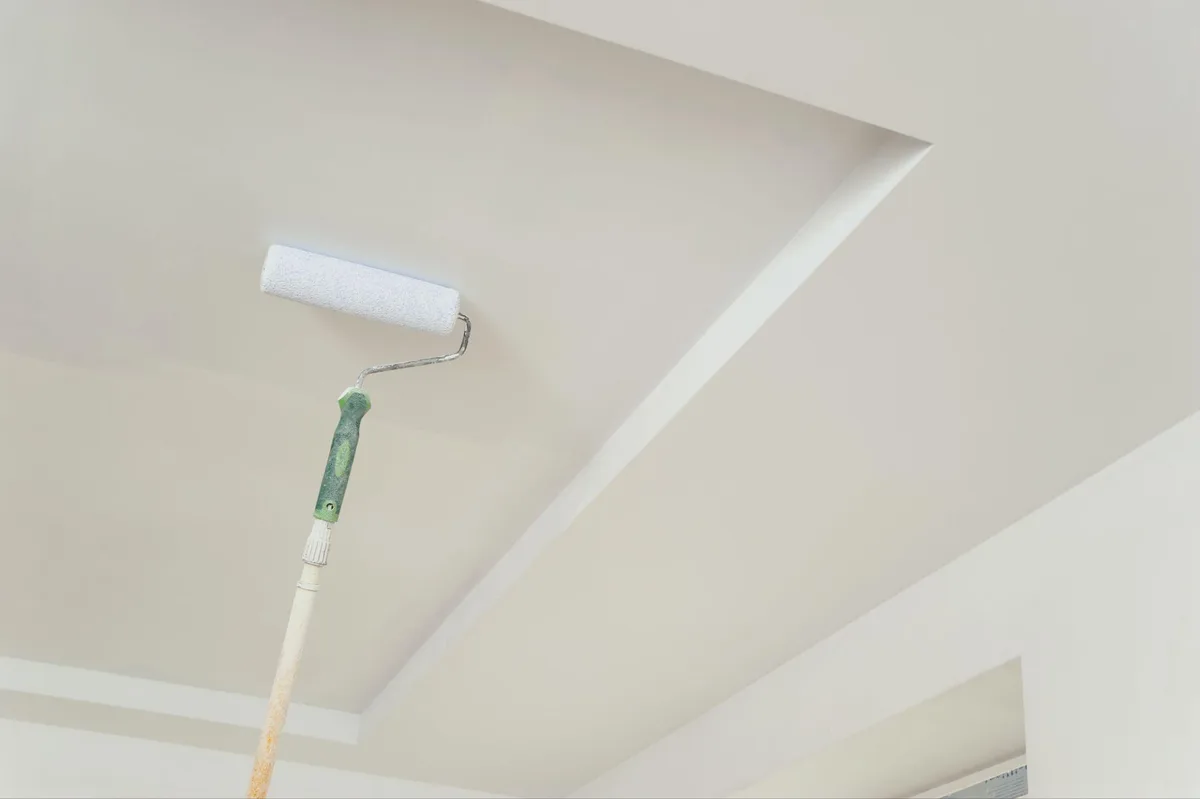
Rolling a ceiling requires methodical movement, steady pressure, and systematic section coverage.
Rolling Direction Relative to Windows
Always roll your final ceiling pass parallel to the main source of natural light entering the room. Sunlight entering a window runs parallel to your roller paths, masking slight texture shifts. Rolling across incoming light casts micro-shadows behind every roller stipple ridge, making roller paths visible.
Controlling Pressure and Extension Poles
Attach your roller frame to a sturdy 4-to-8-foot fiberglass extension pole. Stand squarely under your work area with a wide stance.
Lay down paint in a loose "W" pattern within a three-foot by three-foot square section. Fill in the square with parallel strokes, moving from one side to the other.
Let the weight of the roller head press against the ceiling; forcing the frame upward squeezes paint out the sides of the sleeve, creating thick ridges called ladder lines. For walls requiring structural repair before painting, check our guide on drywall repair services.
“Pro Tip 2: The Raking Light Surface Inspection. Before applying your final ceiling coat, set up a high-lumen LED work light on a tall tripod positioned five feet off the ground at one corner of the room. Point the beam horizontally across the ceiling surface. This extreme low-angle raking light highlights minor roller ridges, hollow spots, and drywall patches. Sand those defects smooth with 220-grit paper on a pole sander before rolling your final coat.”
Ceiling Painting Strategy across Different Home Styles
Home architecture, structural age, and environmental variables influence how ceiling finishes perform. General guidance provided by the Paint & Decorating Retailers Association (PDRA) outlines proper substrate preparation across different home designs.
In historic Northern homes built with wood-lath and plaster ceilings, original surfaces often show minor sag lines or hair fractures. Using a heavy-bodied flat ceiling coat fills micro-fissures and dulls structural shadows.
In Southern coastal markets where elevated summer humidity slows drying times, run air conditioning units to drop relative humidity below 50 percent during painting. In Western desert regions where dry air accelerates paint evaporation, work in smaller two-foot grids to maintain a wet edge.
When planning multi-room renovations, see our guide on what is color drenching for insights on applying single colors across ceilings and walls. For exterior surface preparation, check our article on can you clean limewashed brick. Detail painting techniques also apply to woodwork, as explained in our article on painting cabinets with doors. Learn more about our national footprint at That 1 Painter.
“Pro Tip 3: Micro-Texture Stipple Matching on Drywall Patches. Raw drywall joint compound absorbs paint faster than existing painted ceiling surfaces, leaving dull spots. Furthermore, smooth patches look out of place on textured drywall ceilings. After priming your patch with a dedicated PVA sealer, use a small 3-inch mini-roller cover with a matching nap thickness (3/8-inch or 1/2-inch) to roll two coats of ceiling paint directly over the repair area first. This pre-stipples the smooth patch so it matches the surrounding ceiling texture before you roll the entire room.”
Answers to Common Ceiling Painting Questions
How many coats of paint do I need for a ceiling?
Most ceilings require two coats of paint for full coverage, especially when painting over water stains, repairs, or shifting from a darker tone to bright white. If the ceiling was previously painted the same white shade and is in good structural condition, one heavy coat of high-solids flat ceiling paint may be sufficient.
Why is my ceiling paint peeling off in sheets?
Ceiling paint peels when applied over unprimed drywall dust, soot, or moisture-damaged plaster. The wet paint pulls away from the loose underlying substrate as it dries. Always scrape loose areas, sand the edges flush, clean off surface dust, and apply a dedicated bonding primer before painting.
Can I use regular wall paint on a ceiling?
You can use flat wall paint on a ceiling, but dedicated ceiling paint is generally better. Regular wall paints are formulated to resist scrubbing and often contain acrylic resins that produce slight sheen, which reflects light and highlights ceiling imperfections. Ceiling paints are designed to be ultra-flat and spatter-resistant.
How do I paint a ceiling without getting roller marks?
To avoid roller marks, keep a wet edge, do not press hard on your extension pole, and roll your final pass in a single direction parallel to window light. Work continuously across the room without taking breaks mid-ceiling, and ensure your roller cover remains well-loaded with paint.
Do I need to prime a ceiling before painting?
You must prime new drywall, bare joint compound repairs, water-stained areas, or glossy surfaces before applying ceiling paint. If the existing ceiling is already painted with flat paint and has no stains or patches, you can apply fresh flat ceiling paint directly over it without a separate primer coat.
Ready to Restore Your Ceilings with Professional Quality?
Painting ceilings requires physical effort, proper surface prep, and steady control to deliver smooth, streak-free results. Protect your living space from roller spatter, lap marks, and uneven sheen levels.
Note: Pricing estimates are based on 2026 regional averages. Every home is unique, and final quotes require an on-site assessment to account for material costs, prep work, and structural conditions.
Contact the team at That 1 Painter today to schedule your detailed, obligation-free on-site estimate, and let our professional painting crews bring bright, flawless finishes to your ceilings. Book Your Free Professional Estimate Now
