By Ben M.
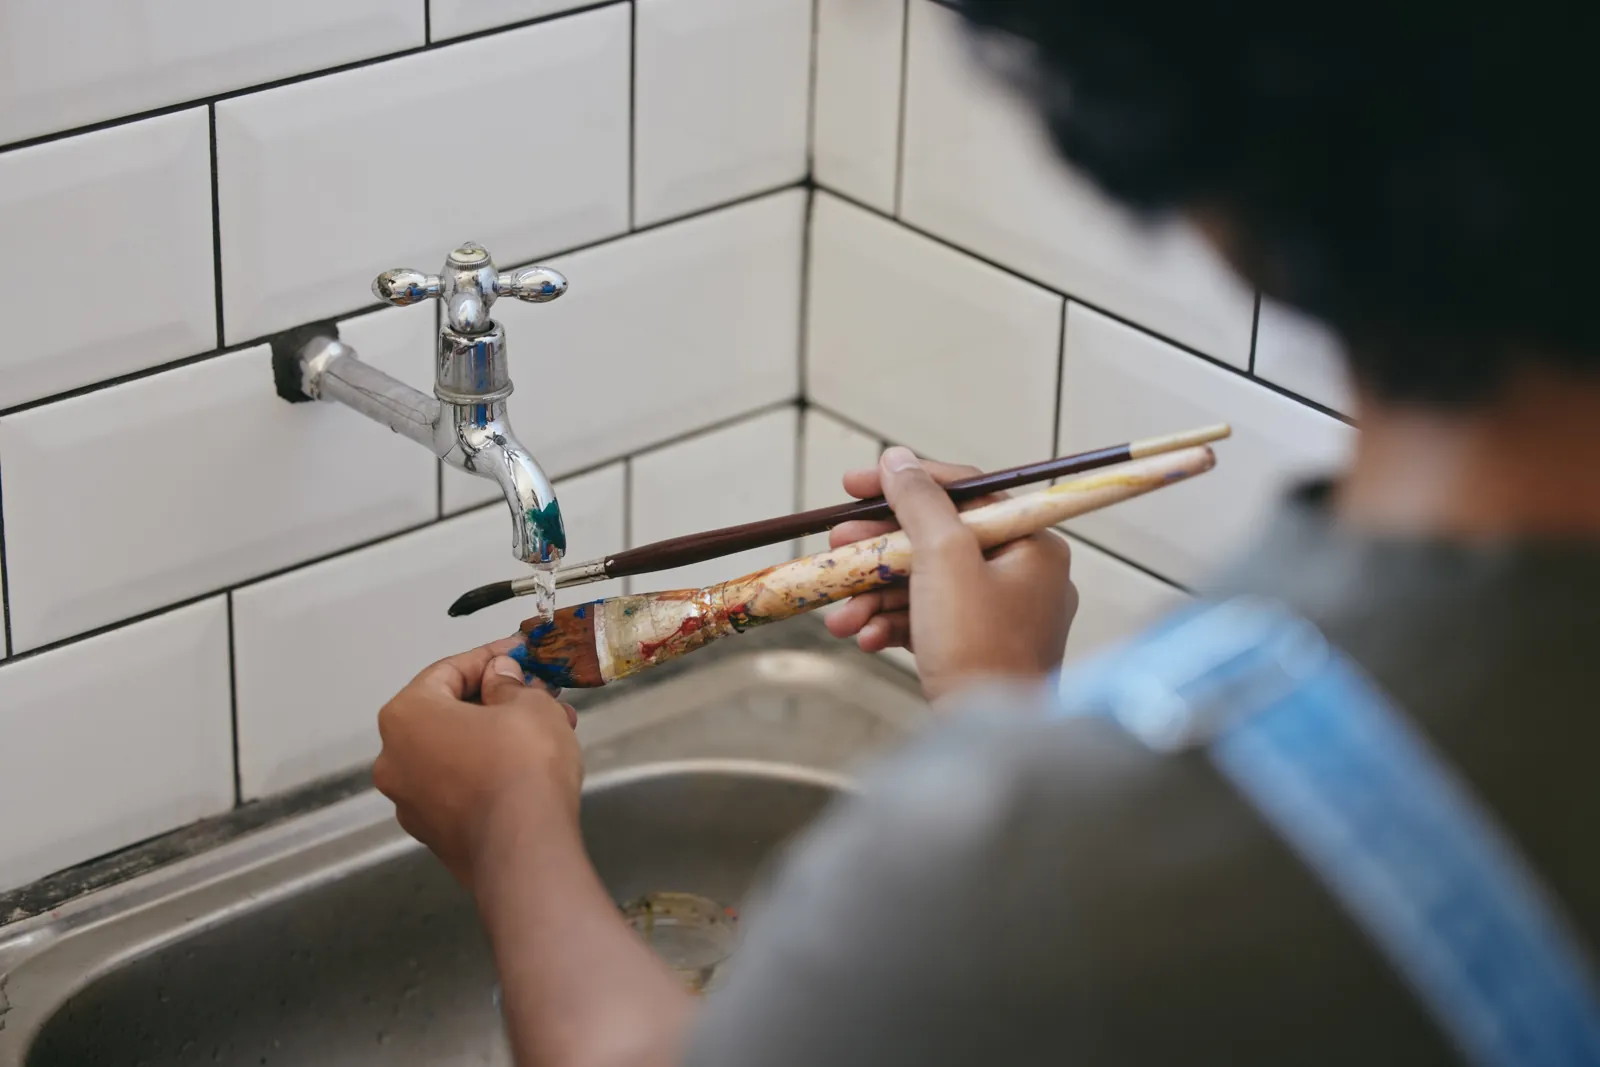
To clean a paintbrush, scrape as much paint as possible back into the can, wash the bristles in the right cleaner, work the cleaner through until it runs clear, and reshape the bristles before the brush dries. Use warm water and soap for water-based latex and acrylic paints. Use mineral spirits for oil-based paints, enamels, and alkyd primers. Following these four steps every time keeps a quality brush soft, straight, and ready for dozens of future projects.
A good brush is one of the most valuable tools in any painting kit. Premium nylon-polyester and natural-bristle brushes cut sharp lines, hold more paint, and lay down smoother finishes than cheap disposable brushes. The most common mistake is rinsing a brush quickly and leaving paint packed near the ferrule. That hidden paint hardens, splays the bristles, and turns an expensive tool into a stiff, unusable stick.
Regional weather shifts, seasonal humidity cycles, and local water conditions heavily influence how quickly paint dries inside brush bristles. In humid Southern coastal climates, slow evaporation gives you more working time, but brushes left damp in storage can develop mildew odors near the ferrule. In high-altitude or arid Western regions, low humidity causes latex paint to skin over in the bristles within minutes, so brushes must be cleaned immediately after use. In Northern properties subject to freeze-thaw cycles, garage-stored brushes and cleaning water can freeze in winter, so cleaning and storage should happen indoors. Below is a complete technical guide detailing how to clean a paint brush for professional, long-lasting results.
Quick Reference Summary for Cleaning a Paintbrush
- Step One Rule: Scrape excess paint off the bristles and back into the can before any washing begins.
- Cleaner Selection: Warm water and soap for water-based paint; mineral spirits for oil-based paint.
- Completion Standard: Keep working cleaner through the bristles until the rinse runs completely clear.
- Finishing Step: Reshape the bristles to their original profile before the brush dries.
- Long-Term Payoff: A properly cleaned quality brush can be reused over and over again.
Why Does Proper Paintbrush Cleaning Matter?
Paint does not stay on the outer bristles of a brush. Every time you dip and load, paint wicks up toward the ferrule, the metal band that holds the bristles in place. Paint that dries inside the ferrule pushes the bristles apart. This creates a fat, splayed brush that cannot cut a clean line along a ceiling or trim edge.
Dried paint also changes how the brush releases new paint. Hardened residue inside the bristle pack holds less fresh paint and drags across the surface. The result is visible brush marks, uneven film thickness, and ridges in your finish. If you are struggling with streaks on trim or doors, read our guide on how to avoid brush marks and roller lines for technique tips.
Cleaning a brush correctly also saves money. Professional-grade sash brushes cost significantly more than disposable chip brushes. A well-maintained premium brush lasts through many projects, while a neglected one may not survive a second use. Painters who clean their brushes thoroughly spend less on replacement tools and get more consistent results.
“Pro Tip 1: Clean Before Paint Skins Over. Start cleaning within minutes of finishing your last stroke. Latex paint begins to set inside the bristle pack quickly, especially in dry or warm rooms. If you need to pause mid-project, wrap the wet brush tightly in plastic wrap or a plastic bag instead of leaving it on the can lid. This keeps the paint workable until you return or clean it.”
How Do You Choose the Right Cleaner for Your Paint?
The cleaner must match the paint base. Using the wrong cleaner leaves paint trapped in the bristles no matter how long you scrub. Check the paint can label before you start. It will list the base type and the recommended cleanup method.
- Water-Based Paint (Latex and Acrylic): Most modern interior wall paints, ceiling paints, and many trim enamels are water-based. Clean these brushes with warm water and a mild dish soap. Warm water softens the acrylic binder faster than cold water. Soap breaks the surface tension and lifts pigment out of the bristle pack.
- Oil-Based Paint (Alkyd, Enamel, and Oil Primers): Oil-based paints do not dissolve in water. Clean these brushes with mineral spirits or a paint thinner recommended on the can. Work in a well-ventilated area away from open flames. After the mineral spirits rinse runs clear, many painters finish with a warm soapy water wash to remove the solvent residue.
- Waterborne Alkyd and Hybrid Enamels: Many modern trim and cabinet enamels are waterborne alkyds. They behave like oil paint on the wall but clean up with soap and water. Always confirm the cleanup instructions on the label, since formulations vary by manufacturer. If you are unsure which paint you have, our guide on oil-based vs. water-based paint explains how to tell the difference.

Technical Comparison of Paintbrush Cleaning Methods
This technical reference table breaks down cleaner type, rinse standard, and drying method across common paint bases.
- Latex / Acrylic: Warm water and mild soap. Water runs clear from bristles. Shake out, reshape, hang or lay flat to dry.
- Oil-Based / Alkyd: Mineral spirits or paint thinner. Solvent runs clear in a clean container. Soap-and-water wash, reshape, dry.
- Waterborne Alkyd: Warm water and mild soap. Water runs clear from bristles. Shake out, reshape, dry.
- Shellac-Based Primer: Denatured alcohol (per label). Alcohol runs clear. Reshape and dry.
If you are shopping for a new brush to go with your cleaning routine, review our guide on choosing the best paint brush for bristle and shape recommendations. Roller covers need a similar process, which we cover in how to clean a paint roller.
Step-by-Step Guide on How to Clean a Paint Brush
Follow this professional process after every painting session to keep your brushes soft, straight, and ready for reuse:
- Scrape Excess Paint Back Into the Can: Wipe the brush against the rim of the can on both sides. Then use a putty knife or a painter's 5-in-1 tool to scrape paint from the bristles back into the can. Removing as much paint as possible makes every following step faster.
- Use the Right Cleaner: Fill a bucket or sink with warm water and a squirt of dish soap for water-based paint. Pour mineral spirits into a clean container for oil-based paint. Never mix the two cleanup methods.
- Work the Cleaner Through the Bristles: Swish the brush in the cleaner and press the bristles against the bottom of the container. Use your fingers or a brush comb to open the bristle pack near the ferrule. Repeat with fresh cleaner until it runs clear and all paint is removed.
- Rinse and Remove Excess Liquid: Give water-based brushes a final rinse under clean running water. Shake or spin the brush to throw off excess water. For oil-based brushes, follow the solvent rinse with a soapy water wash.
- Reshape the Bristles Before It Dries: Use your fingers or a brush comb to straighten the bristles into their original chisel or angled profile. This is the step that keeps your brush from getting stiff and ruined.
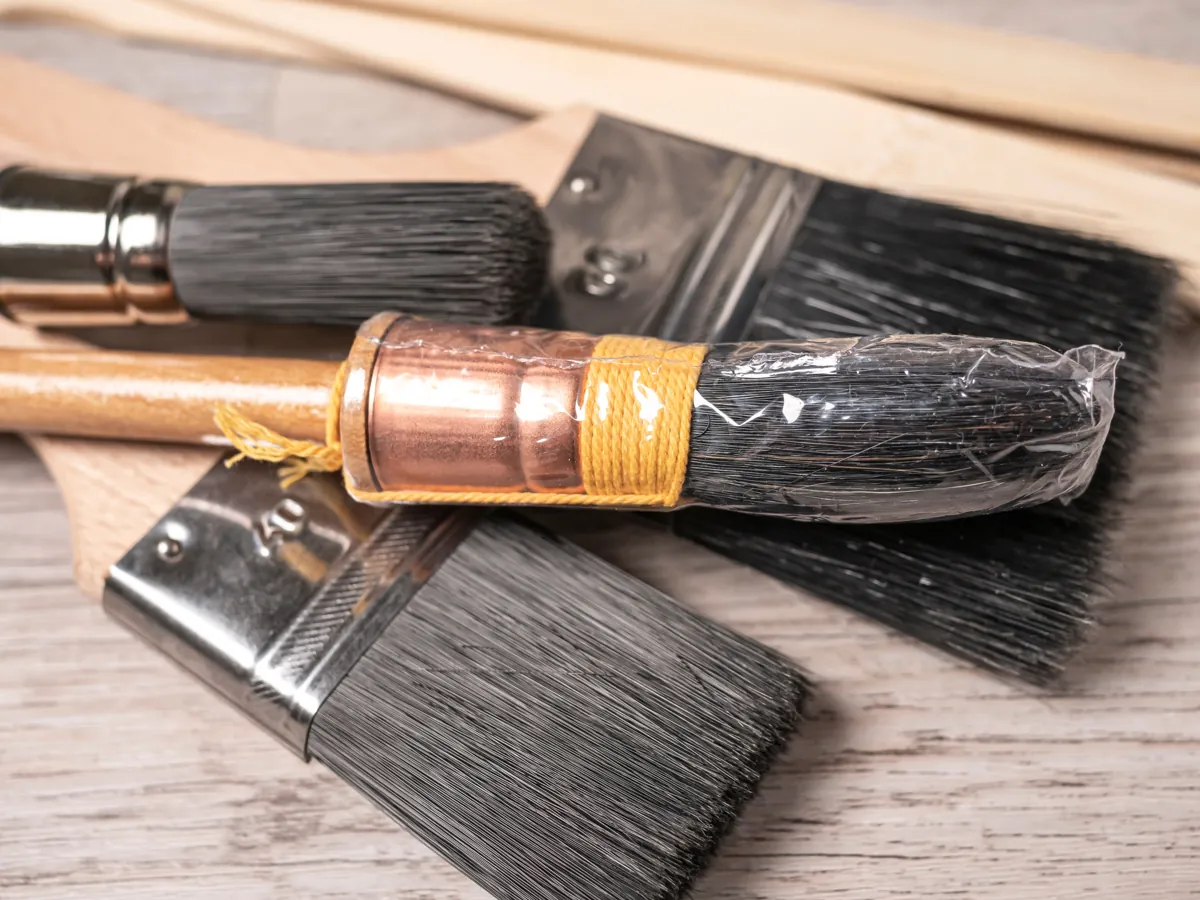
- Dry and Store Properly: Hang the brush by its handle or lay it flat to dry. Once dry, slide it back into its original cardboard keeper or wrap it in paper to hold its shape.
“Pro Tip 2: Use a Brush Comb Near the Ferrule. A stiff-tined brush comb pulls dried and semi-dried paint out of the base of the bristles. Comb from the ferrule toward the tip while the brush is wet with cleaner. This one tool removes the hidden paint that causes most brush damage. It also separates bristles that have started to clump together.”
Proper brush care is part of every quality project our crews complete. If you would rather skip the cleanup altogether, our interior painting services handle prep, painting, and cleanup from start to finish.
The U.S. Environmental Protection Agency (EPA) identifies paint thinners and mineral spirits as household hazardous waste, so used solvent should be taken to a local collection site rather than poured down a drain.
What Are the Most Common Paintbrush Cleaning Mistakes?
Avoiding these common DIY errors keeps your brushes in professional working condition:
- Letting the Brush Sit Too Long: Leaving a loaded brush on the can lid during a long break lets paint dry in the ferrule.
- Using Hot Water on Latex: Very hot water can soften some synthetic filaments and set certain acrylic binders. Warm water works best.
- Standing Brushes on Their Bristles: Resting a brush tip-down in a jar of water or solvent bends the bristles permanently.
- Skipping the Reshape Step: Bristles that dry splayed or bent stay that way, ruining the brush's ability to cut clean lines.
- Pouring Solvent Down the Drain: Mineral spirits and oil-paint residue should never go into household plumbing or storm drains.
“Pro Tip 3: Spin Out Water With a Brush Spinner. After the final rinse, a wet brush holds a lot of water deep in the bristle pack, which slows drying and can loosen the ferrule over time. A brush and roller spinner clamps the handle and spins the brush inside a bucket, throwing water out of the bristles in seconds. The brush dries faster, keeps its shape better, and is ready to wrap in its keeper the same day.”
Answers to Common Questions About Cleaning a Paintbrush
How long should it take to clean a paintbrush?
Cleaning a brush used with latex paint usually takes 5 to 10 minutes. Oil-based paint takes a little longer because it requires a solvent rinse followed by a soap wash. Cleaning immediately after use shortens the process.
Can you clean a paintbrush with just water?
Plain water can remove some fresh latex paint, but it rarely cleans the bristle pack completely. Adding a mild soap and using warm water lifts pigment and binder from deep in the bristles. Oil-based paint cannot be cleaned with water alone.
Can you reuse mineral spirits after cleaning brushes?
Yes, in many cases. Let the used mineral spirits sit in a sealed container until the paint solids settle to the bottom. Pour the clear solvent off the top into a new container for reuse, and dispose of the sludge properly.
How do you fix a paintbrush with dried paint in it?
Soak the bristles in the appropriate cleaner and work the softened paint out with a brush comb. Severely hardened brushes may need a commercial brush restorer. Some brushes cannot be fully recovered once paint cures in the ferrule.
Should a paintbrush be stored wet or dry?
Store a paintbrush only after it is fully dry. Hang it by the handle or lay it flat, then slide it into its keeper. Storing a damp brush in a sealed container can lead to mildew and rust on the ferrule.
Ready for Professional Interior and Exterior Painting Services?
Cleaning tools, protecting surfaces, and applying smooth finishes take time and technical skill. Let our experienced painting teams handle your next project safely, cleanly, and efficiently.
Note: Pricing estimates are based on 2026 regional averages. Every home is unique, and final quotes require an on-site assessment to account for material costs, prep work, and structural conditions.
Contact the team at That 1 Painter today to schedule your detailed, obligation-free on-site estimate, and enjoy a professional finish without the cleanup. Book Your Free Professional Estimate Now
