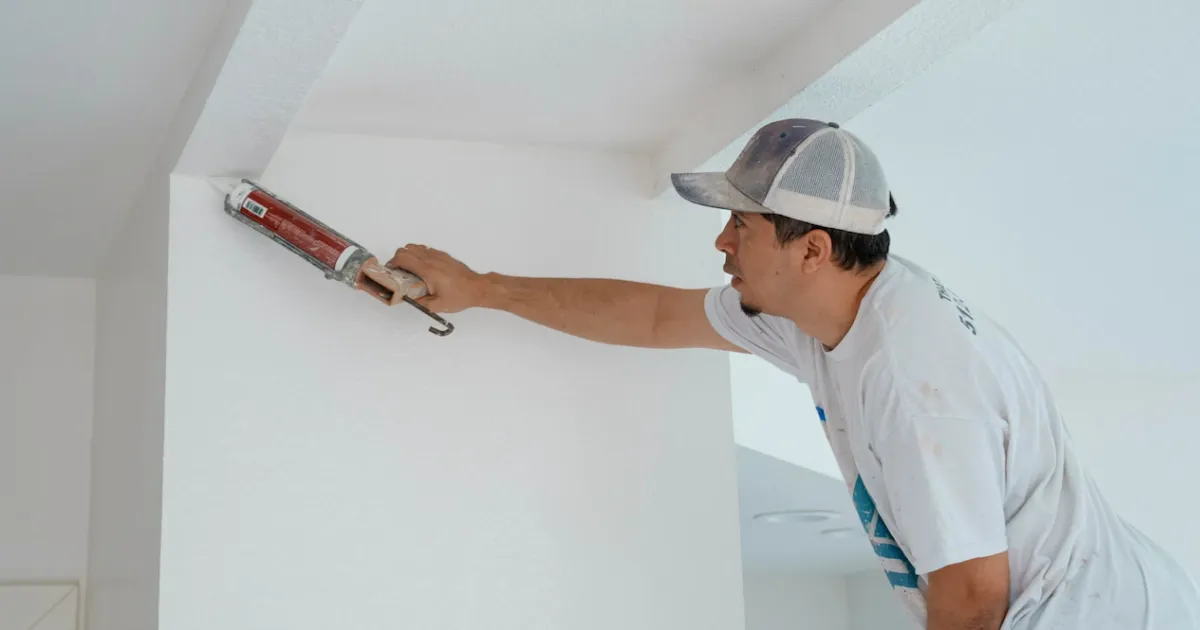
"Awesome communication throughout. Competitive pricing. Fast turn around. Had them remove popcorn ceiling and repaint ent…"
Katie Karow

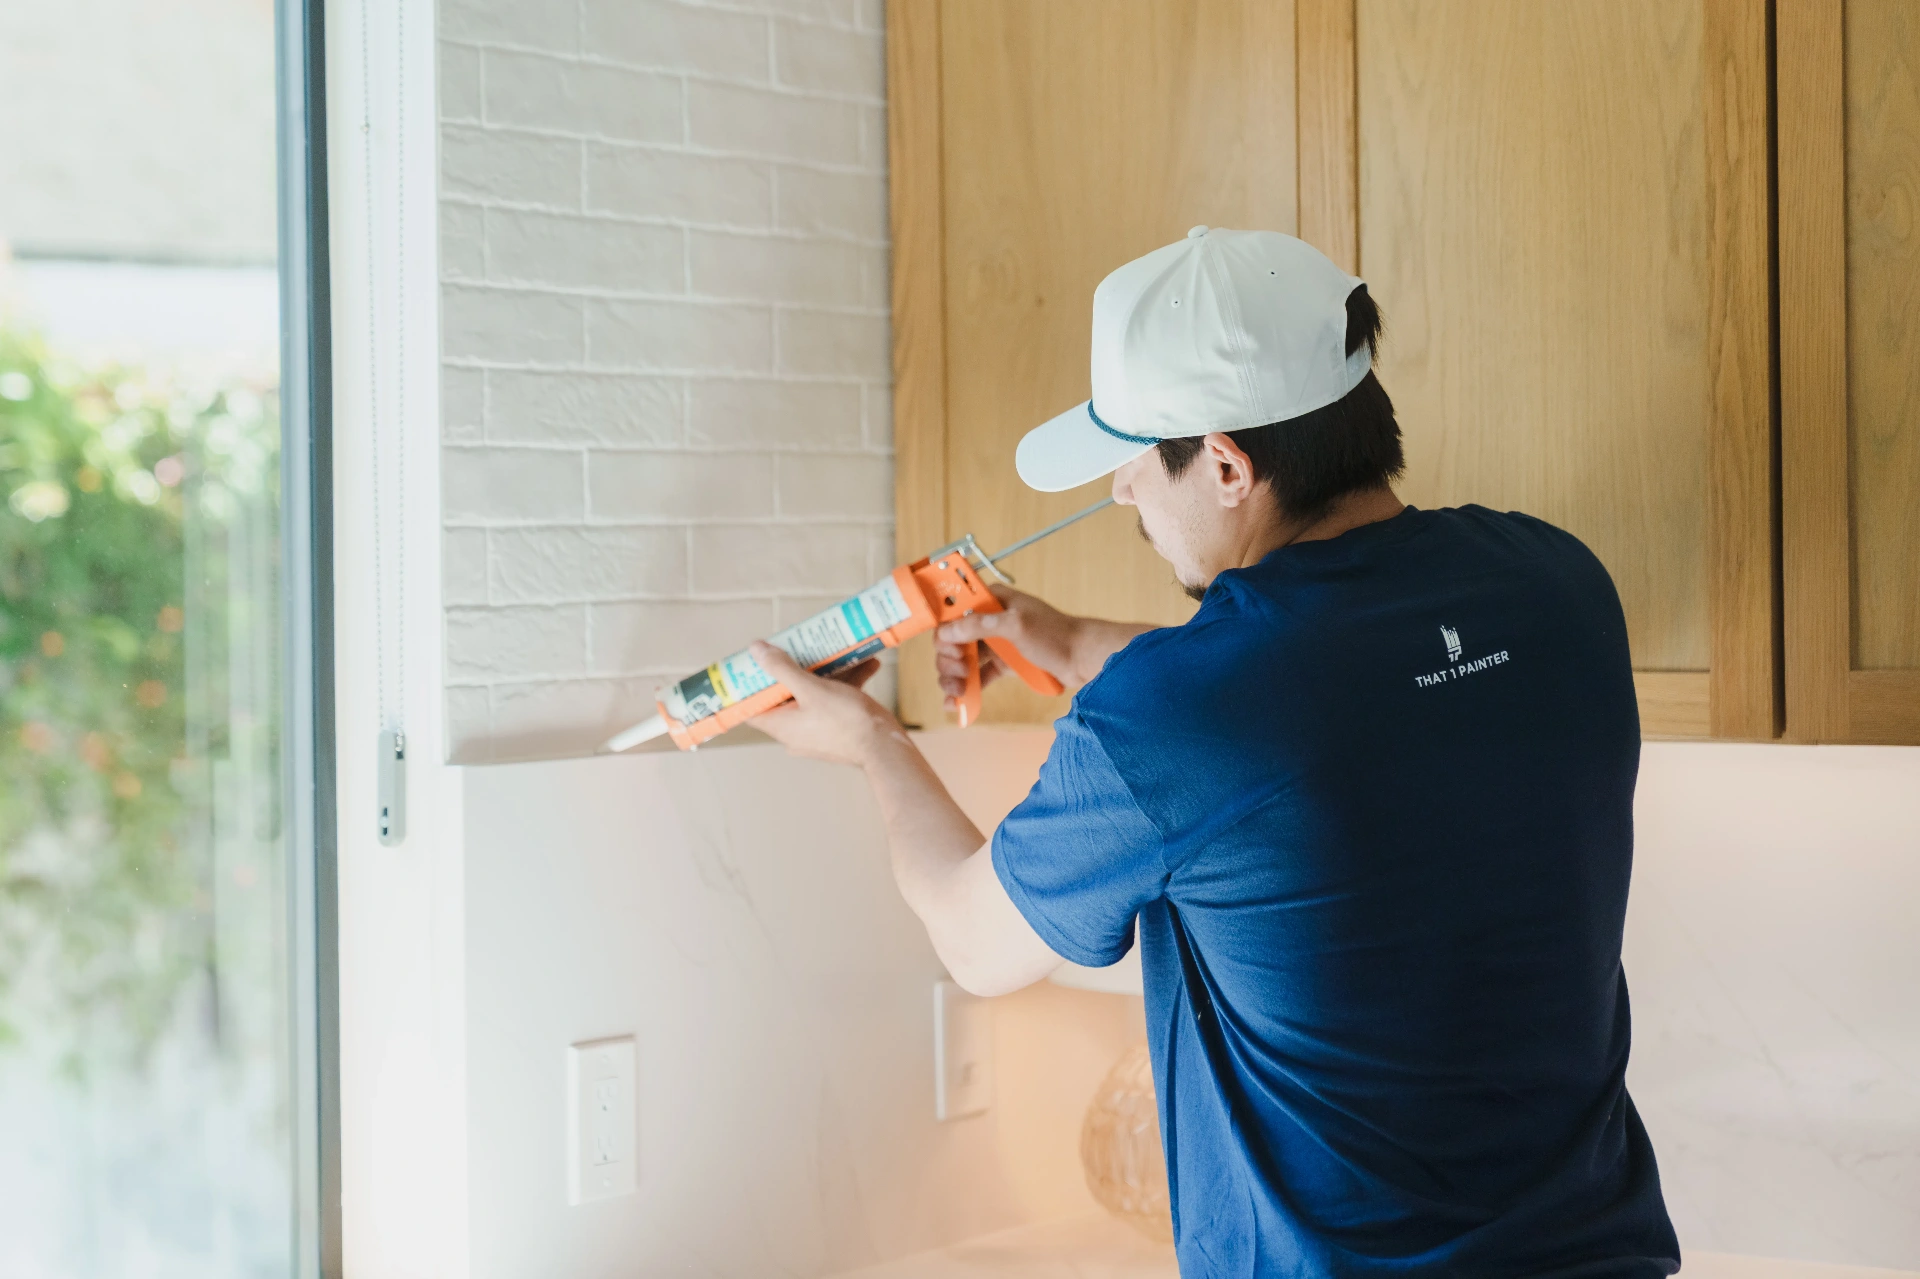
Caulking for homes and businesses across Twin Cities and neighborhoods including Anoka County, Hennepin County, Ramsey County. That 1 Painter Twin Cities brings expert crews, premium products, and a 3-year transferable warranty to every project in Minnesota.
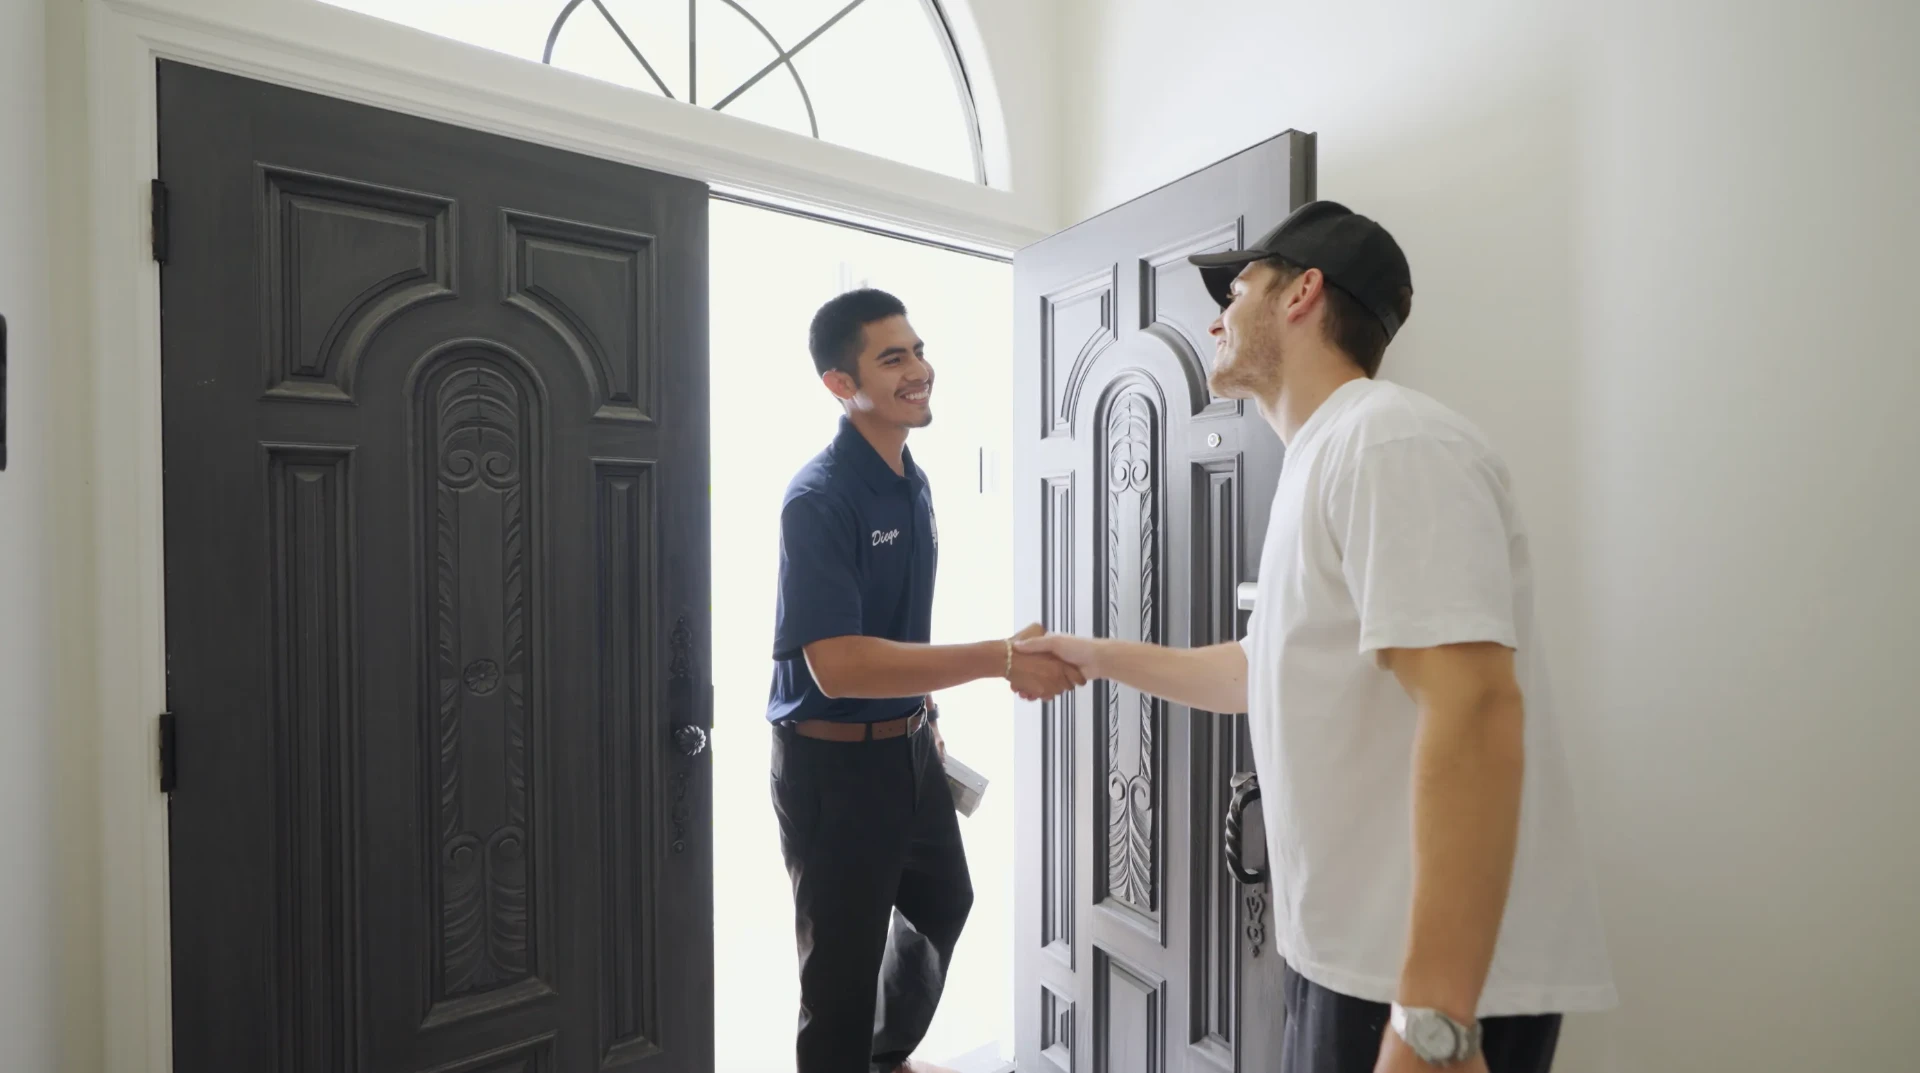
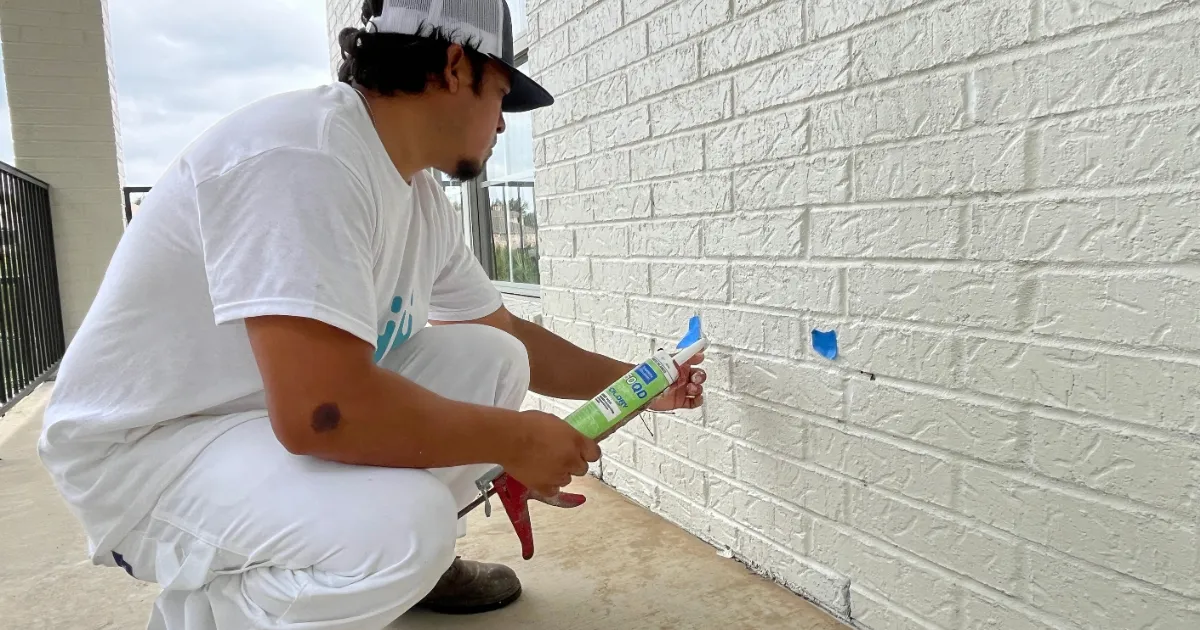
Your project manager inspects every joint where two materials meet: trim, siding, windows, doors, tubs, and backsplashes. We mark failed, cracked, or missing caulk and match the right sealant to each substrate.
Full Joint Inspection & Failure Mapping. Your project manager inspects every joint where two materials meet: trim, siding, windows, doors, tubs, and backsplashes. We mark failed, cracked, or missing caulk and match the right sealant to each substrate.
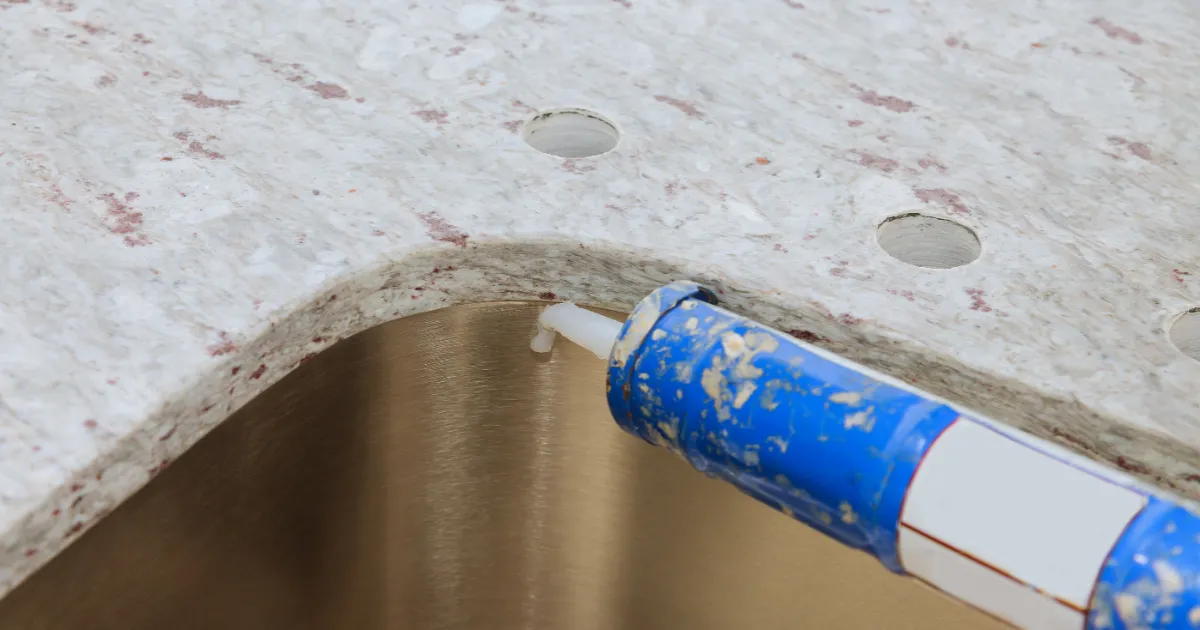
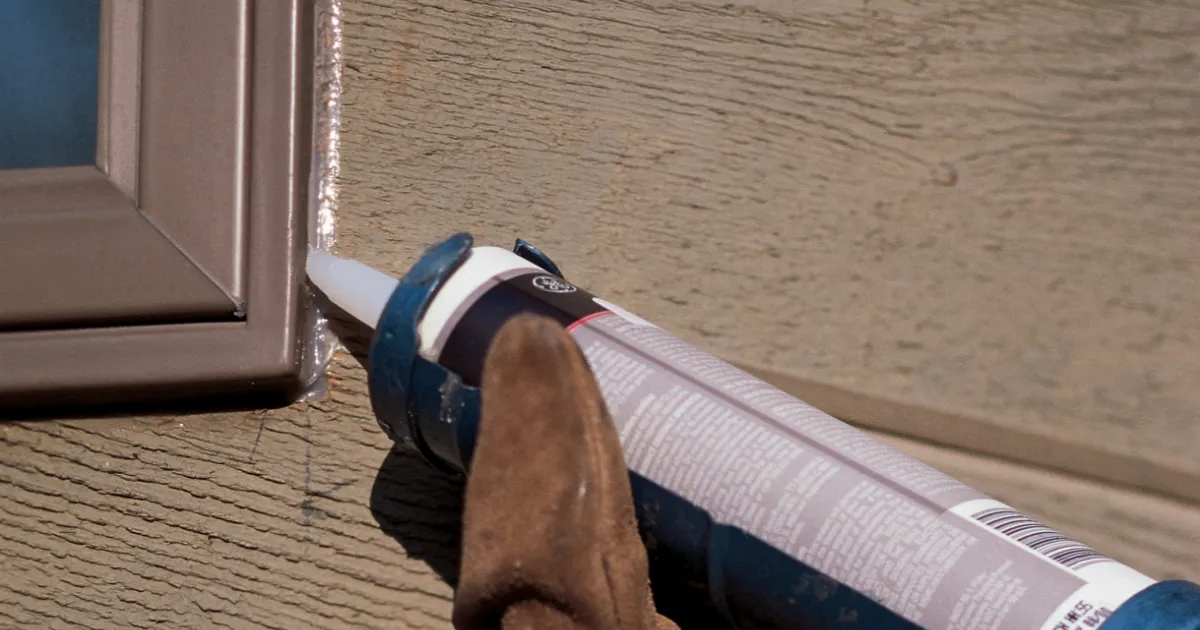
Failed caulk is fully removed, never caulked over. Wide joints get backer rod for the proper hourglass profile, and we select the right sealant for each location: silicone for wet areas, urethane for exterior joints, paintable acrylic-latex for trim.
Removal, Cleaning & Backer Rod. Failed caulk is fully removed, never caulked over. Wide joints get backer rod for the proper hourglass profile, and we select the right sealant for each location: silicone for wet areas, urethane for exterior joints, paintable acrylic-latex for trim.
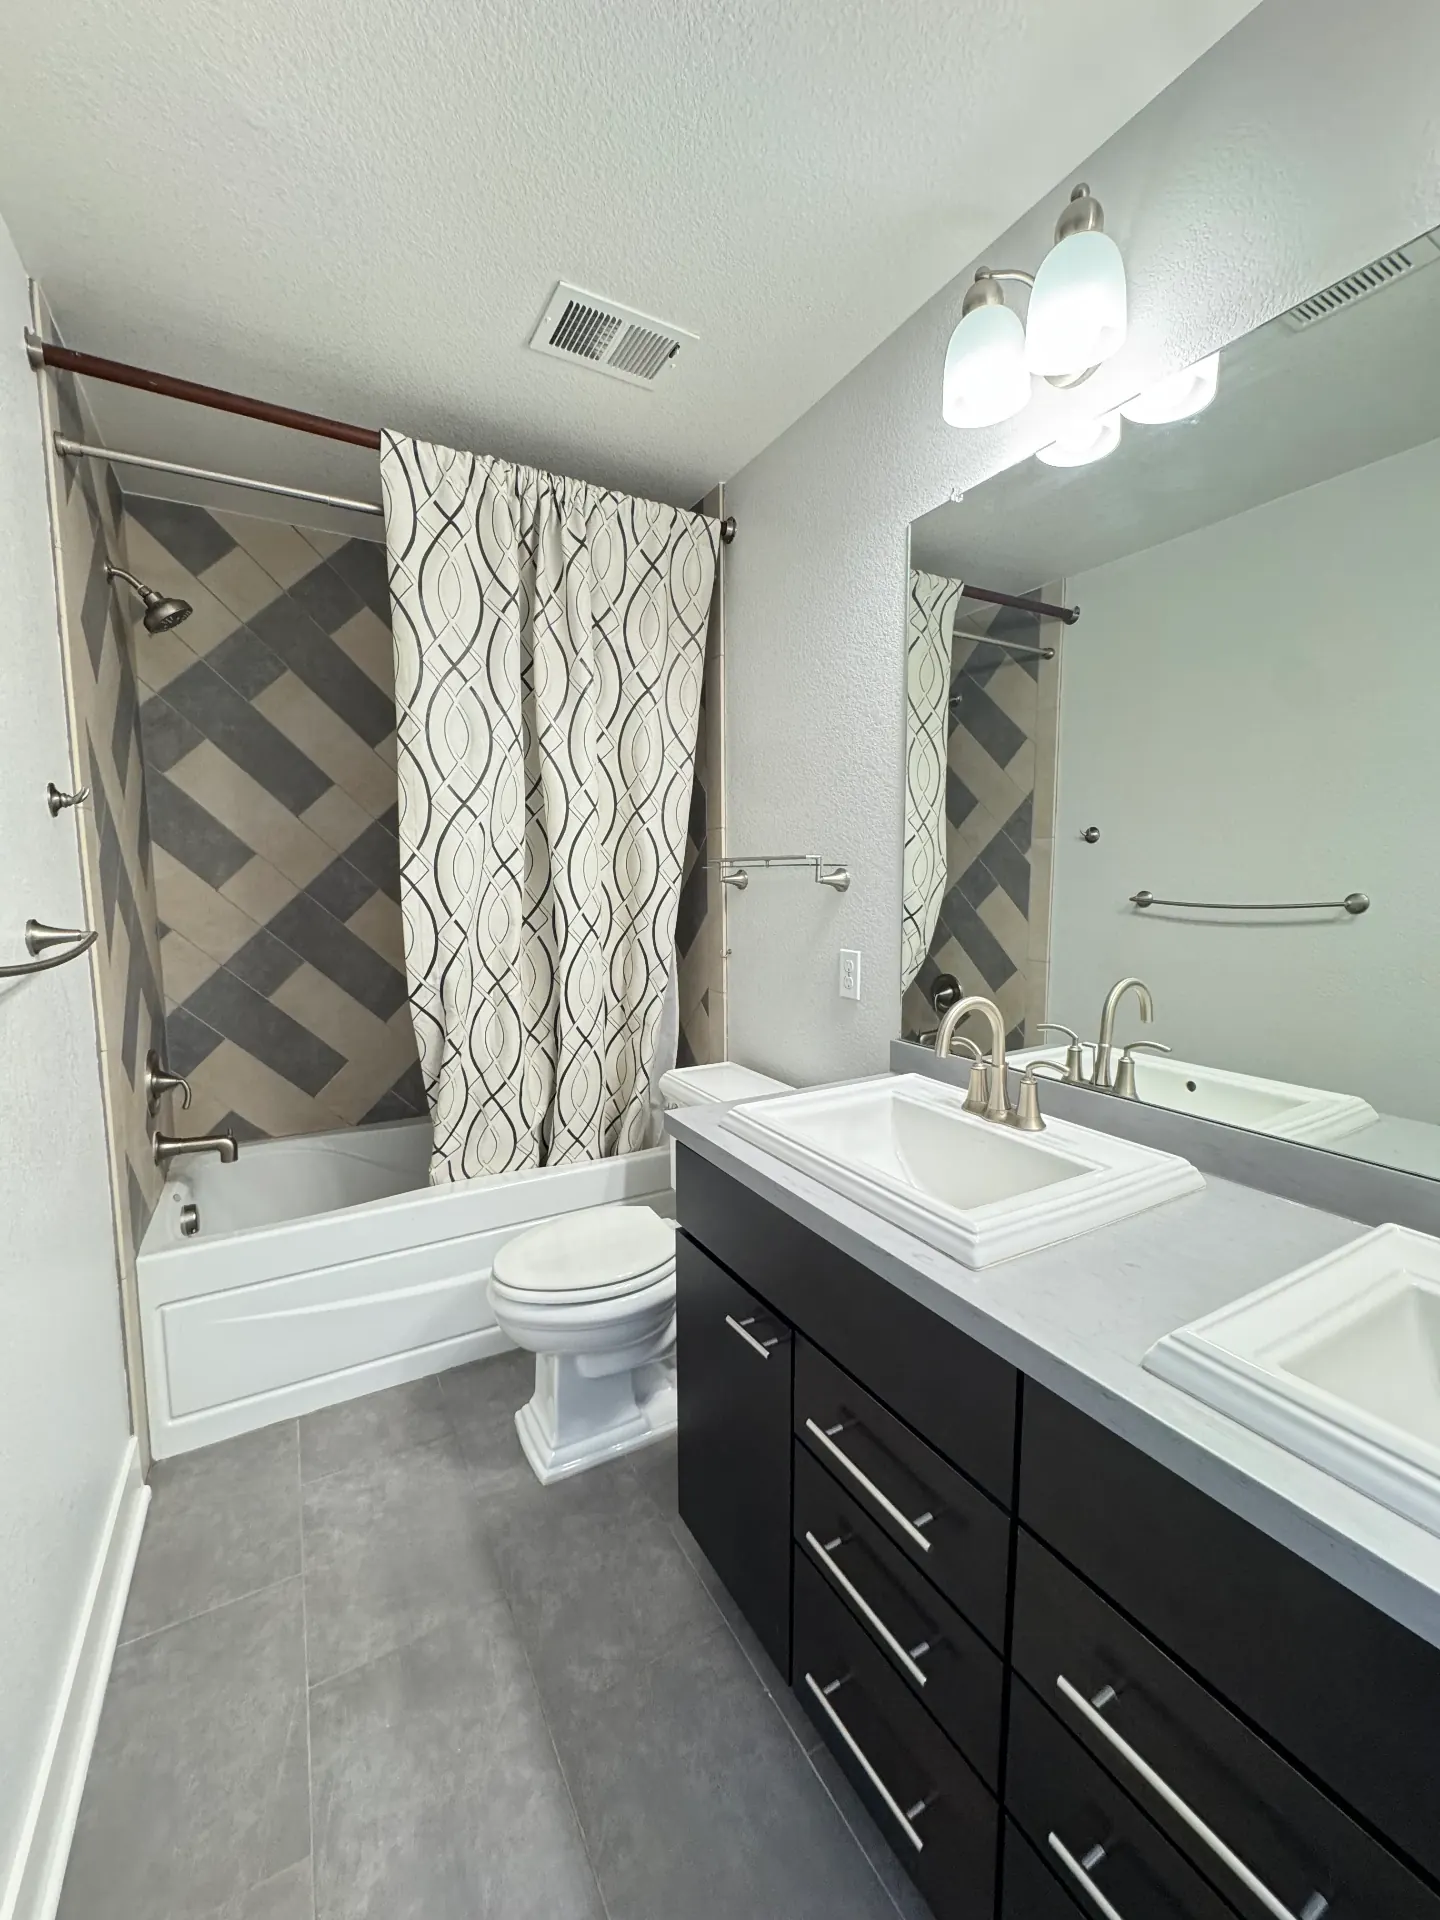
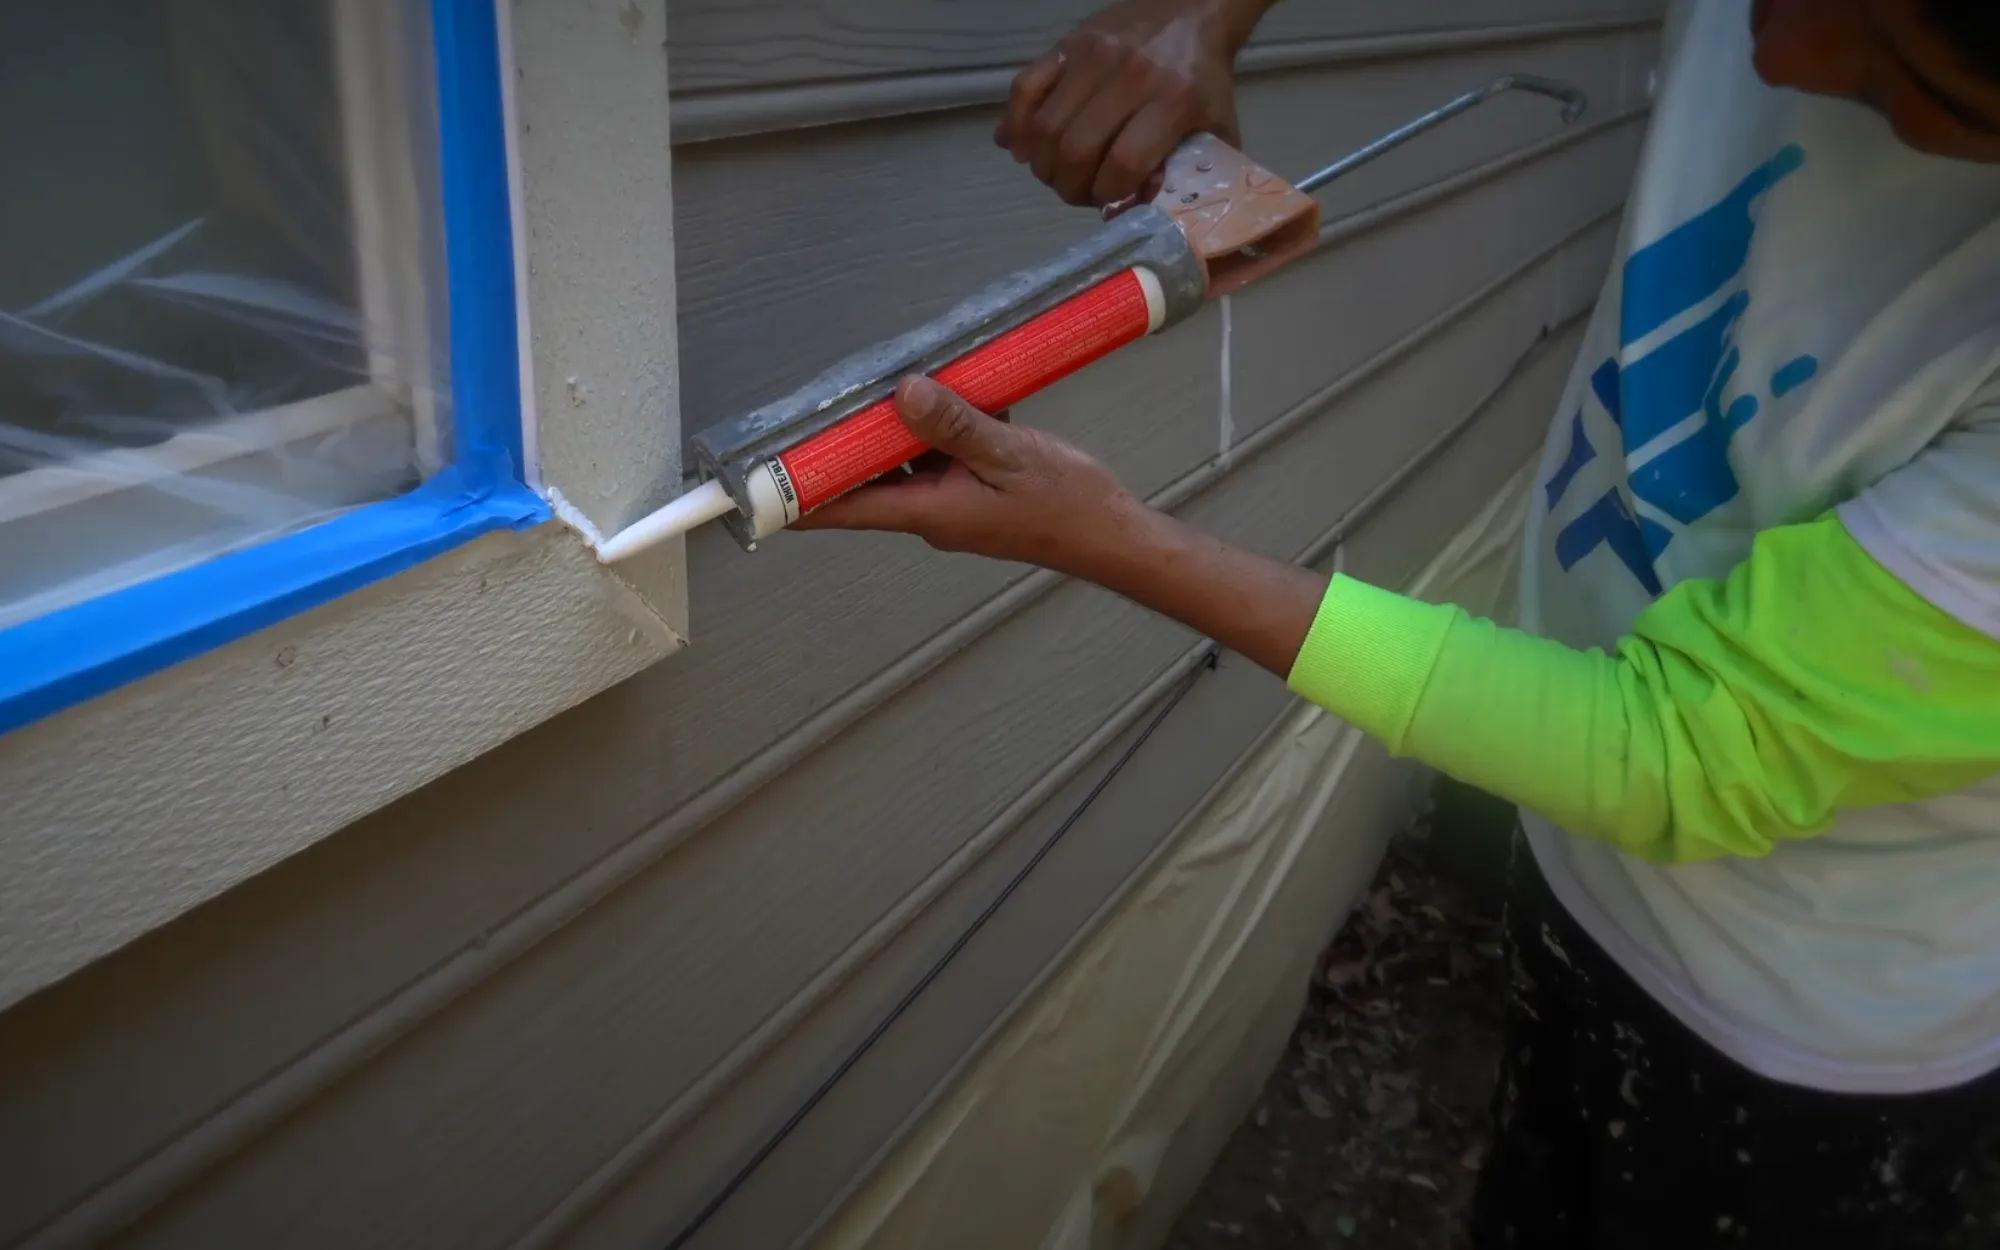
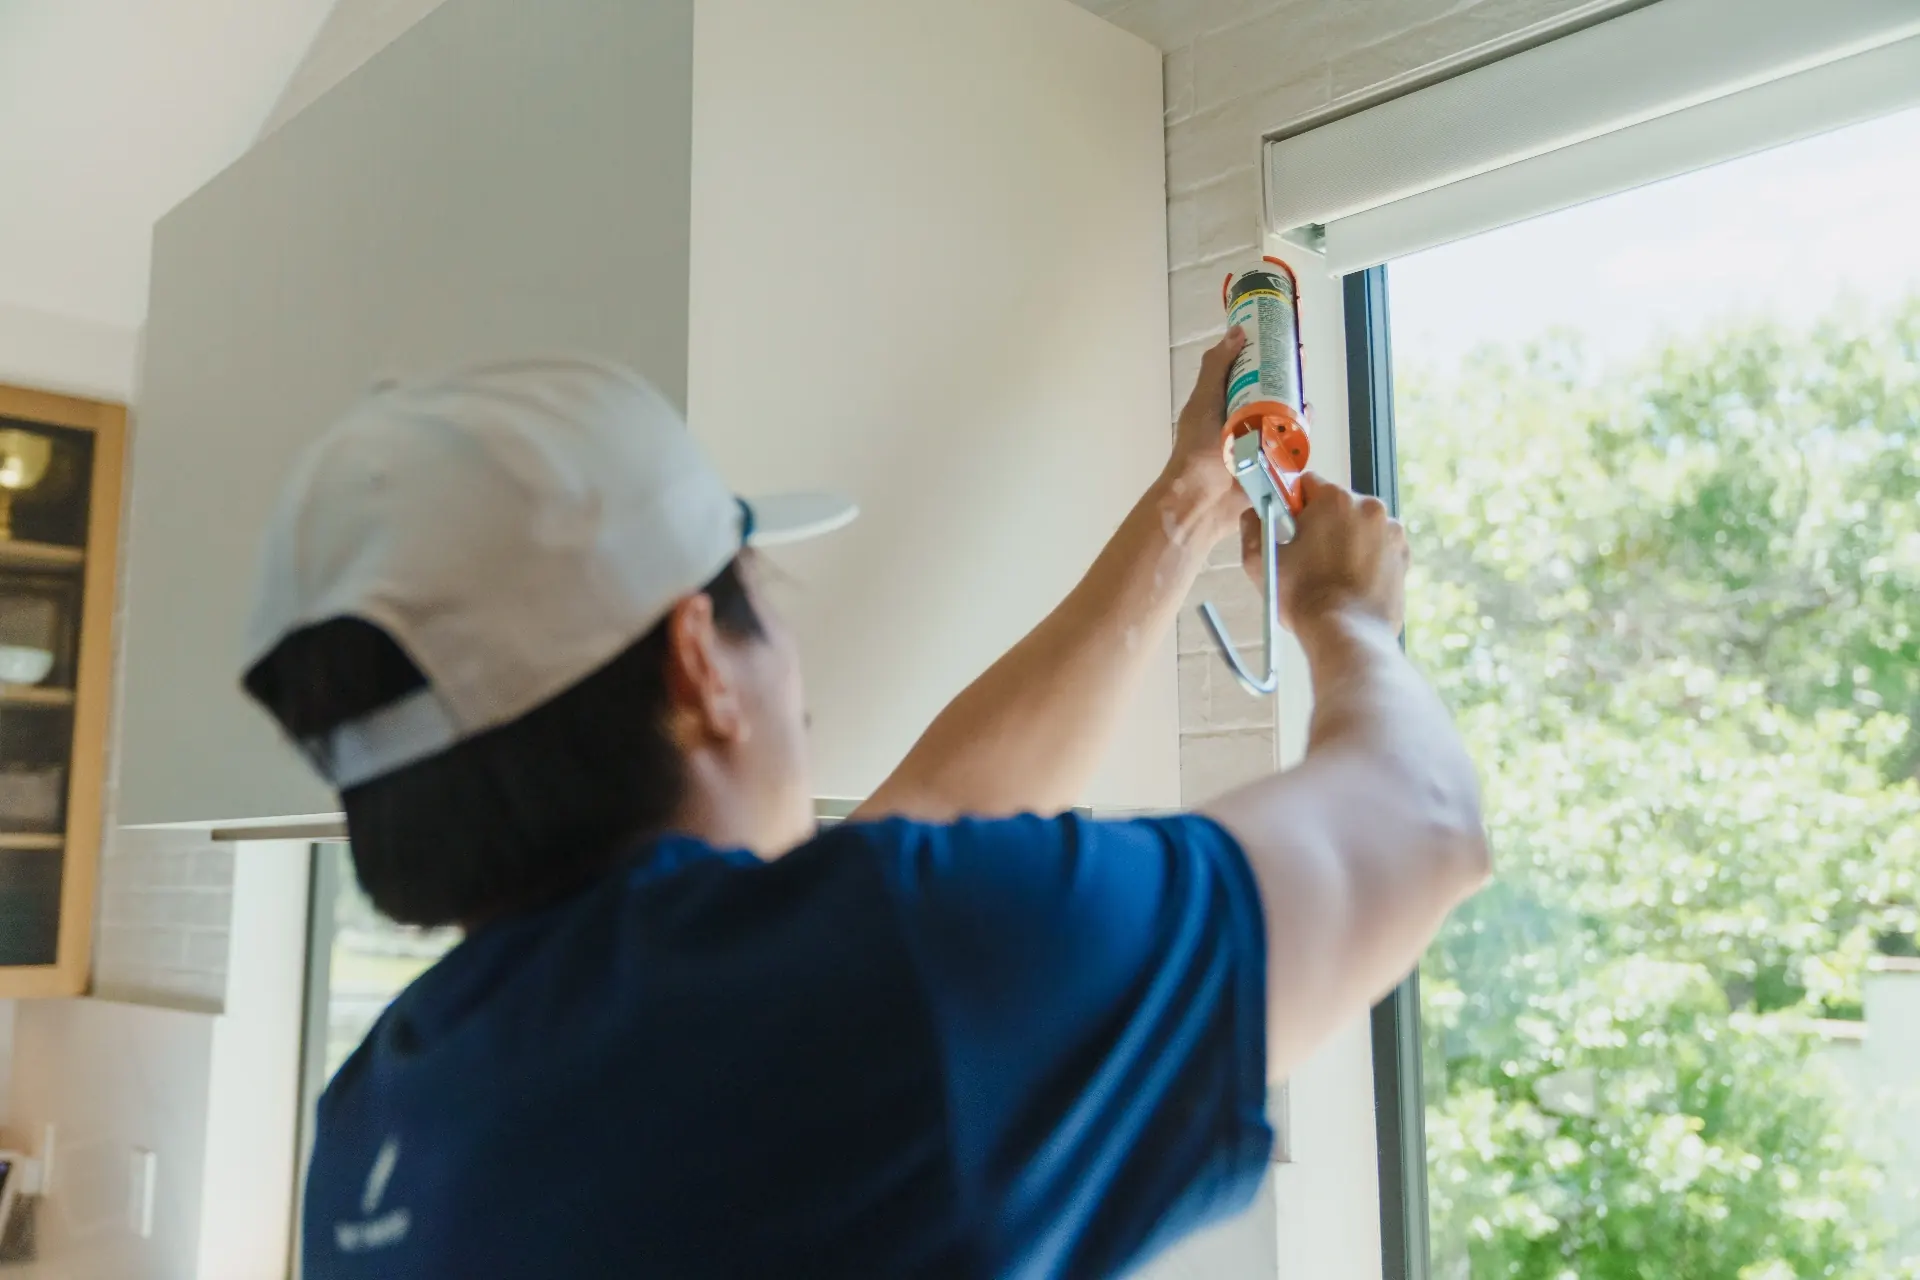
Beads are applied at consistent depth and tooled cleanly so the sealant bonds to both substrates. Painted joints read as one continuous surface, and full cure time is respected before water or paint exposure.
Application, Tooling & Cure. Beads are applied at consistent depth and tooled cleanly so the sealant bonds to both substrates. Painted joints read as one continuous surface, and full cure time is respected before water or paint exposure.
Number of Territories
0+
Number of Paint Jobs
0+
5-Star Reviews5-Star
Reviews5 Star Reviews
0+
"Awesome communication throughout. Competitive pricing. Fast turn around. Had them remove popcorn ceiling and repaint ent…"
Katie Karow
"Tyler did a great job following up throughout the process to make sure we reached the desired outcome for our home."
Mike Carman
"The entire team was great to work with. They did an amazing job and finished ahead of schedule. Highly recommend them fo…"
Jill Dian
"I had the BEST experience with this company and would recommend them to anyone looking for great quality work in a quick…"
Kelly Callaway
"Awesome communication throughout. Competitive pricing. Fast turn around. Had them remove popcorn ceiling and repaint ent…"
Katie Karow
"Tyler did a great job following up throughout the process to make sure we reached the desired outcome for our home."
Mike Carman
"The entire team was great to work with. They did an amazing job and finished ahead of schedule. Highly recommend them fo…"
Jill Dian
"I had the BEST experience with this company and would recommend them to anyone looking for great quality work in a quick…"
Kelly Callaway
"Fast, clean and great crew"
Cindy McGannon
"Tyler, I believe was a manager was phenomenal. From the time he came out to give us an estimate, to the very last day of…"
Cali Pentland
"A great team of professionals from estimate, job performance, clean up and after work follow up to ensure I was satisfie…"
Aj F
"They did an excellent job. My place is so much more modern with a new coat of paint. It's so much brighter in my home. A…"
Diane Ward
"Great experience! Chloe made everything really streamlined and my crew was awesome! Super efficient but paid attention t…"
Meghan Brown
"That 1 Painter Twin Cities did an incredible job of painting the interior of my home. They repaired a long crack in the…"
Norma Parker
"The job managed by Chloe was excellent. The painters did a good job and cleaned up nicely when they were done. They were…"
Marlys Moen
"What an amazing, hassle free service! Thank he team did an excellent job pairing my condo. It feels so fresh and new now…"
Reham Habib
"That one painter did a fabulous job with our house! Nolan, the site manager was great to work with and Tony and his team…"
Julianne Hertog
"That 1 Painter has a lot of paint crews. I think I got the best one. My job exceeded all of my expectations. It looks gr…"
Walter White
"We could not be happier with the customer service, painting, and final produce from Nolan, Michelle, Eswin and team! The…"
Katey Wheeler Cole
"Communication and customer service are definitely a priority for Nolan and the crew that painted our home's exterior. We…"
Carol Engstrom
"Amazing experience! Great communication, very fast and the job was done to perfection! Highly recommend!"
Emily Dahl
"Great job, from bidding to completion of work! Entire main floor was painted and crew did a thorough job, with emphasis…"
Nancy Pascutoi
"I've always been that DIY kind of person, but when it came to painting the exterior of my house, I knew I needed profess…"
mary bauer
"The painters took care with my home."
Laura brazil
"Chloe and the team did an outstanding job. She saw the job through start to finish and her team was spot on. Thank you."
Brian Auge
"Gorgeous freshly painted window casings, knock-down ceiling, and fresh painted walls. I'm smitten! Painters are very tal…"
Pamm Post
"Super impressed and genuinely happy with the work this team did. From the first consultation to the final touch-ups, the…"
KT M
"I can't recommend That 1 Painter enough! Chloe was immensely kind and helpful throughout the entire project. Eswin is an…"
Caitlin Sweetser
"We could not be happier with "That 1 Painter" and their work. Nolan is a pleasure to work with and his team (Ramiero & E…"
Kathy Riazi
"After meeting at the Victoria home show in April, Nolan came out and discussed my project. He is very professional, cour…"
Craig Jelinek - NV Bell
"Thorough planning, preparation, and execution"
Marjorie Eisenach
Savings on heating and cooling from proper air sealing
Energy Star
Maximum annual energy savings from sealing
U.S. Department of Energy
Typical payback period for caulking investment
U.S. Department of Energy
Trusted Paint Partners
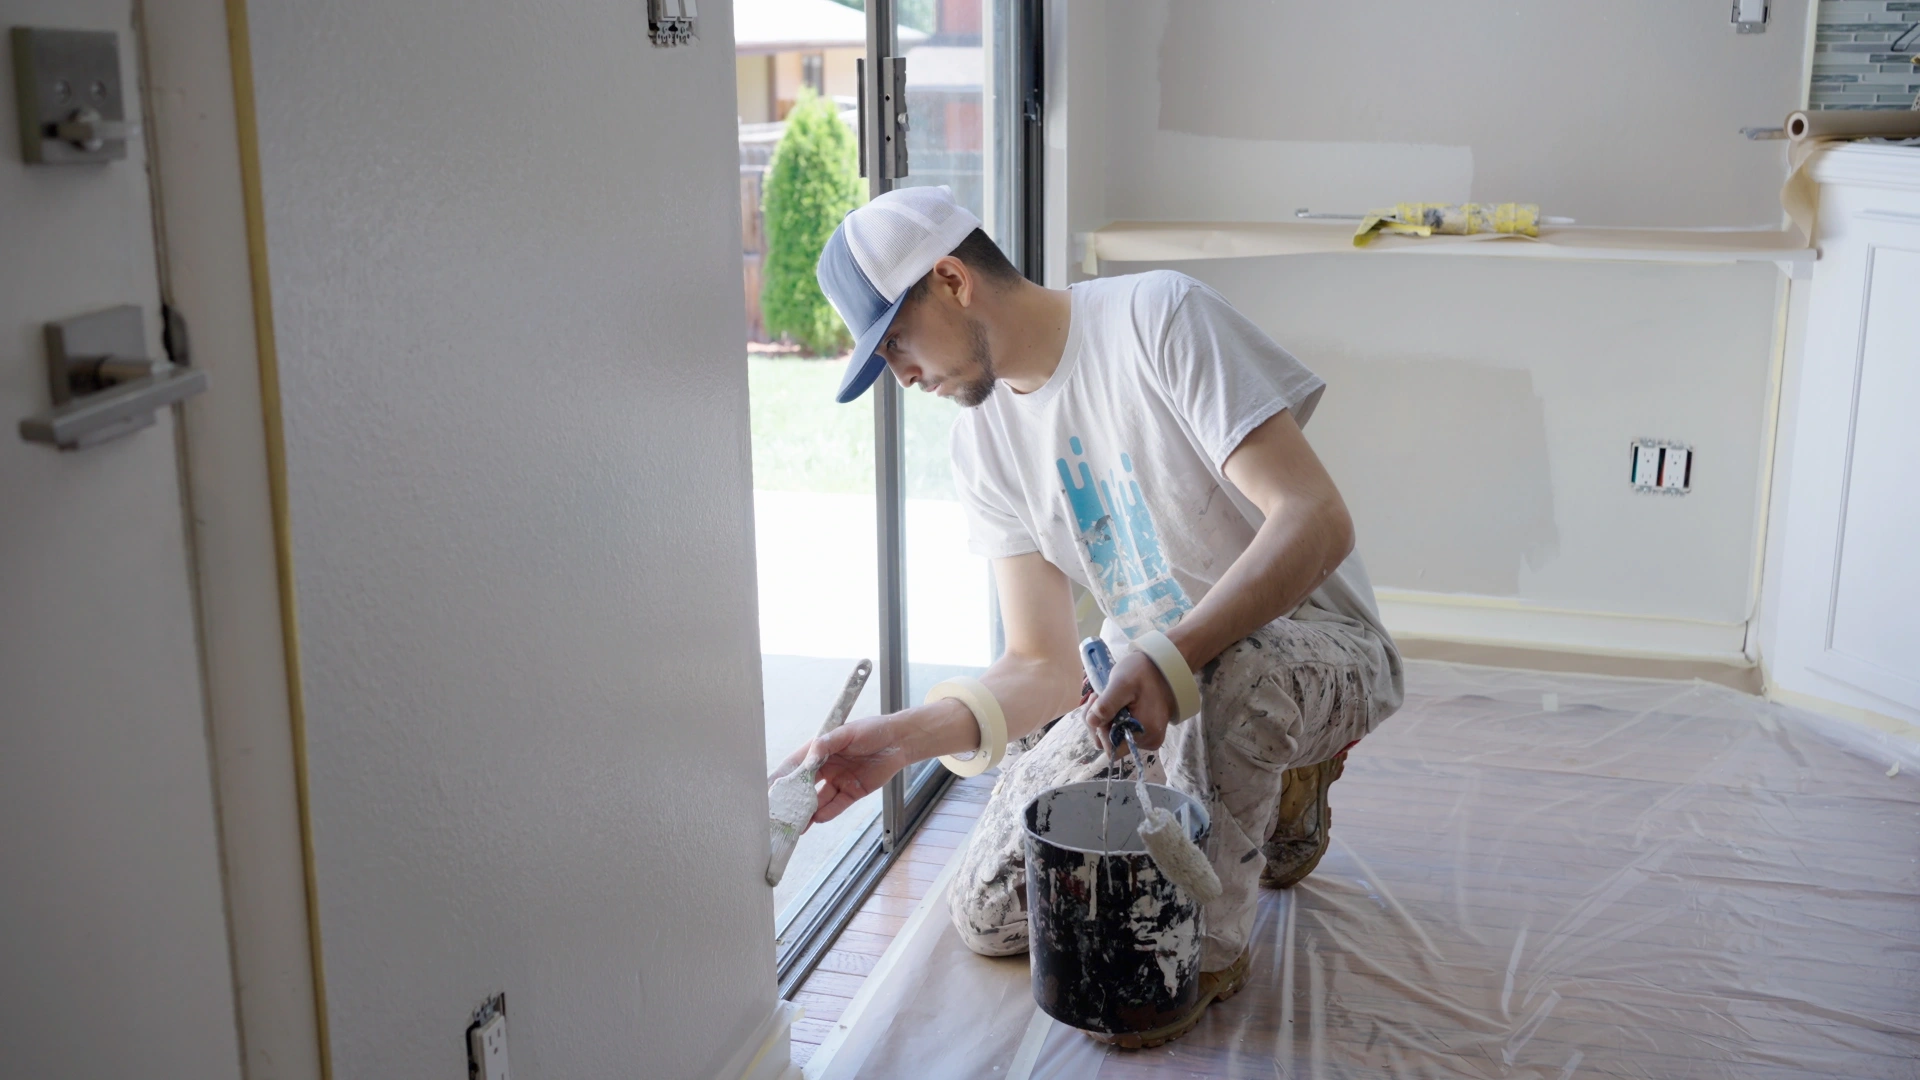
Your peace of mind, at the top of mind with our three-year transferable warranty. Covers the painting job, even if you sell the house.
Download WarrantyExpert tips, how-to guides, and inspiration for your next caulking project.
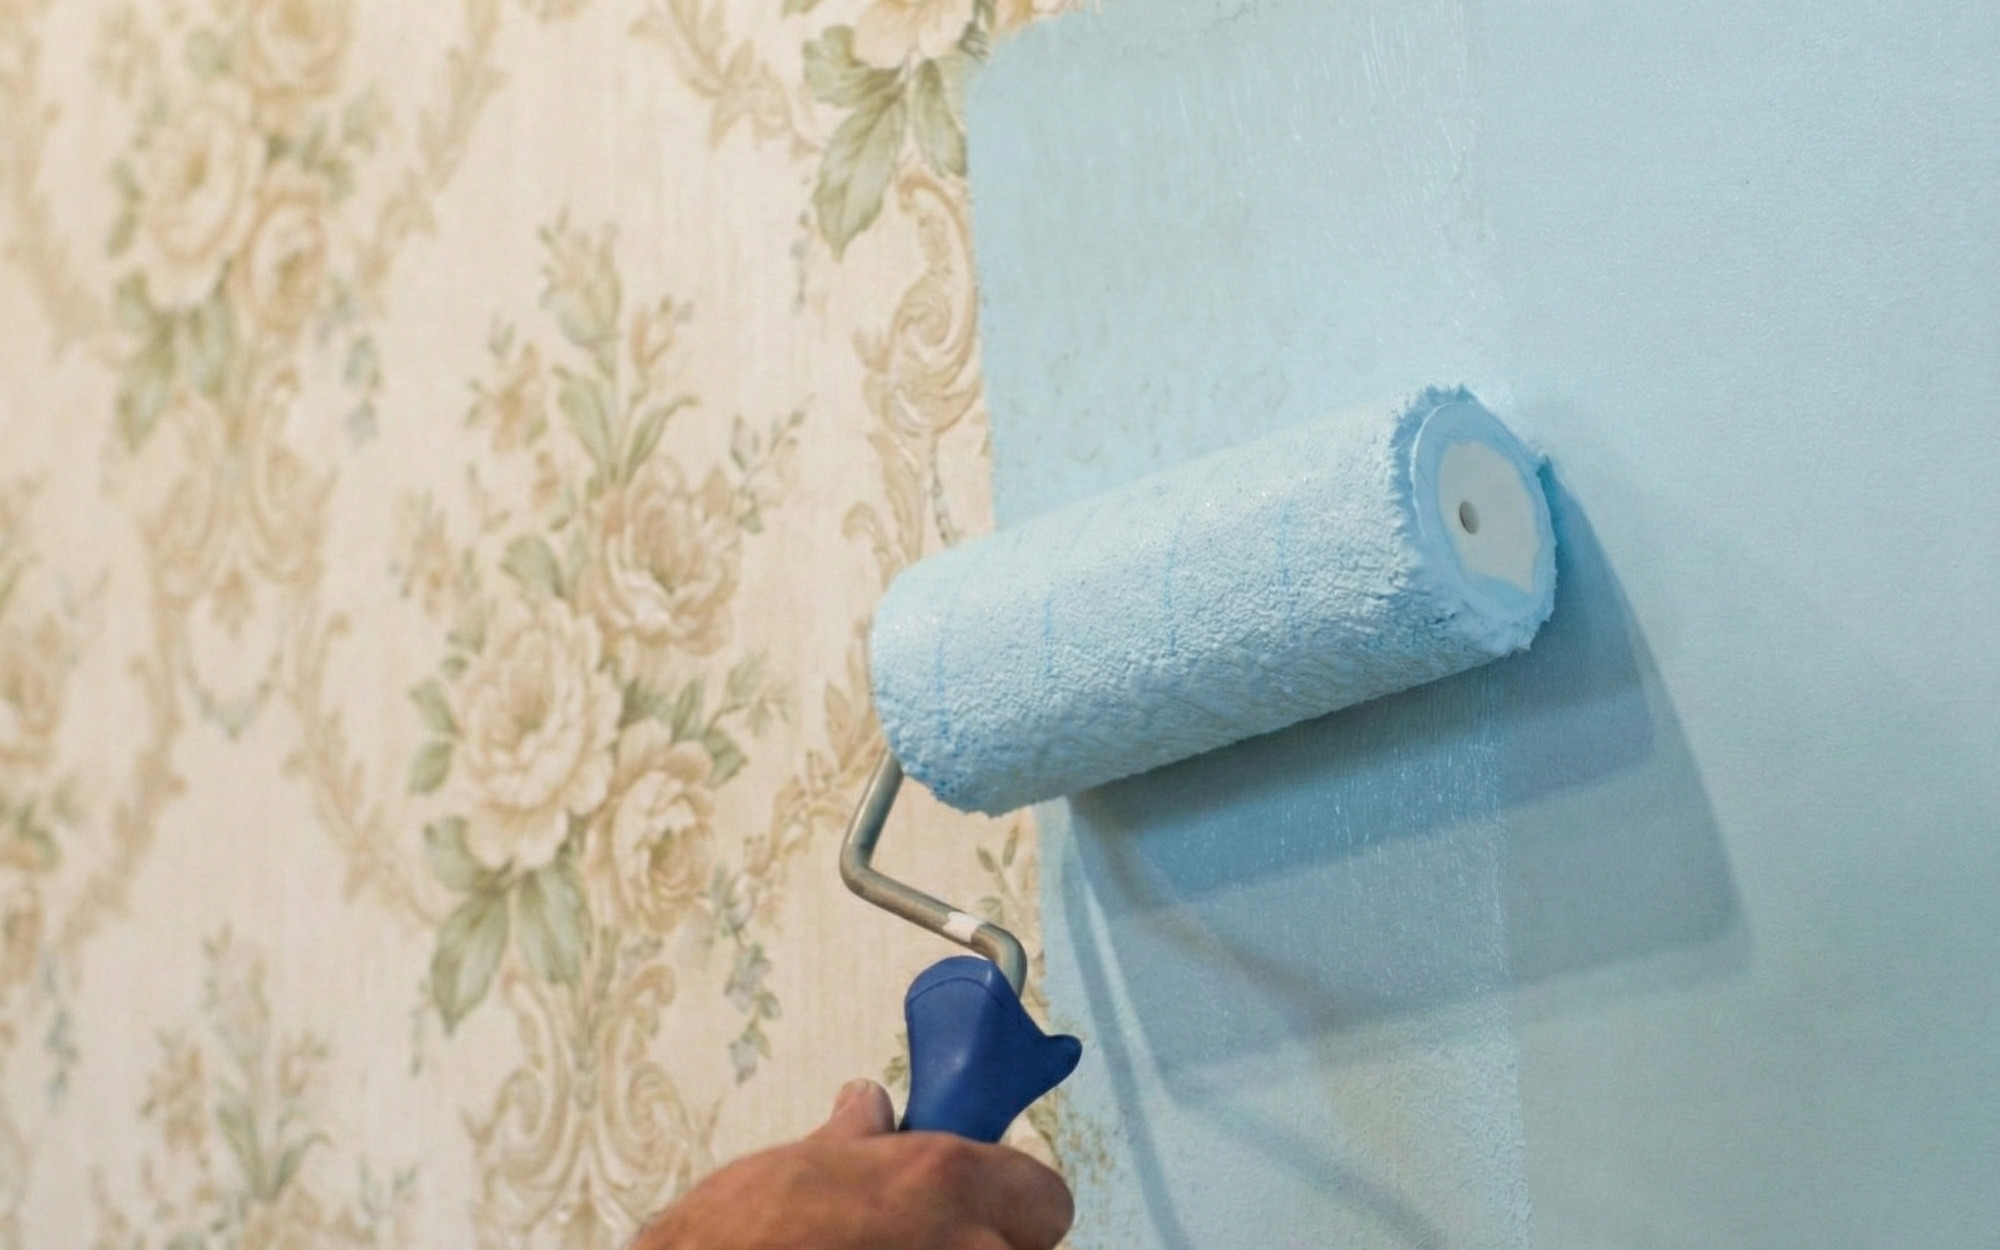
Yes, you can paint over wallpaper, but only if it is smooth, fully adhered, and structurally stable.
Read More →
Color drenching breaks all the rules by applying a single color across every surface in a room.
Read More →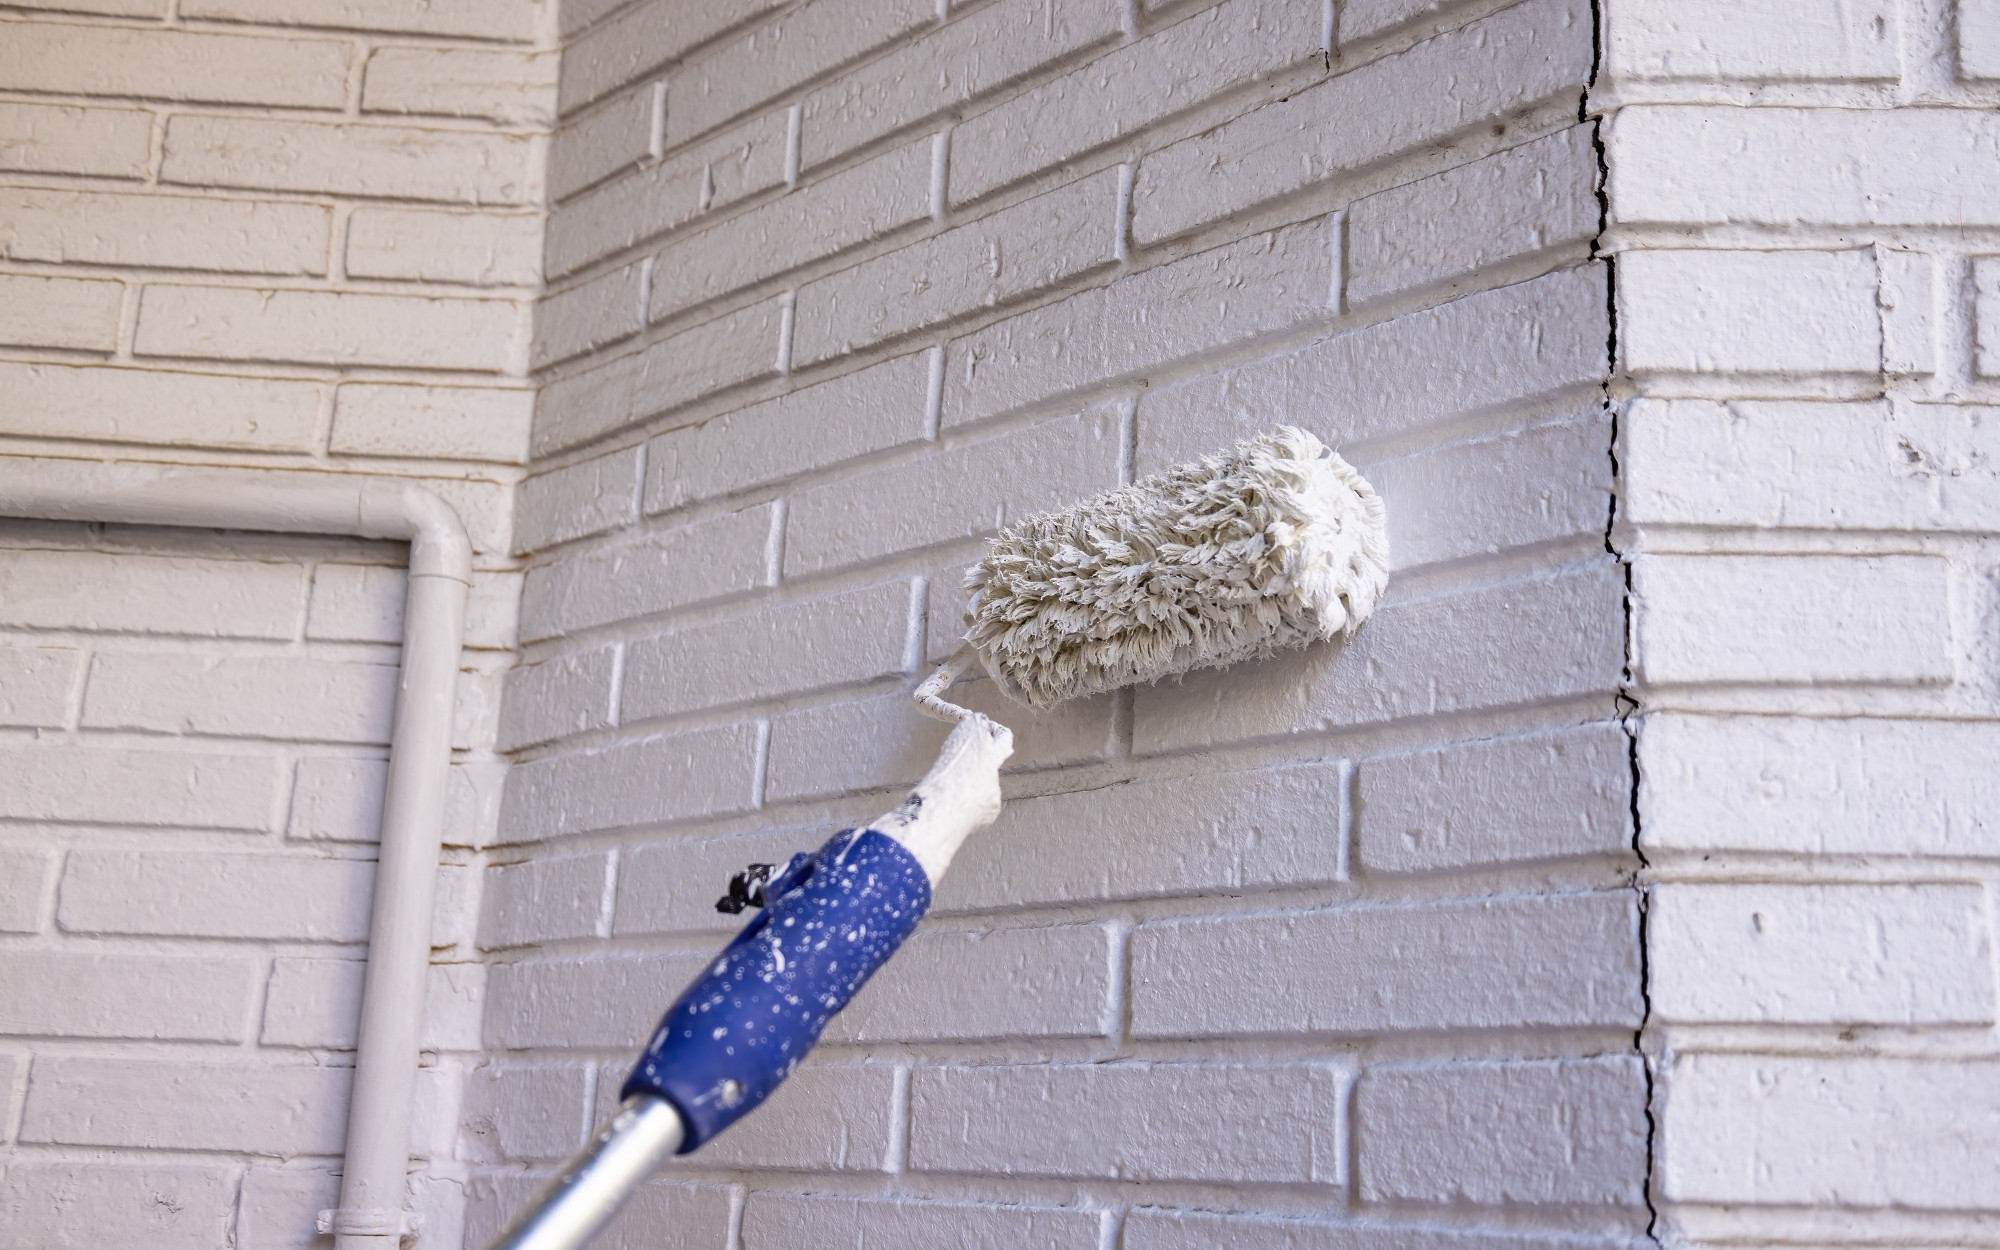
Painting brick is one of the most common exterior questions homeowners ask, and also one of the easiest places to make costly mistakes.
Read More →Swipe to explore →
Yes, you can paint over wallpaper, but only if it is smooth, fully adhered, and structurally stable.
Read More →Color drenching breaks all the rules by applying a single color across every surface in a room.
Read More →Painting brick is one of the most common exterior questions homeowners ask, and also one of the easiest places to make costly mistakes.
Read More →