By The That 1 Painter Team
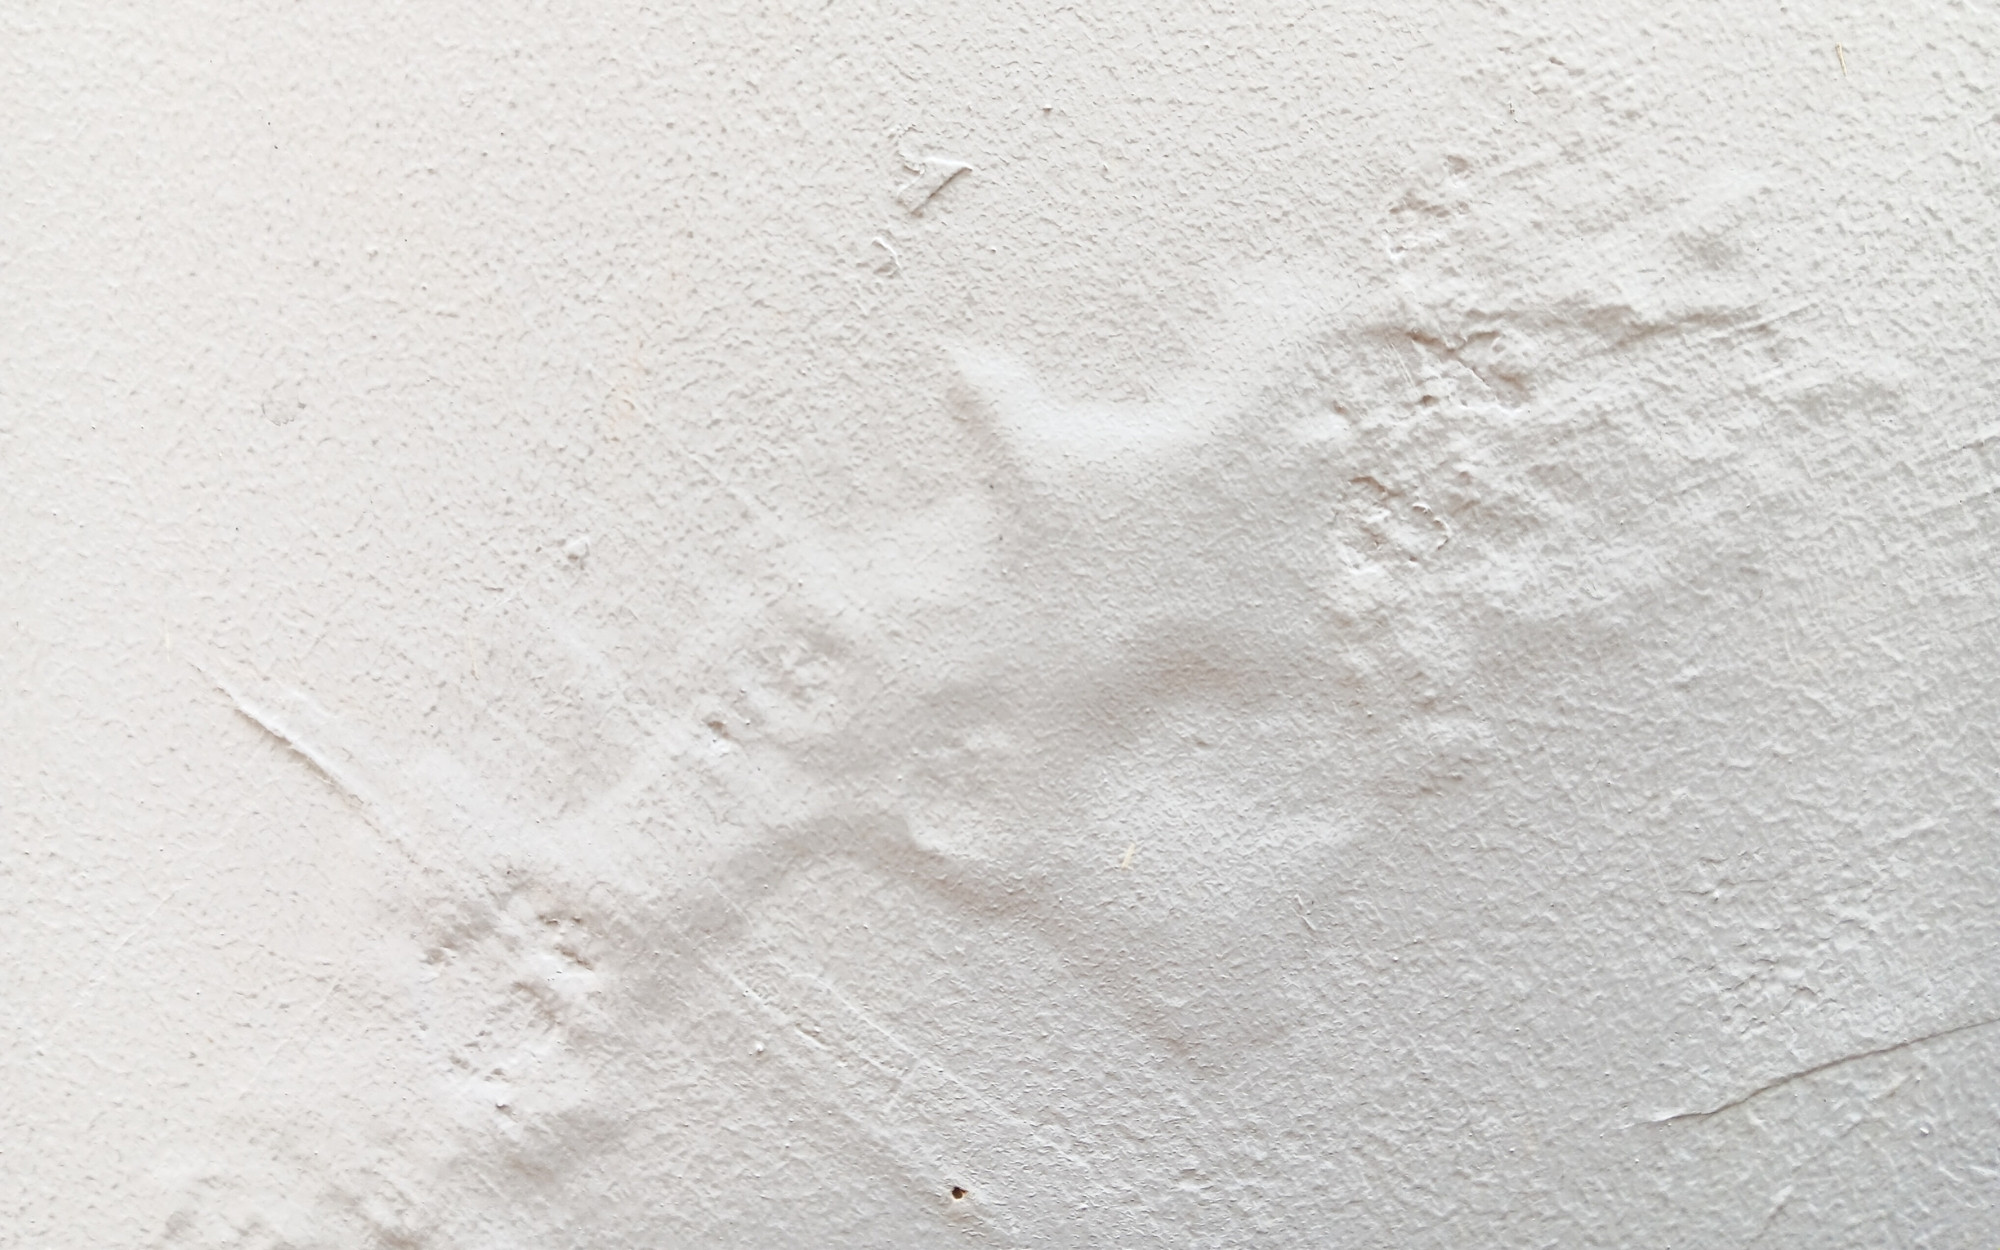
Paint bubbles are a symptom, not a random defect. If you need to fix paint bubbles, the most important step is figuring out why they happened in the first place, usually moisture, heat, dirty surfaces, or poor adhesion. Once you identify the cause, the repair is straightforward and permanent if you follow the right prep and repaint steps.
Quick Steps to Fix Paint Bubbles
If you’re only looking for the quick steps:
- Stop painting and let the area dry fully.
- Scrape every loose blister and flake down to solid paint or bare substrate.
- Sand to feather edges (typically 150 to 220 grit depending on surface).
- Patch the drywall if it was torn or cratered
- Clean dust and residue completely, then let it dry.
- Prime bare or patched areas with the correct primer.
- Repaint with proper roller technique and avoid rolling back into paint that is setting.
Bubbling and blistering often comes from trapped air, moisture, or application issues, and the cure is correcting conditions plus proper prep and re-coat steps.
Why Did My Paint Start Bubbling?
“Paint bubbles” and “paint blistering” are the same failure: domed bumps that form when air, moisture, solvent vapor gets trapped under the paint film, or when the film cannot bond to what’s underneath.
Important: If you press on and simply paint over bubbles, you usually lock in the problem and make the repair larger later.
Find the Paint Bubbling Cause with 3 Tests
Test 1: Press the bubble
- Soft or spongy bubbles can point to moisture under the film.
- Hard, brittle, flaky is usually adhesion failure from poor prep or incompatible layers
– Incompatible layers means your new paint can’t properly bond to the layers underneath – like painting water-based paint over oil-based.
Test 2: Look at the location
- Bathrooms, kitchens, basements, laundry rooms: moisture is a prime suspect.
- Near windows, exterior walls, or ceiling stains: check for leaks or condensation.
Sherwin-Williams specifically calls out water damage and moisture intrusion as a frequent driver of bubbling and blistering.
Test 3: When did it appear?
Weeks later or recurring in the same spot: moisture or persistent contamination under the film.
Immediately while rolling: technique, roller, or paint handling.
A few hours later: overworking, heavy coat, or painting in poor conditions.
Tools and Materials You Actually Need
Keep it simple:
- Putty knife or scraper
- Sanding block and sandpaper (150–220 grit)
- Patch compound (only if you have craters or torn drywall face paper)
- Cleaner (mild detergent solution) and clean rags
- Primer (bonding primer for glossy or slick surfaces; stain-blocking primer if there was water staining)
- Quality roller cover (correct nap for the surface)
Paint defects can come from how paint is mixed/applied and emphasizes correct tools and technique as part of prevention.
7 Steps to Fix Paint Bubbles
Step 1: Stop painting and let it dry
You cannot diagnose or repair bubbling while the film is wet. Let it dry so you can see what has truly failed.
Step 2: Scrape until you reach solid paint
Scrape every loose edge. If it lifts easily, it is already failed and must come off.
Rule: Stop scraping only when the remaining paint is firmly bonded.
Step 3: Sand to feather the repair
Feather the transition so the repaired area disappears after repainting. Think of “feathering” as removing the hard edge between the paint and the wall. This allows the new paint to seamlessly blend in to the surface.
- Start around 150–180 grit to knock down edges
- Finish with 220 grit for smooth walls
Step 4: Patch only if needed
If the bubbling tore the drywall face paper or left craters:
- Apply a thin patch
- Let dry fully
- Sand smooth
Do not overbuild the patch. Thick patching creates flashing under paint. Drywall repair is a very important step to the overall finish.
Step 5: Clean like you mean it
Dust is a bond breaker. Think about each speck of dust as a weak point sitting between the wall and your paint. You need to wipe the wall down, remove any sanding dust, and let the surface dry completely.
Step 6: Prime based on the cause
This is where most DIY fixes fail.
Use the right primer for the surface condition:
- Bare drywall or patches: drywall primer
- Glossy or slick surfaces: bonding primer
- Water stains: stain-blocking primer (ensure the moisture source is controlled first, priming over a problem spot won’t fix the problem)
Selecting the proper primer and correcting the underlying condition are both absolutely crucial before repainting.
Step 7: Repaint with better technique
To avoid re-bubbling:
- Load the roller evenly
- Use the right roller nap (nap is the length and thickness of the fabric fibers on the paint roller)
- Do not press hard
- Do not roll back into paint that is starting to set
Bubbling can be caused by application technique and conditions, and the remedy is proper prep plus correct repainting practices.
Bubbling Paint Fixes by Cause
Cause A: Moisture under the paint
If you suspect moisture:
- Find and fix the moisture source (leak, condensation, ventilation issue).
- Let the area dry completely before scraping and priming.
- If staining exists, use a stain-blocking primer after drying.
Water damage and premature moisture exposure can drive bubbling, and that drying and moisture correction come first.
When to stop and get help: If the same area bubbles repeatedly, you may have moisture behind drywall, failed caulk, or an exterior intrusion. Paint will not solve that.
Cause B: Poor adhesion from glossy or dirty surfaces
Common triggers:
- Painting over semi-gloss without deglossing
- Dust, grease, or residue on walls
- Old failing layers underneath
Fix:
- Clean thoroughly
- Sand/degloss (deglossing removes the “shiny” surface of the paint. You can use chemical deglossers, or simple sandpaper to accomplish this)
- Prime with a bonding primer before repainting
This aligns with major DIY guidance on adhesion failures and prevention.
Cause C: Technique and application issues
Bubbles that appear during rolling usually come from:
- Over-rolling as paint sets
- Too much pressure
- Dry roller cover
- Improper paint mixing (introducing air by mixing too vigorously)
Bubbling, pinholes, and cratering can come from air introduction and mixing/application issues.
- Use a quality roller cover
- Load properly
- Use steady pressure
- Keep a wet edge and stop touching paint once it starts to tack
How to Prevent Paint Bubbles Next Time
Do these five things and bubbling becomes rare:
- Clean first (especially kitchen walls, trim, and doors).
- Dry fully after cleaning, repairs, or humidity events.
- Prime bare and patched areas every time.
- Match roller nap to texture (smooth walls need less nap; textured walls need more).
- Paint in proper conditions and avoid overworking the film.
Surface prep is a major driver of coating success, and most professionals specifically emphasize prep’s role in avoiding early coating failures.
Frequently Asked Questions and Answers to Fix Paint Bubbles
Can paint bubbles fix themselves?
No. Once a bubble forms, the paint has already lost adhesion. Some bubbles may collapse as they dry, but the bond is still compromised and often reappears later.
Will another coat hide paint bubbles?
Usually not. It often makes the defect worse by trapping air or moisture and building film thickness over a failed layer.
Why is my paint bubbling right after I roll it?
Most often: overworking the paint, pushing too hard, using a dry roller cover, or rolling back into paint that is setting.
Why do paint bubbles keep coming back in the same area?
That usually signals an unresolved issue: moisture, contamination, or a failing layer under the surface. Fixing the source is mandatory.
Do I need primer after sanding paint bubbles?
Yes if you exposed bare material, patching, or a slick surface. Primer restores a bondable, uniform surface and reduces flashing.
What grit sandpaper should I use to fix paint bubbles?
Most wall repairs land in the 150–220 grit range. Coarser grits remove edges fast; finer grits smooth for finish coats.
Is bubbling a “bad paint” problem?
Usually not. Even premium paint will bubble if moisture, contamination, or technique breaks adhesion.
When should I call a pro instead of DIY?
Call a pro if:
- Bubbling is widespread across multiple walls
- You see staining, softness, or recurring bubbles (moisture)
- The surface is glossy, unknown, or layered with older coatings and you want a guaranteed bond path
- You want to rely on a professional to take care of the painting so you can get to enjoying the result
PCA industry standards emphasize defined surface preparation levels and scope expectations, which is exactly what you need when failures repeat.
The Simple Rule
Paint bubbles are a surface and process problem, not a “buy different paint” problem. Remove the failed film, correct the root cause, prime correctly, then repaint with controlled technique.
If you want it fixed without trial-and-error, book a FREE estimate and have a pro evaluate whether the issue is moisture, adhesion, or application technique before repainting.