"Joe did a wonderful job! Everything looks Great! He stuck with it and got it done over a four day period. Also him and J…"
Yvonne Herschberger

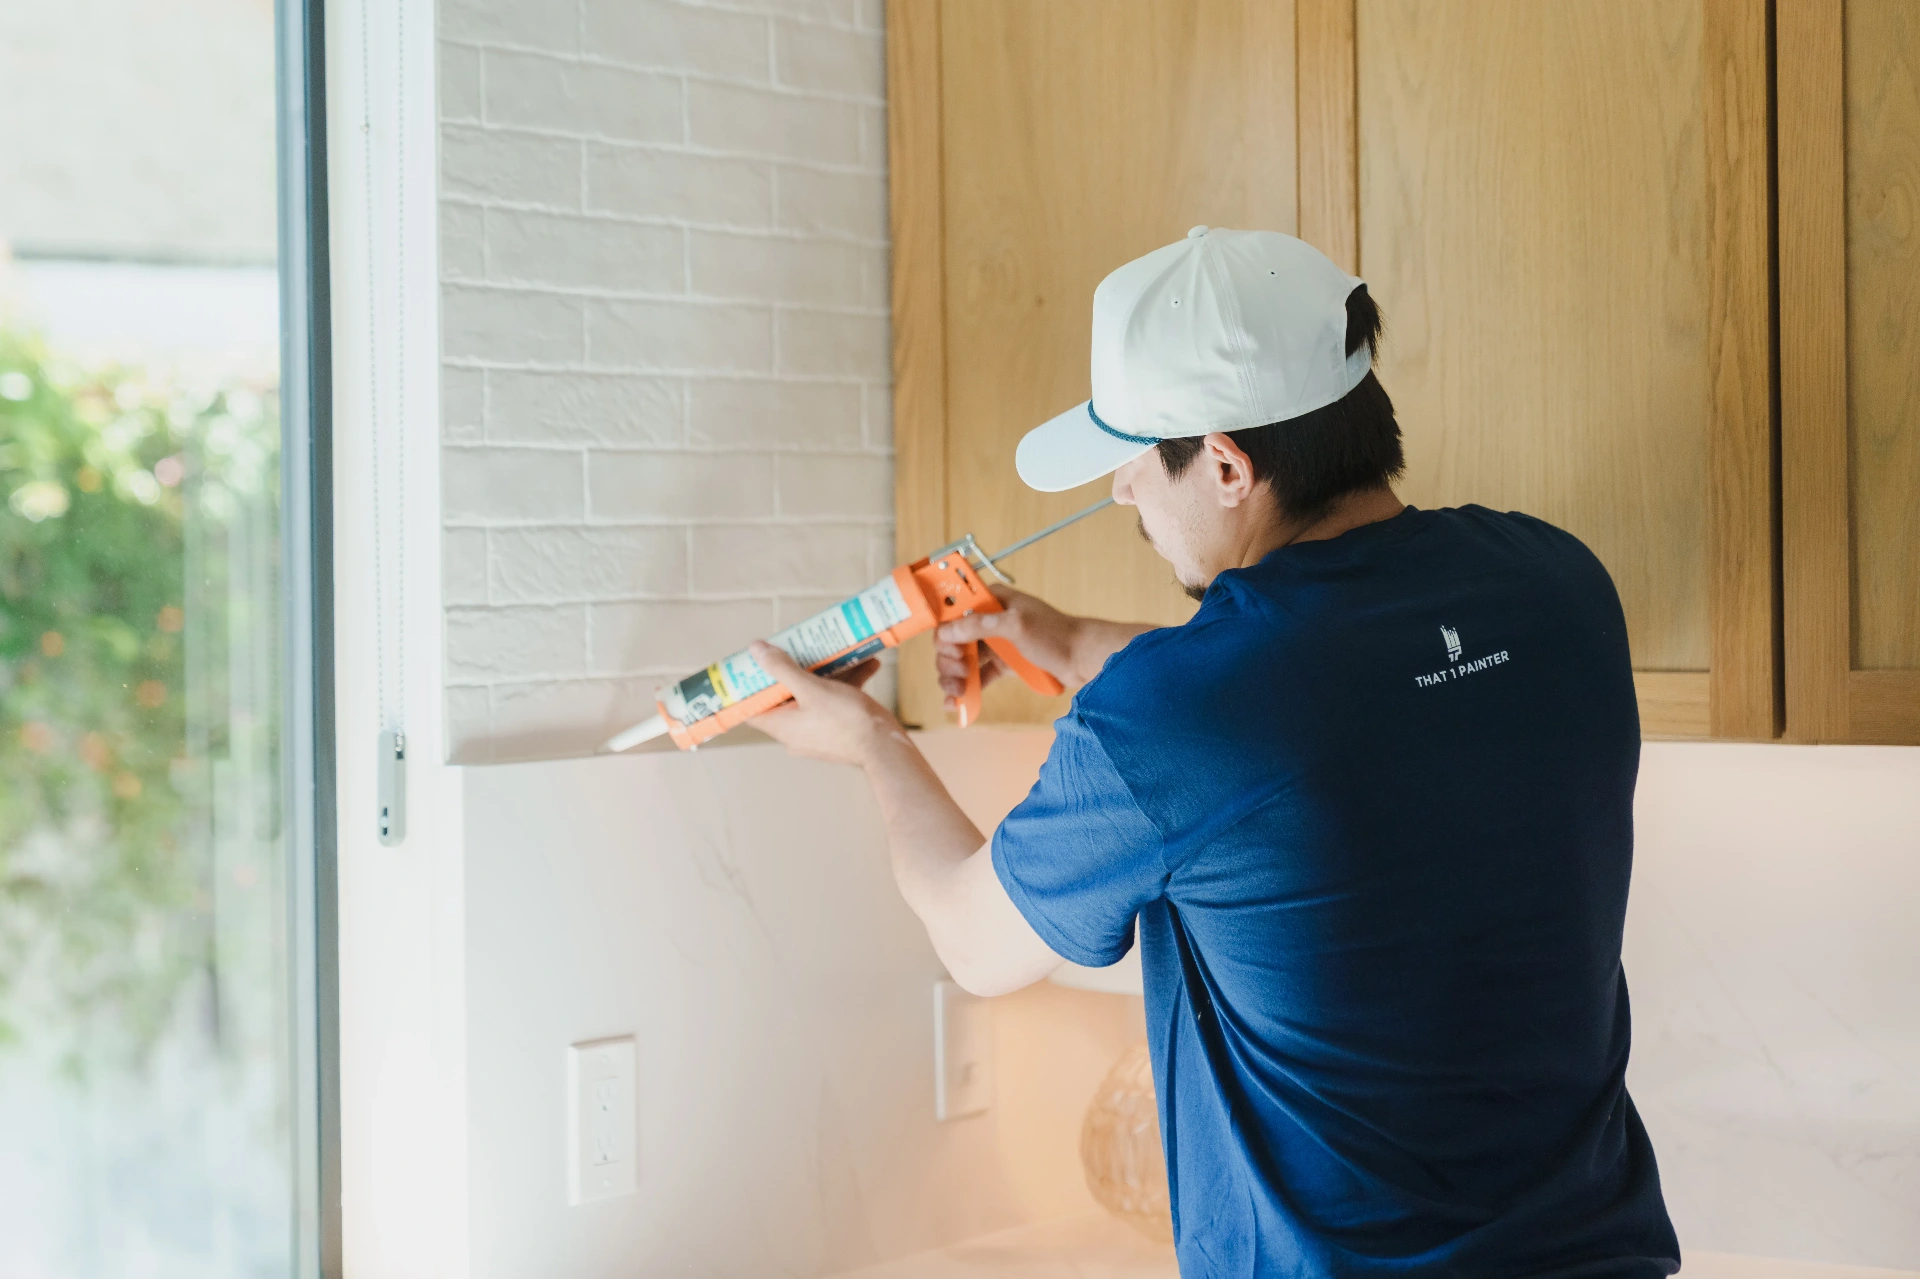
Caulking for homes and businesses across Diamond State and neighborhoods including Middletown, Bear, Bethany Beach. That 1 Painter Diamond State brings expert crews, premium products, and a 3-year transferable warranty to every project in Delaware.
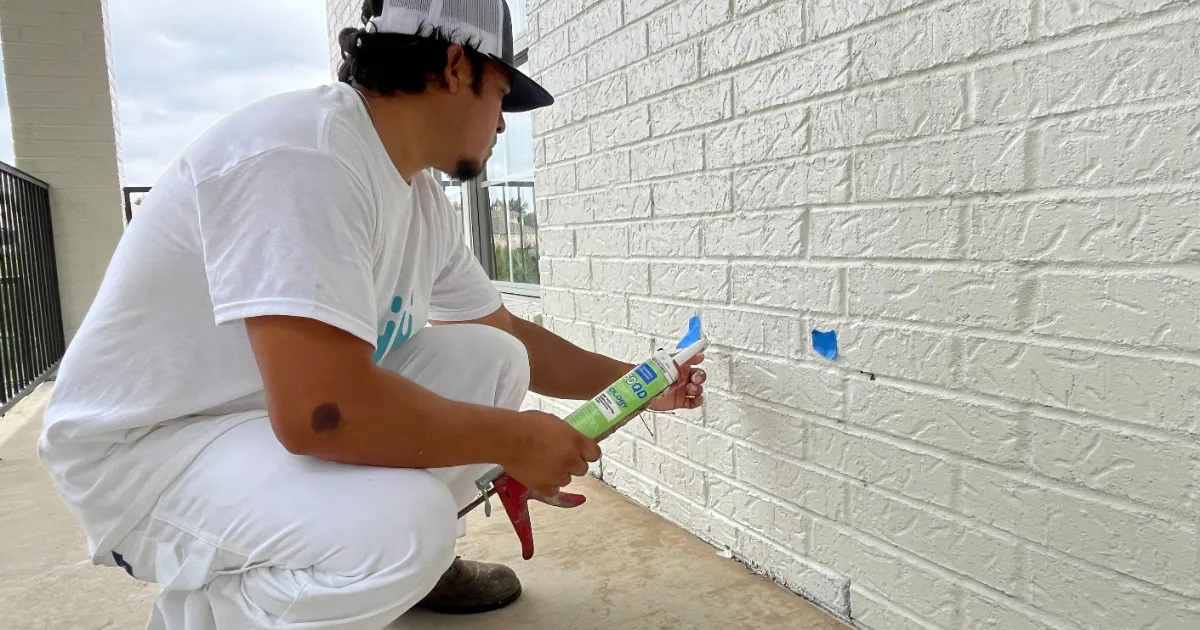
Your project manager inspects every joint where two materials meet: trim, siding, windows, doors, tubs, and backsplashes. We mark failed, cracked, or missing caulk and match the right sealant to each substrate.
Full Joint Inspection & Failure Mapping. Your project manager inspects every joint where two materials meet: trim, siding, windows, doors, tubs, and backsplashes. We mark failed, cracked, or missing caulk and match the right sealant to each substrate.
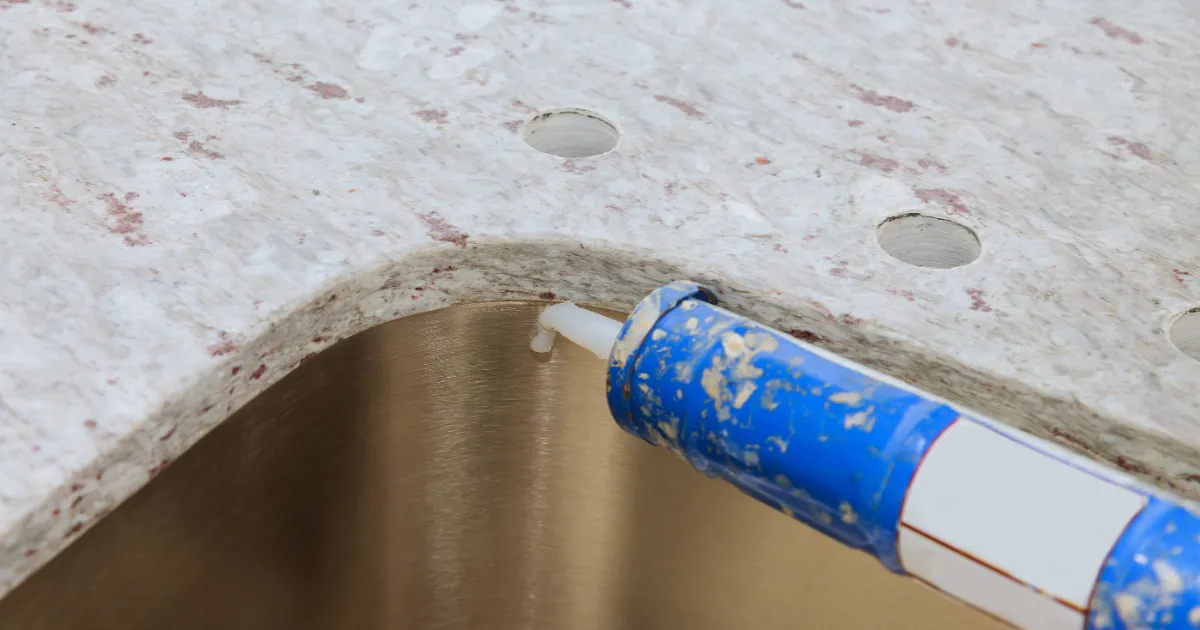
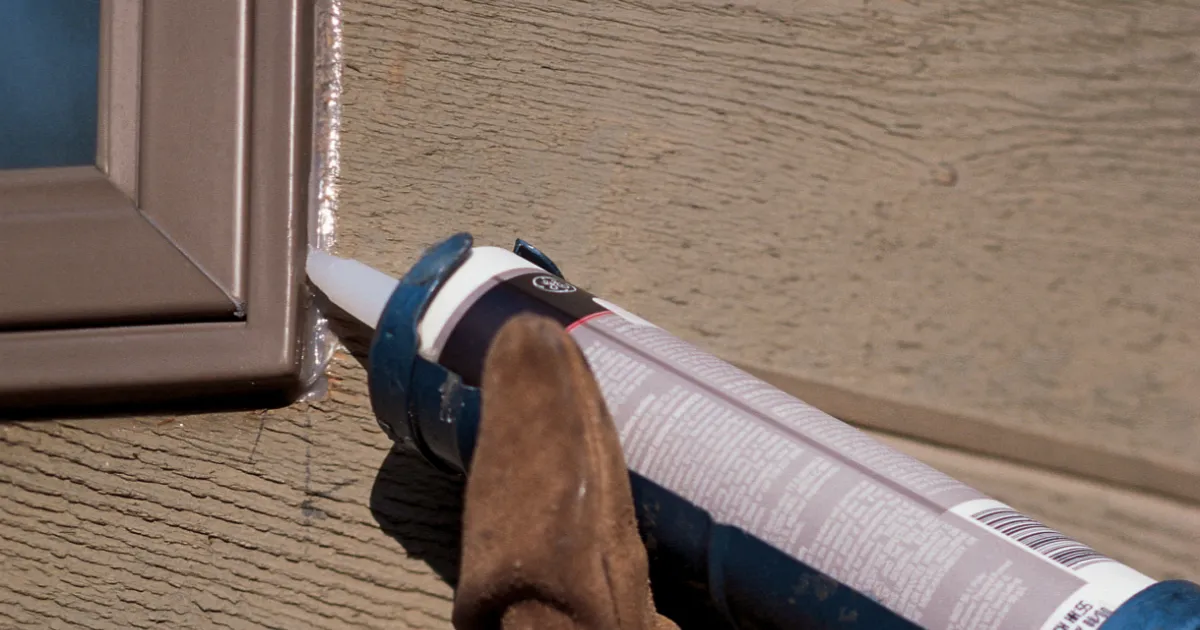
Failed caulk is fully removed, never caulked over. Wide joints get backer rod for the proper hourglass profile, and we select the right sealant for each location: silicone for wet areas, urethane for exterior joints, paintable acrylic-latex for trim.
Removal, Cleaning & Backer Rod. Failed caulk is fully removed, never caulked over. Wide joints get backer rod for the proper hourglass profile, and we select the right sealant for each location: silicone for wet areas, urethane for exterior joints, paintable acrylic-latex for trim.
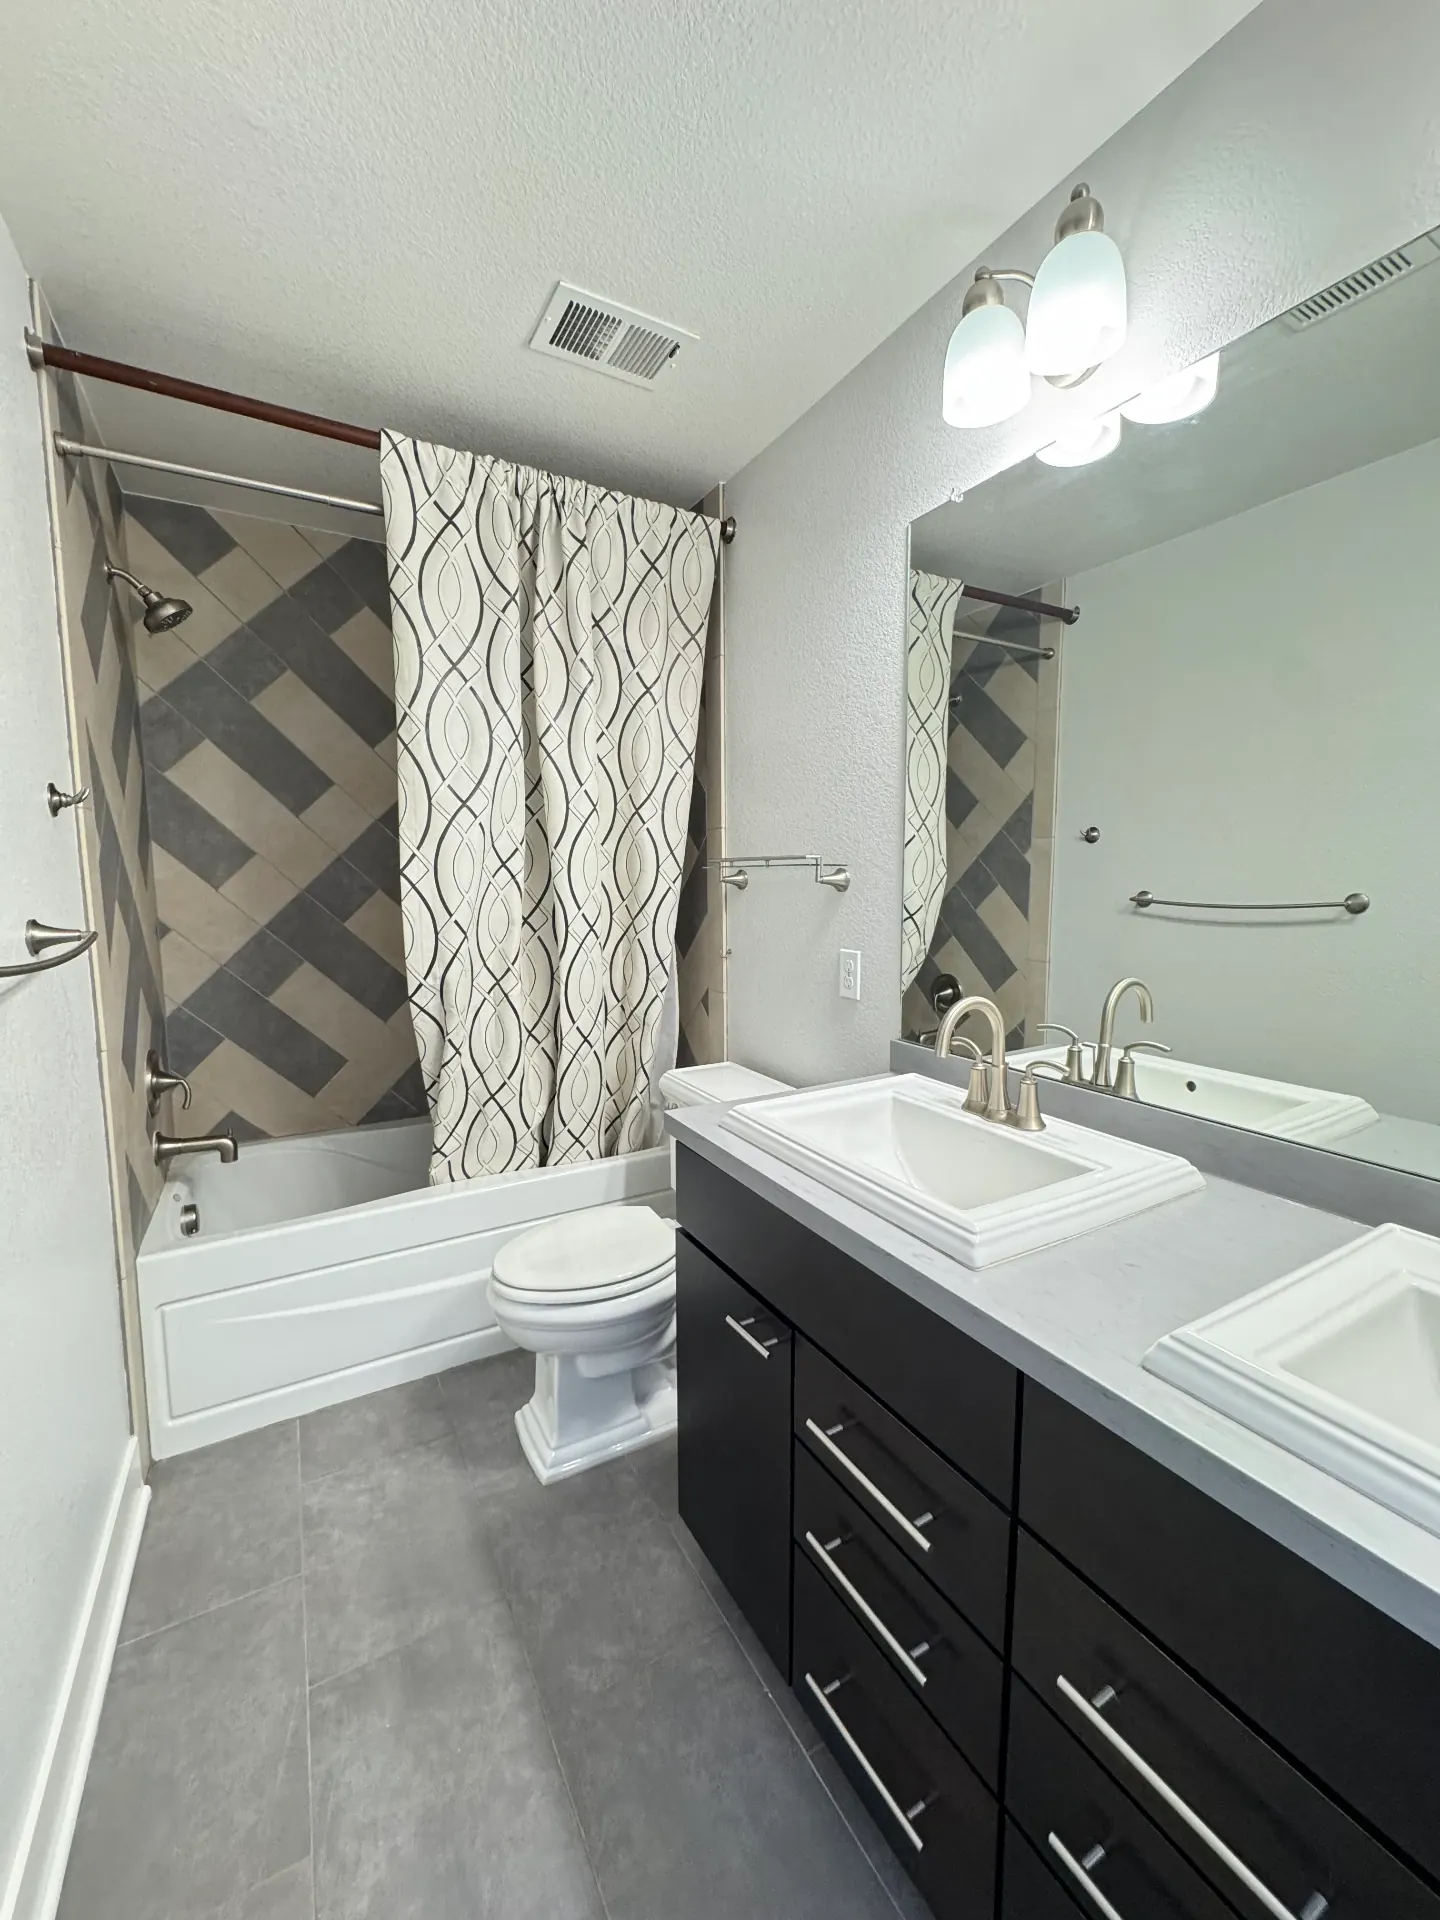
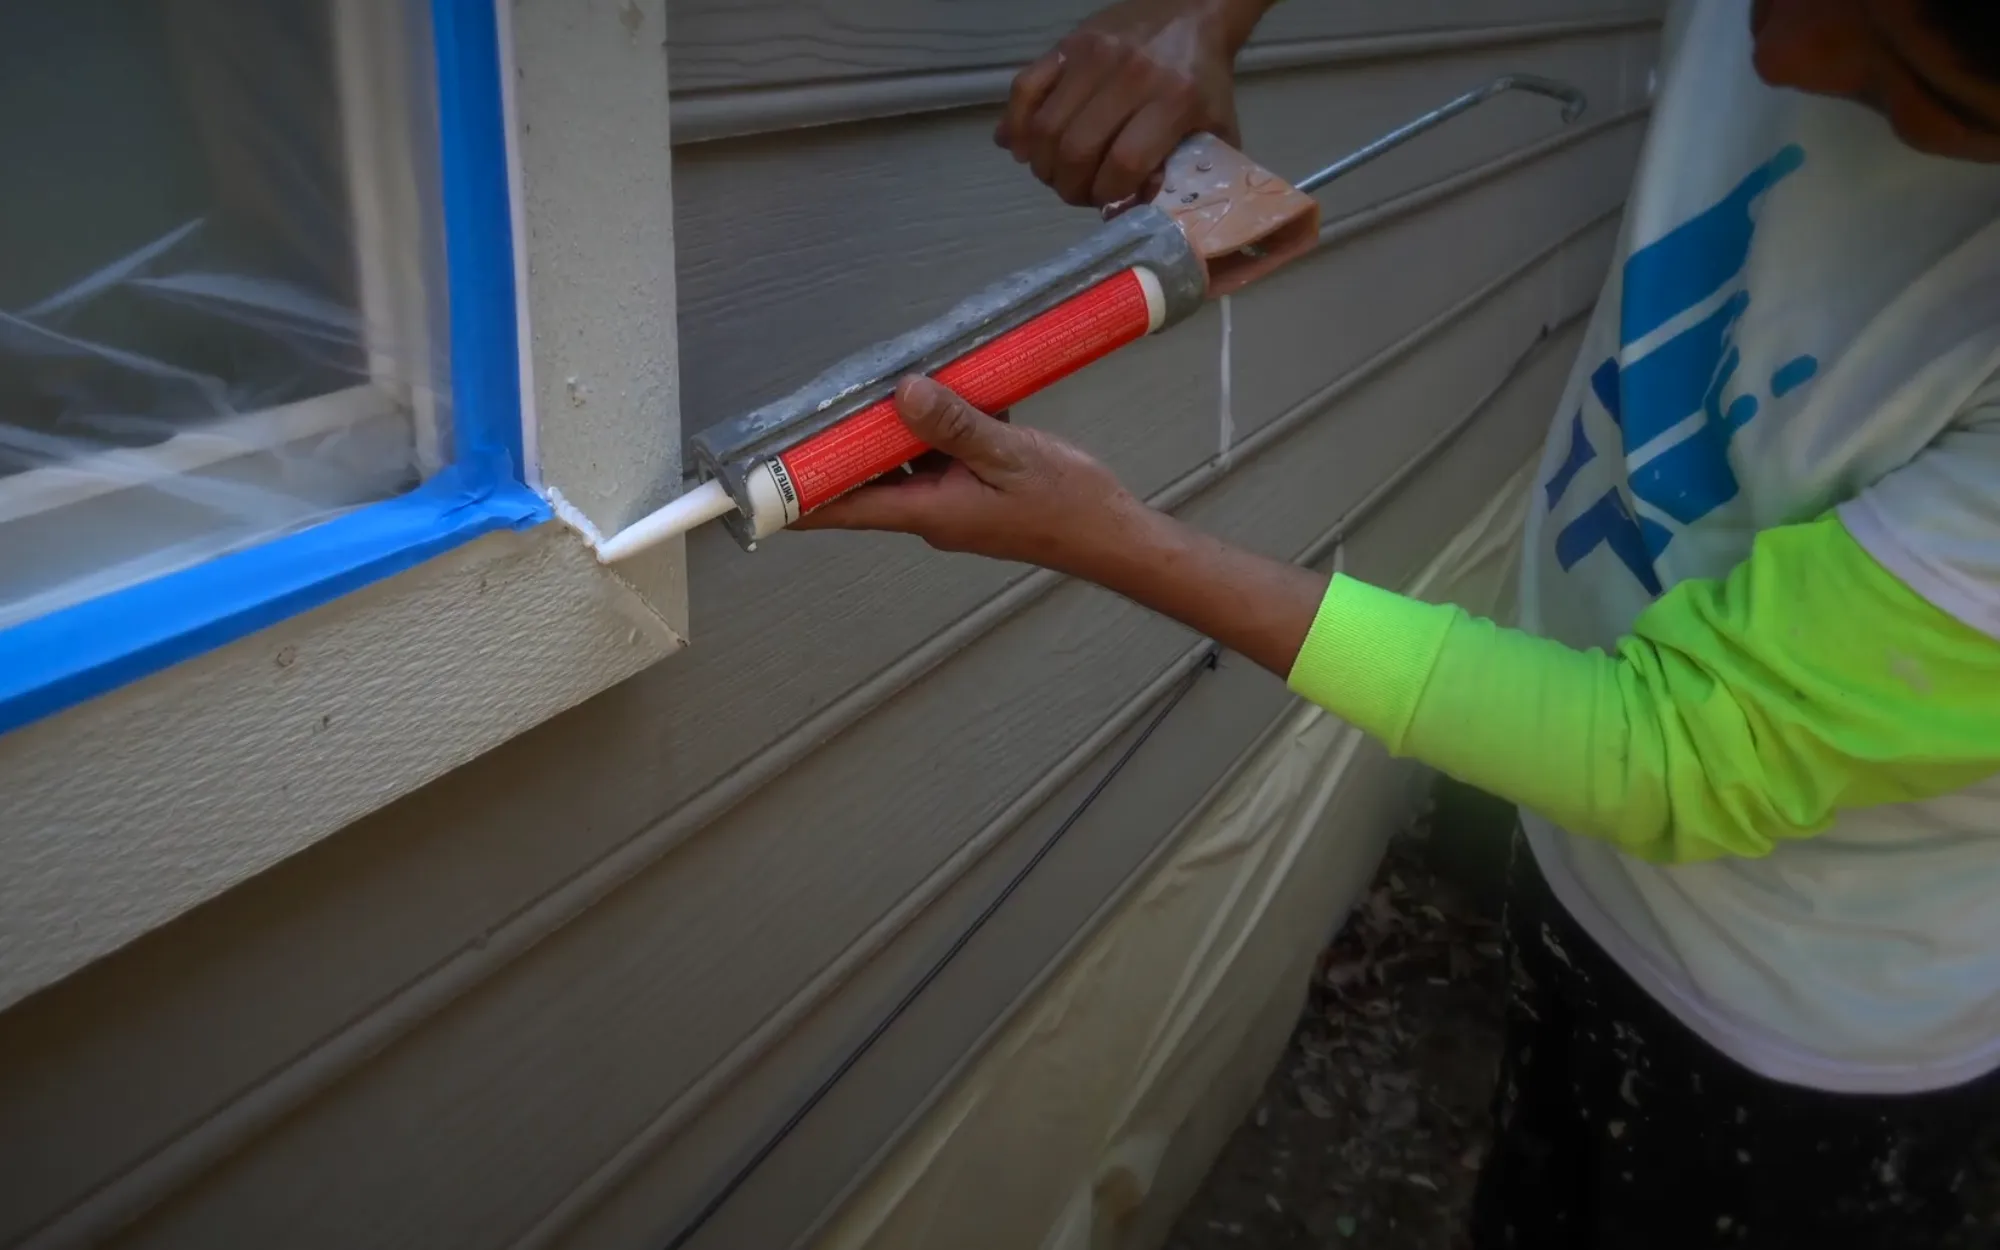
Beads are applied at consistent depth and tooled cleanly so the sealant bonds to both substrates. Painted joints read as one continuous surface, and full cure time is respected before water or paint exposure.
Application, Tooling & Cure. Beads are applied at consistent depth and tooled cleanly so the sealant bonds to both substrates. Painted joints read as one continuous surface, and full cure time is respected before water or paint exposure.
Number of Territories
400+
Number of Paint Jobs
20,000+
5-Star Reviews5-Star
Reviews5 Star Reviews
10,000+
"Joe did a wonderful job! Everything looks Great! He stuck with it and got it done over a four day period. Also him and J…"
Yvonne Herschberger
"My house has been transformed. Beautiful work. Thank you, Jason, Oscar and Felix!"
Joann Cody
"Work was done professionally and was finished when they said it would be finished. Couldnt have asked for snything diffe…"
Judy Lahey
"They did amazing work from the estimate to completing the job. I thoroughly recommend them!"
Donald Taylor
"Jason, Hernan, Brian and team provided great service. I needed a fairly small, one day job scraping and repainting two b…"
Kristen DeFazio
"Great experience with this company! Many thanks to Brian and Jason for their professionalism and completing the job to o…"
Nancy Douglas
"I am extremely satisfied with the work of That 1 Painter Diamond State did in our home. From beginning to end they were…"
Diane Tomlinson
"This crew did a fantastic job! They were professional, efficient, fast and cognizant of my needs and wants. Consultation…"
Vee Vee Brown-Whitson
"This experience was beyond expectations. I had three deck areas with steps and rails that I hoped could be saved, not re…"
Robert
"Had the entire main floor of our house painted and the job was done quickly and looks great!"
Emily Falcon
"I had an excellent experience using That 1 Painter! They painted every room in my 3 story townhouse in 1 week and also i…"
Wanda Coleman
"Jason went above and beyond with his communication. He was prompt and on time for the estimate. The team was able to com…"
Mike Doherty
Savings on heating and cooling from proper air sealing
Energy Star
Maximum annual energy savings from sealing
U.S. Department of Energy
Typical payback period for caulking investment
U.S. Department of Energy
Trusted Paint Partners
Delaware asks more of sealant than its mild reputation suggests: humid summers, real freeze-thaw winters, nor'easter-driven rain, and salt air across the Sussex beach towns from Bethany north. Joints at window and door perimeters, siding transitions, and brick-to-trim lines on Wilmington rowhomes take that full rotation every year, and a bead that has stiffened or pulled away is the most common water entry point we find on homes of every age.
Renewal follows the same discipline everywhere we work: failed material comes out completely, joints are cleaned and dried, backer rod supports oversized gaps, and high-grade elastomerics go in, chosen to flex through both the July humidity swell and the January freeze. Coastal properties in Sussex County get products specified for salt exposure, where budget caulk gives up fastest.
Tight joints protect energy bills through both seasons of Delaware's climate, not just the paint. Caulking runs as standard prep inside every exterior painting project, partners with stucco repair across the Middletown and Bear stucco corridors, and books well as a standalone fall visit before freeze-thaw season starts probing for weaknesses.
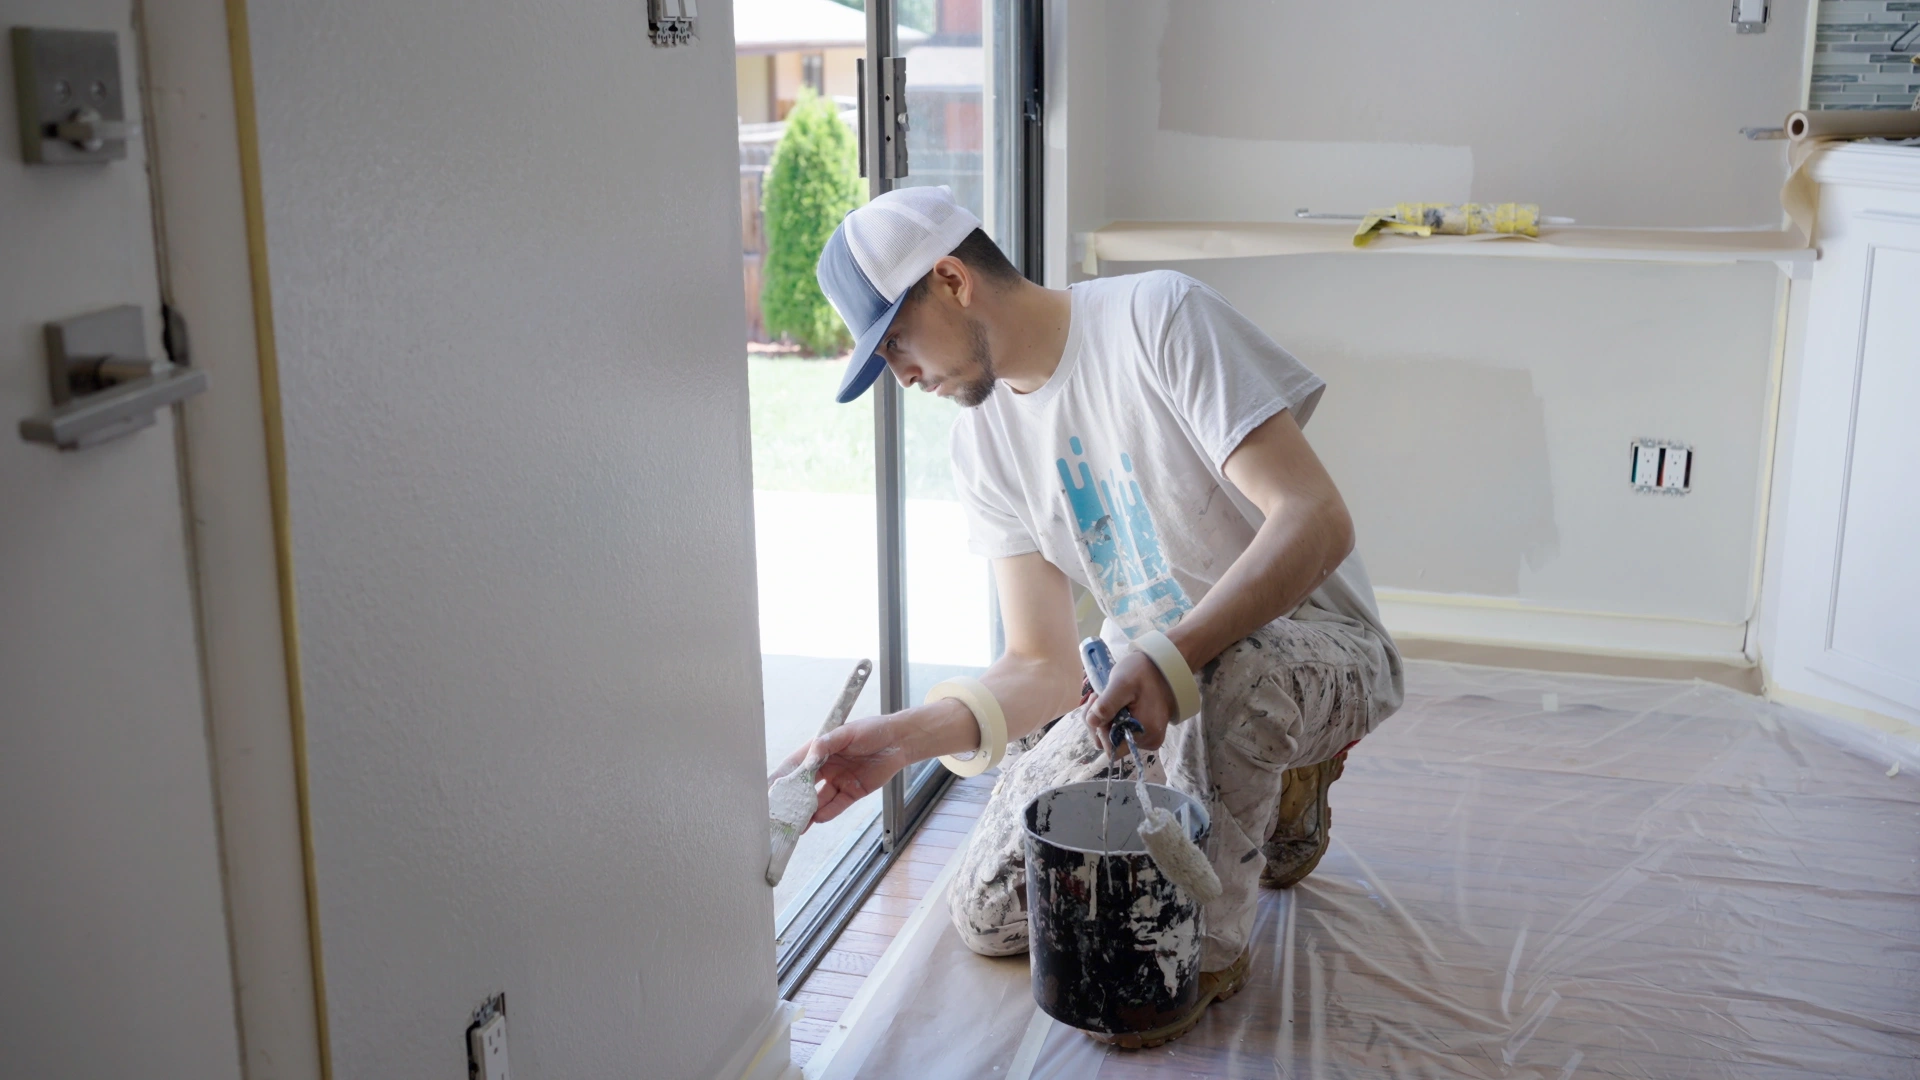
Your peace of mind, at the top of mind with our three-year transferable warranty. Covers the painting job, even if you sell the house.
Download WarrantyExpert tips, how-to guides, and inspiration for your next caulking project.
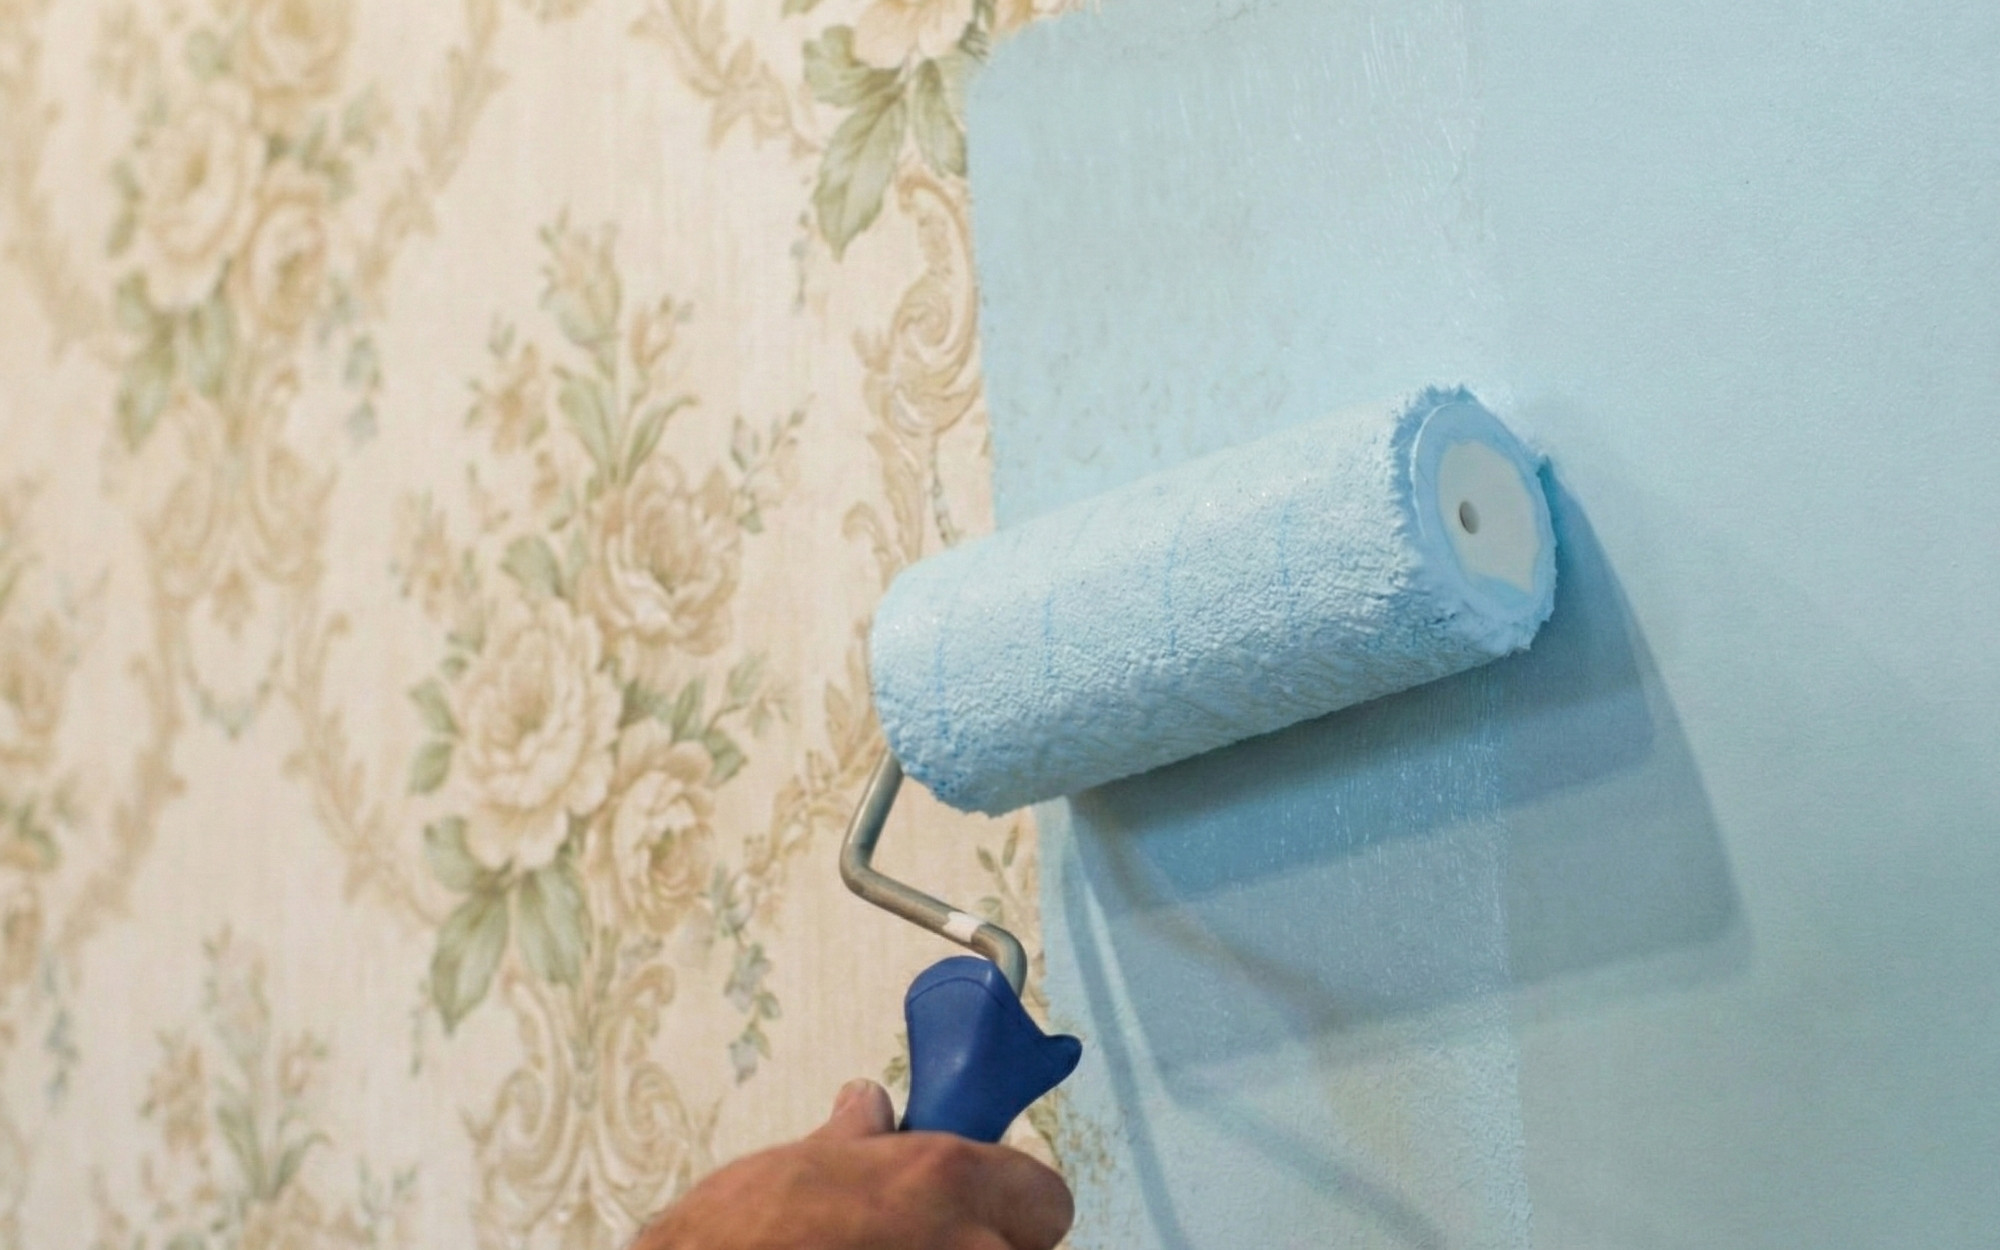
Yes, you can paint over wallpaper, but only if it is smooth, fully adhered, and structurally stable.
Read More →
Color drenching breaks all the rules by applying a single color across every surface in a room.
Read More →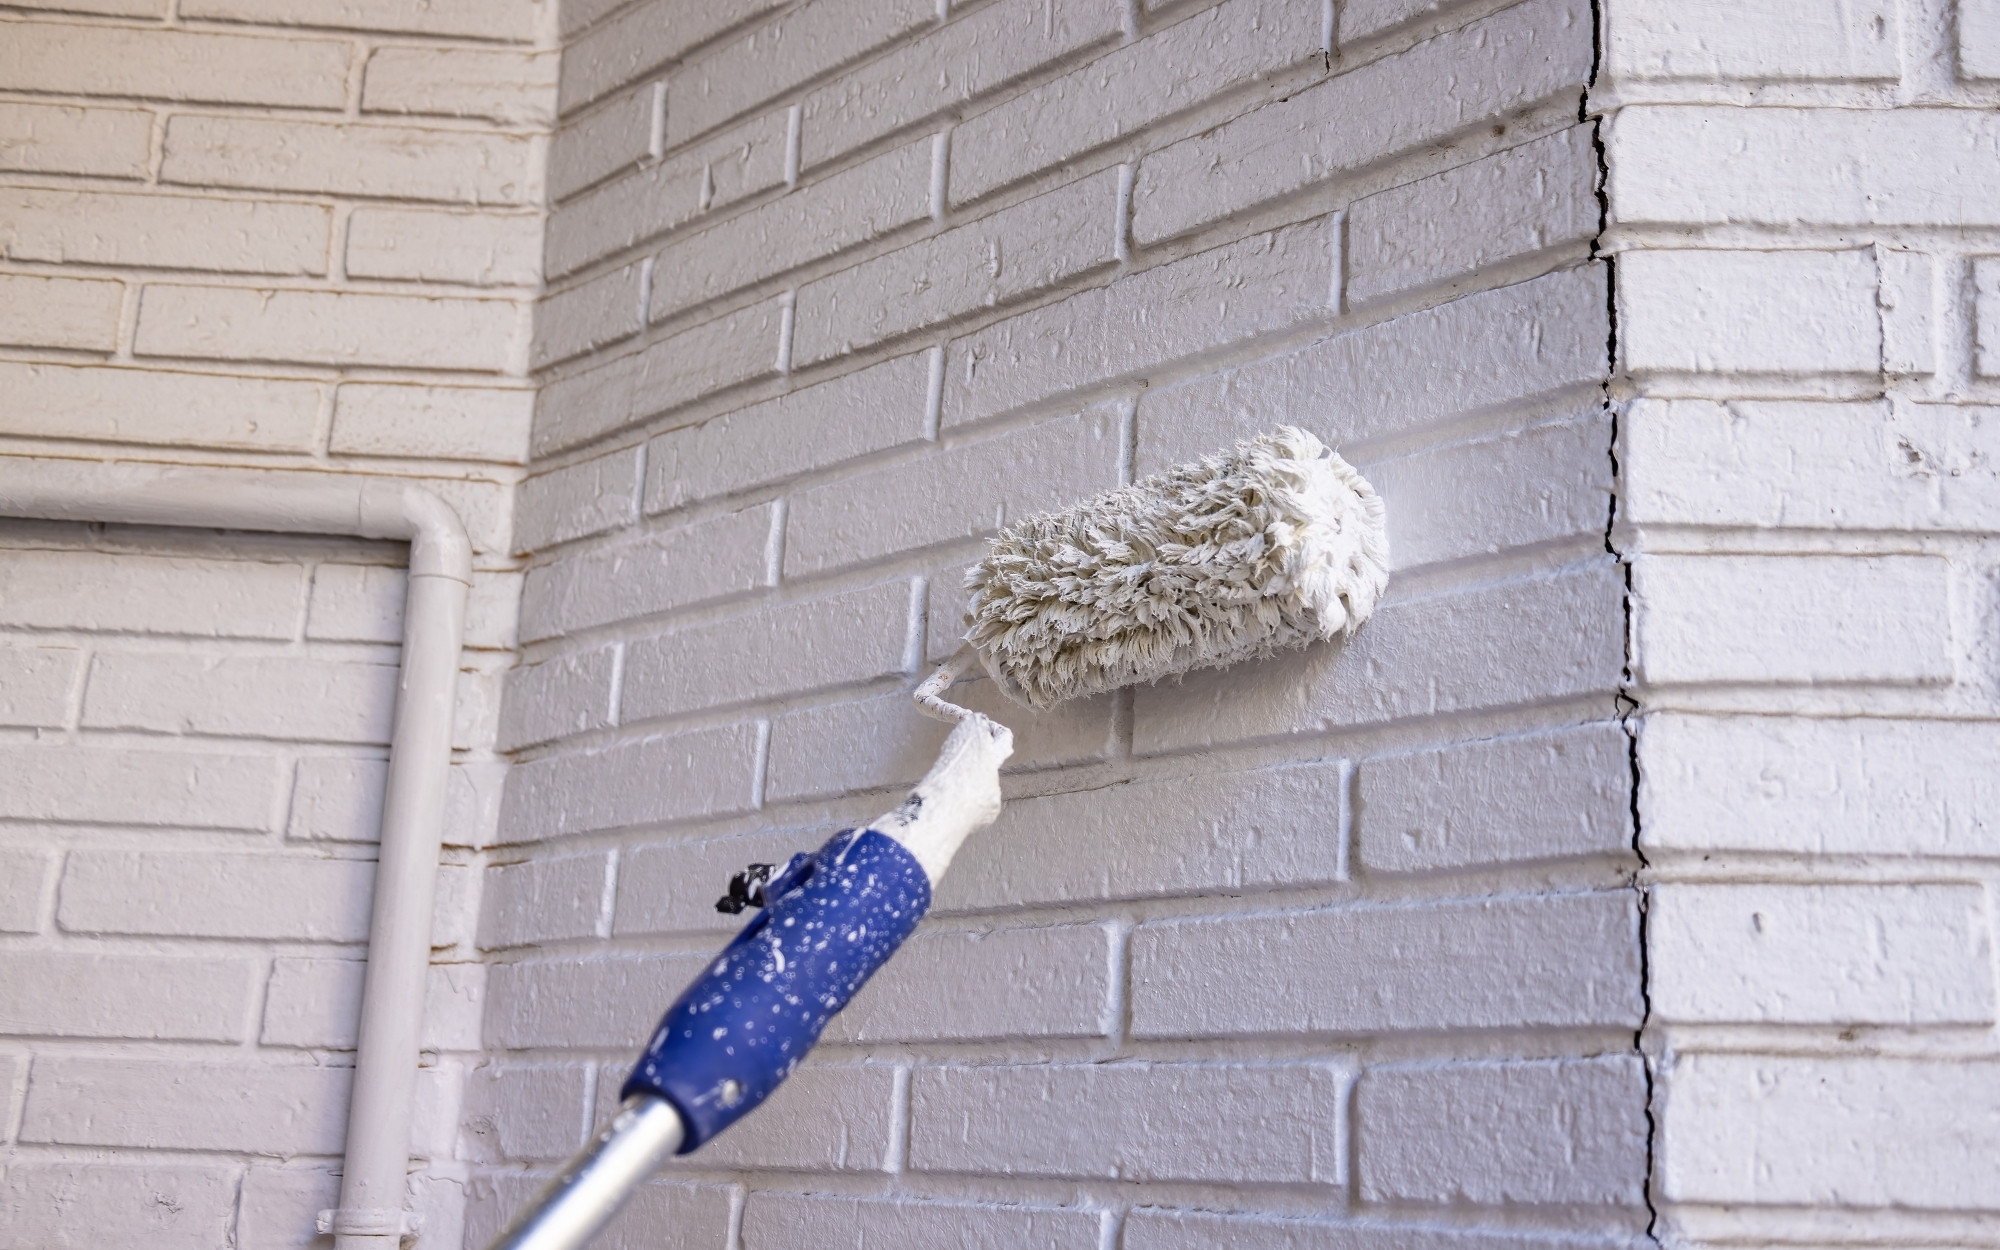
Painting brick is one of the most common exterior questions homeowners ask, and also one of the easiest places to make costly mistakes.
Read More →Swipe to explore →
Yes, you can paint over wallpaper, but only if it is smooth, fully adhered, and structurally stable.
Read More →Color drenching breaks all the rules by applying a single color across every surface in a room.
Read More →Painting brick is one of the most common exterior questions homeowners ask, and also one of the easiest places to make costly mistakes.
Read More →