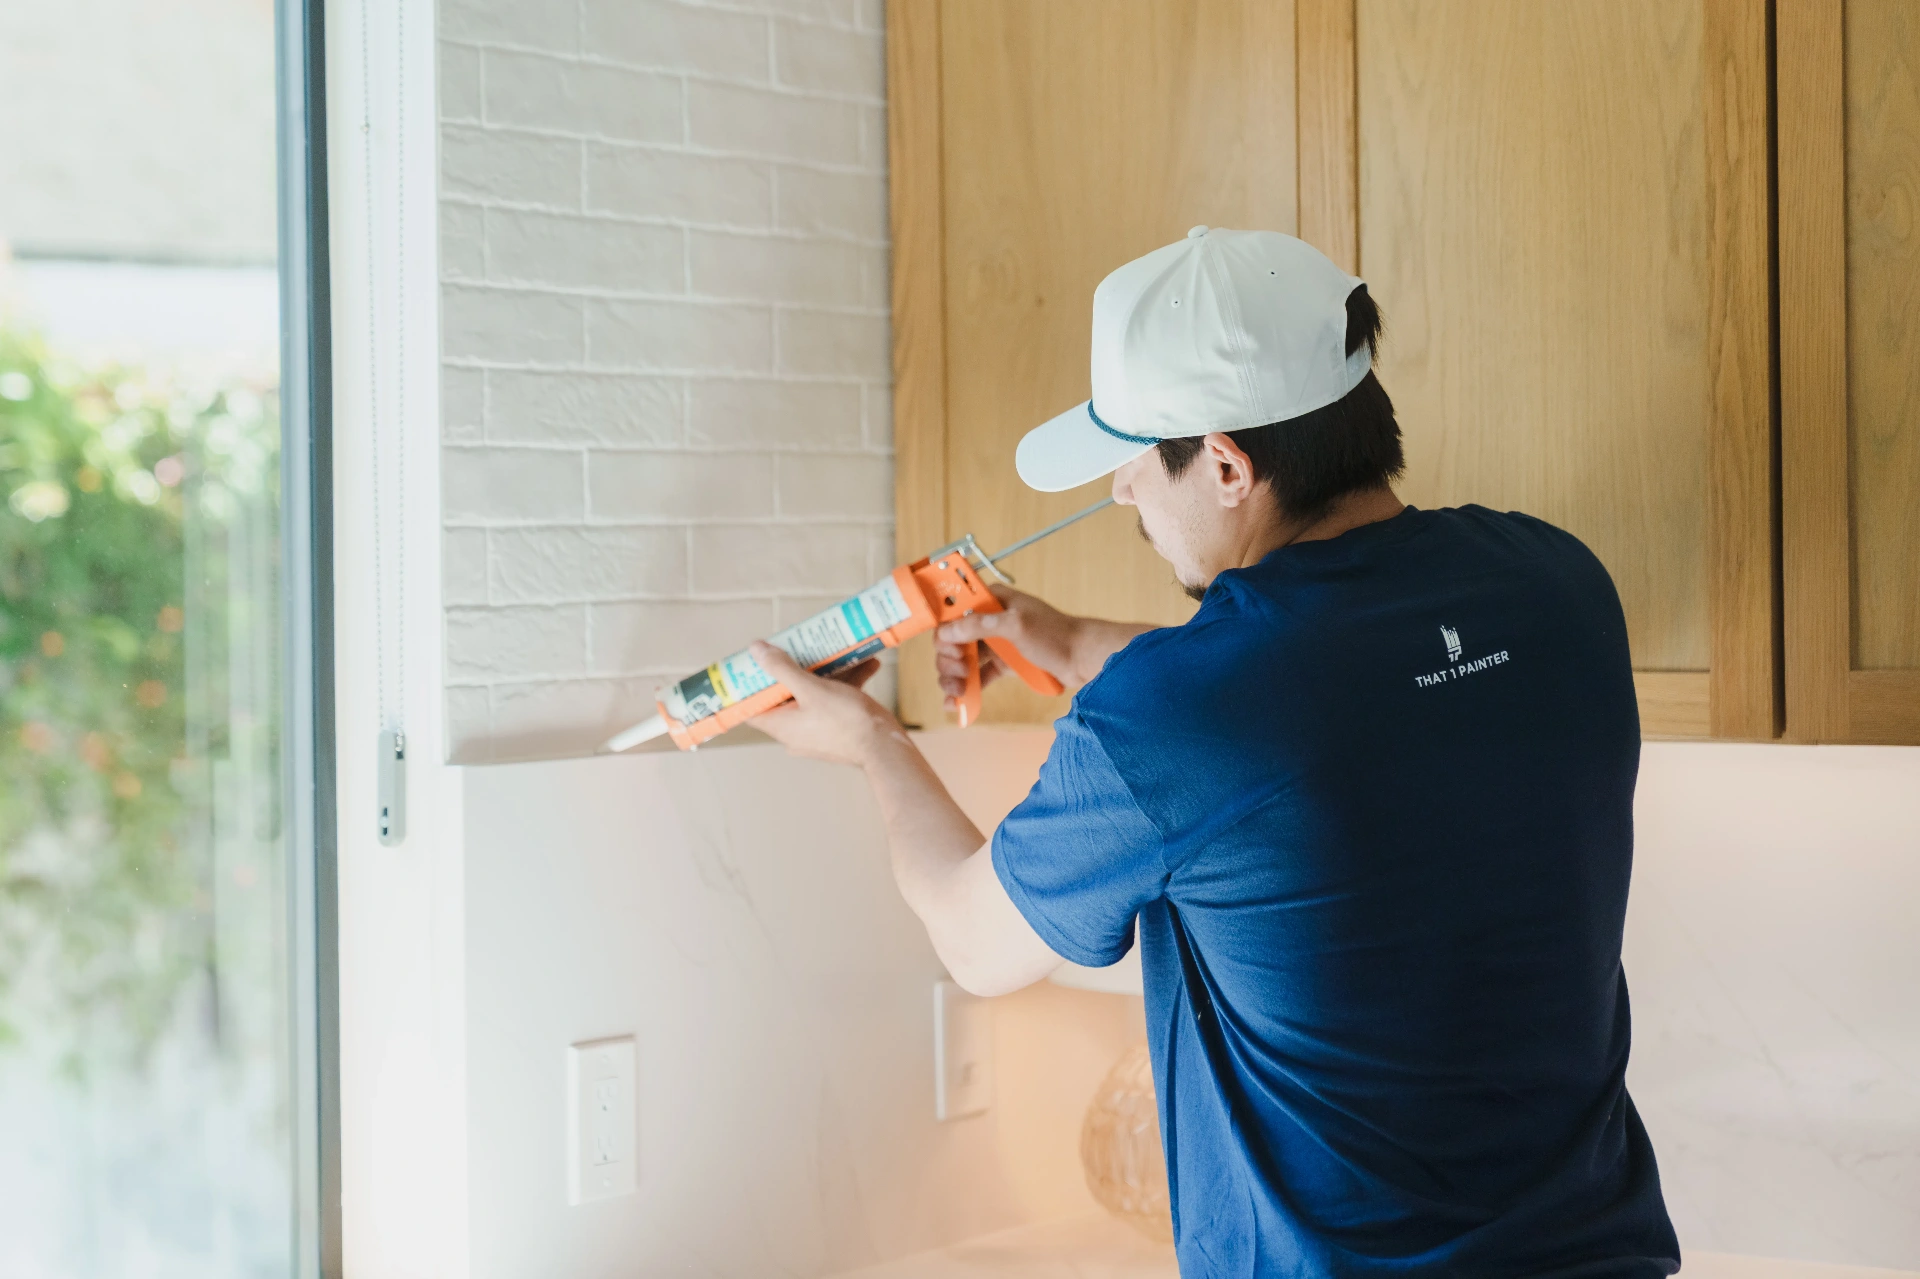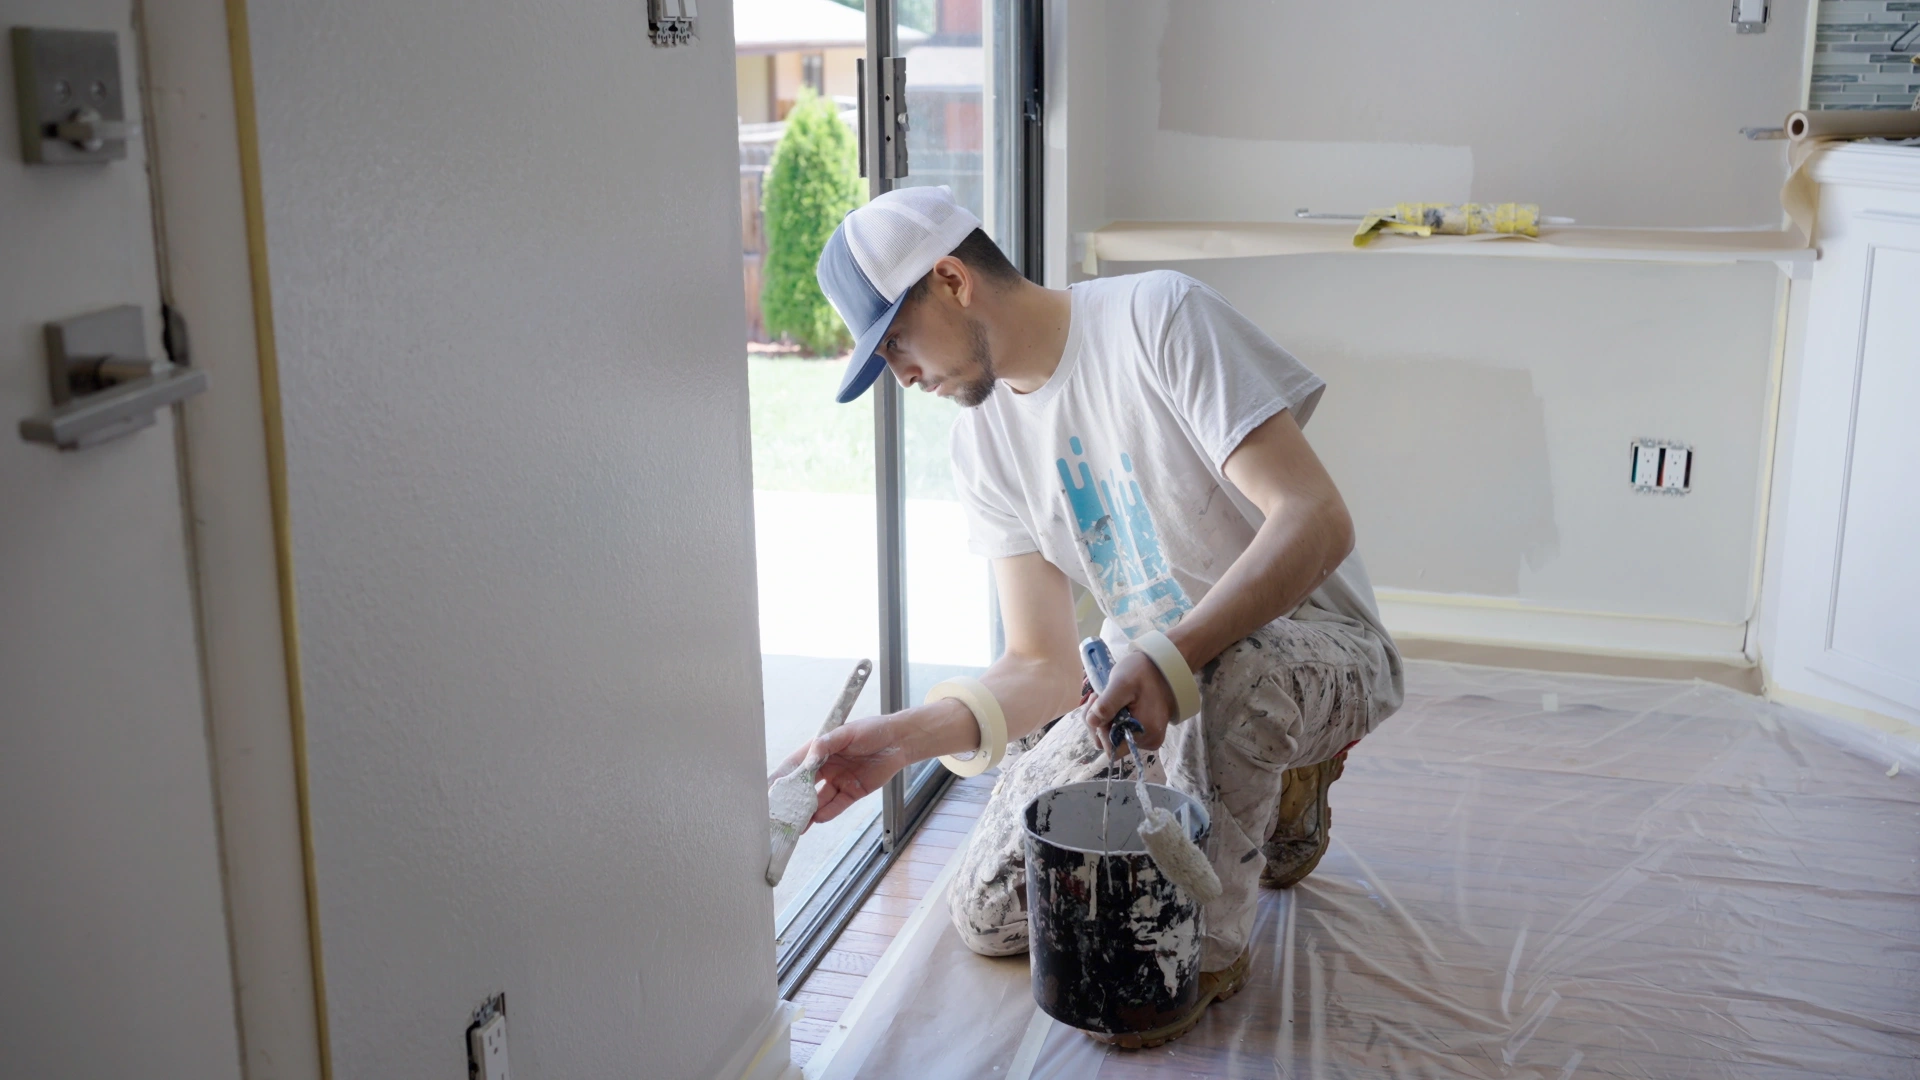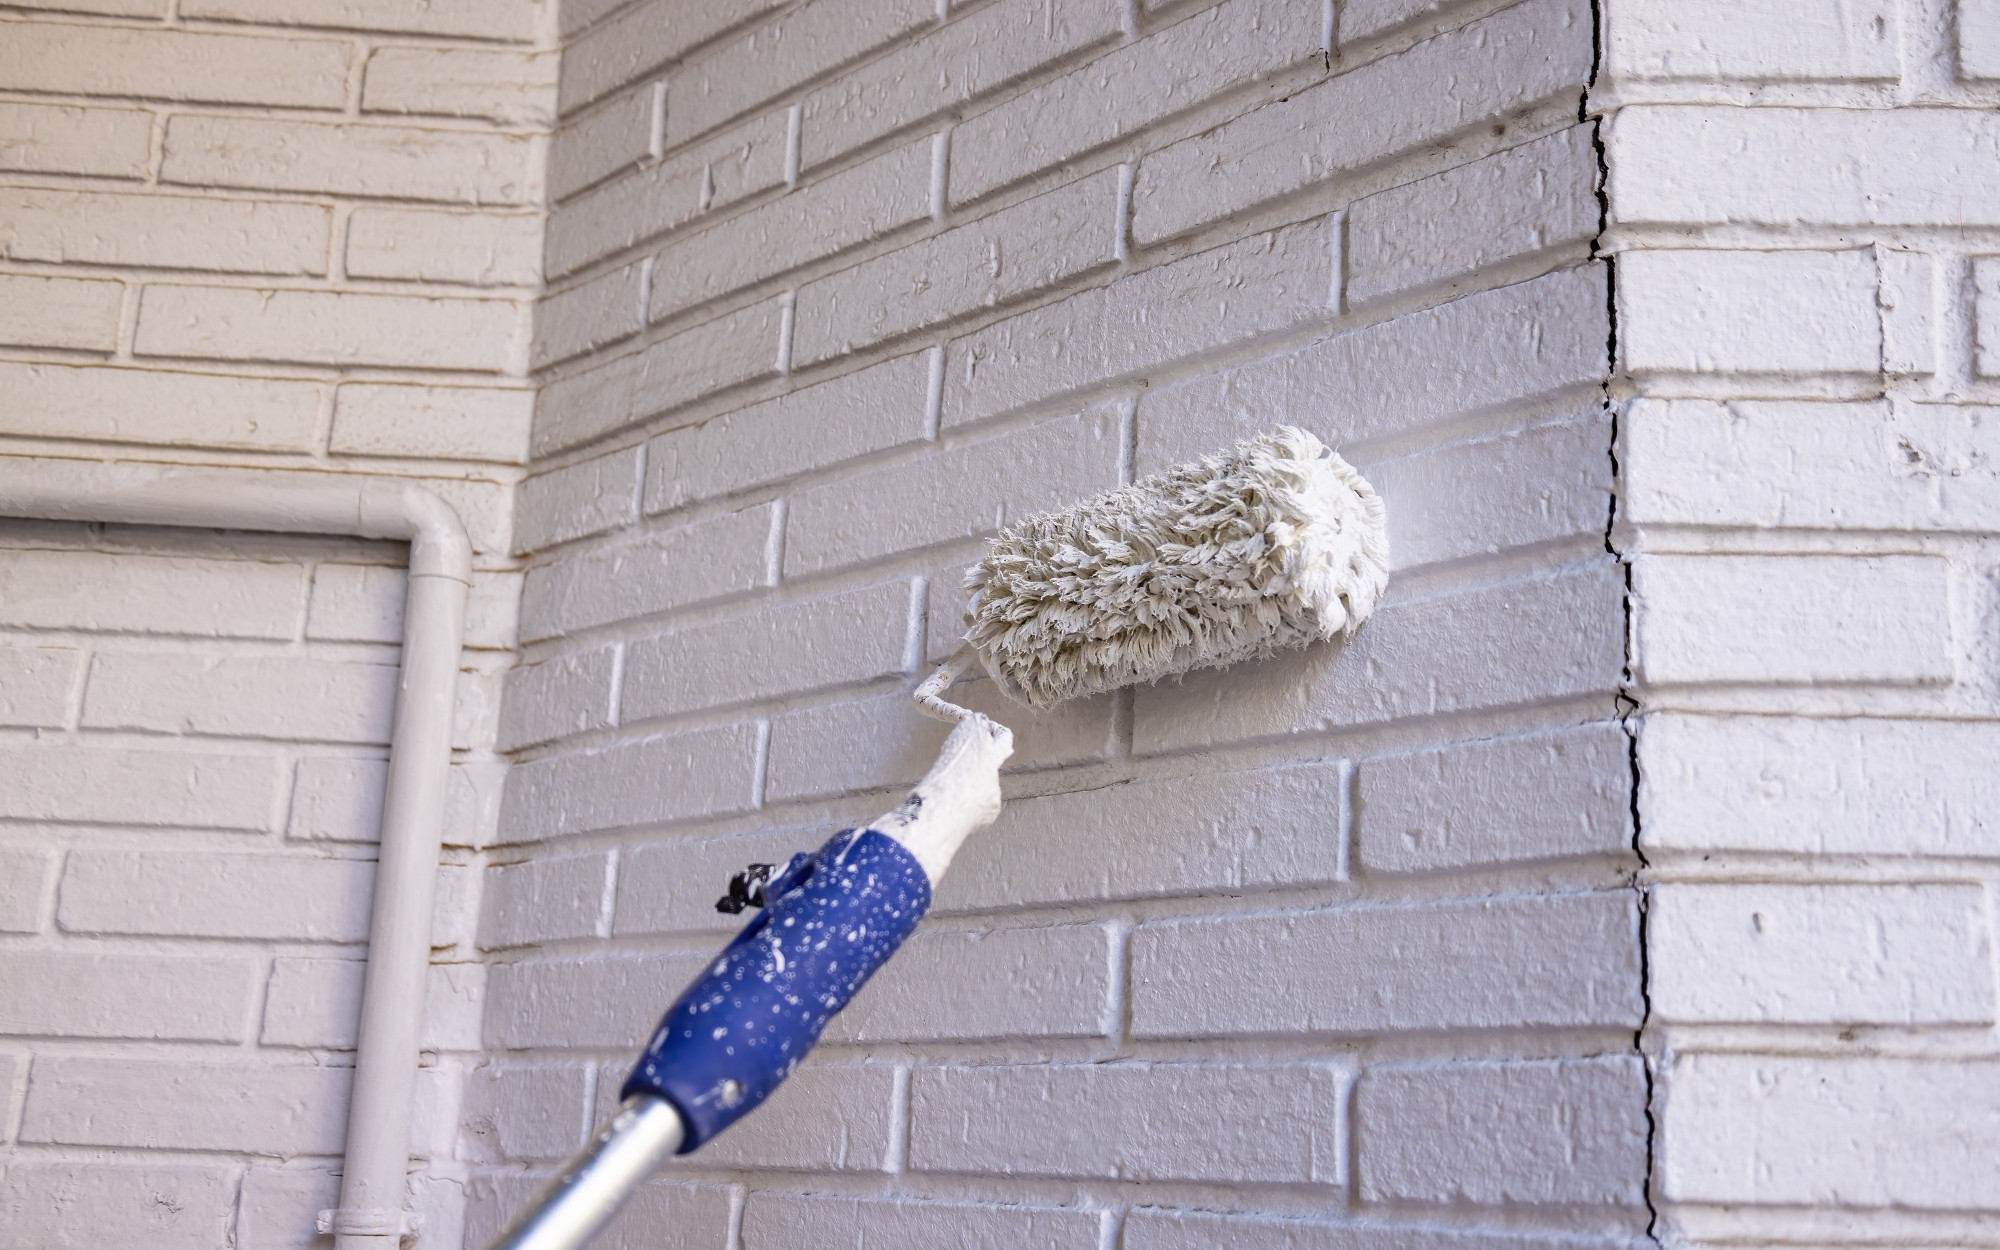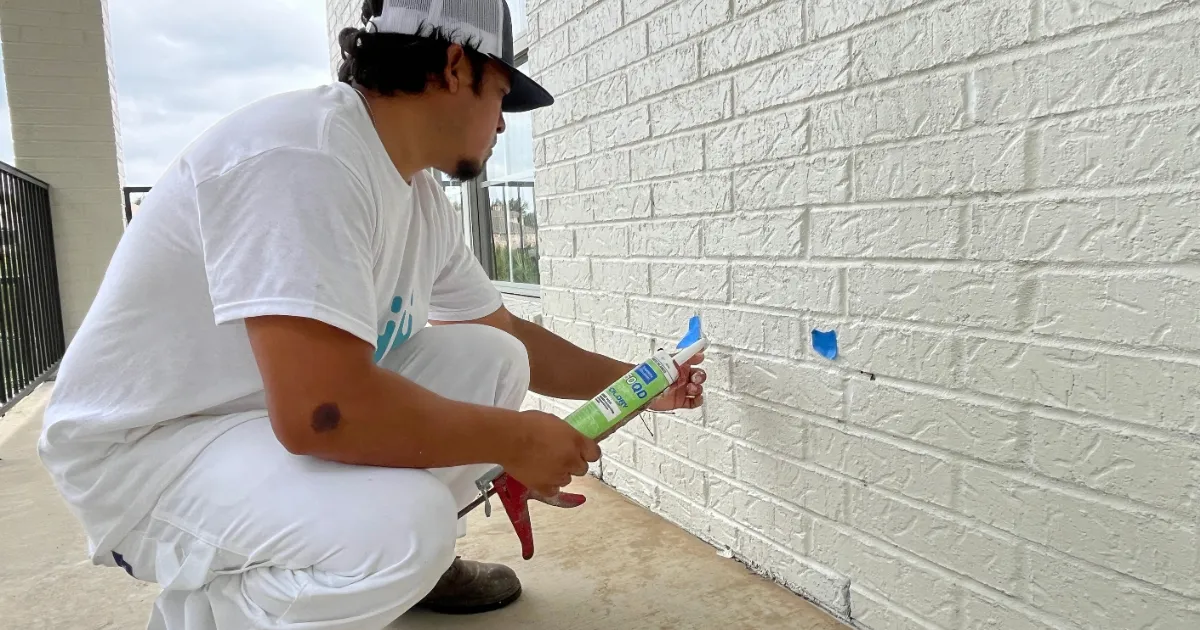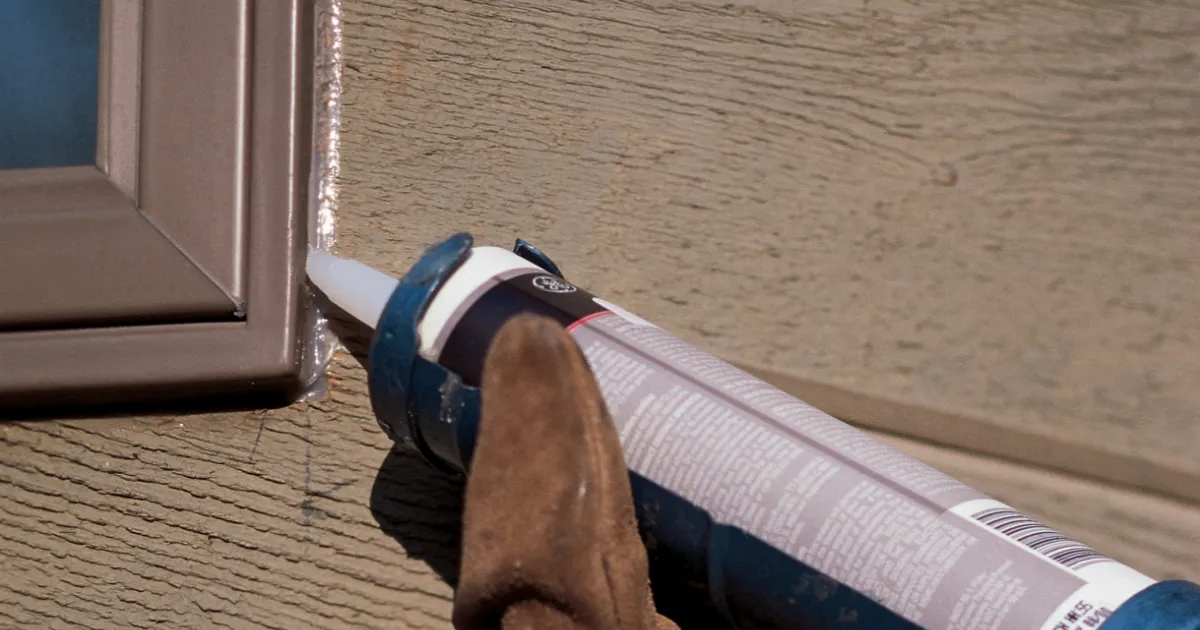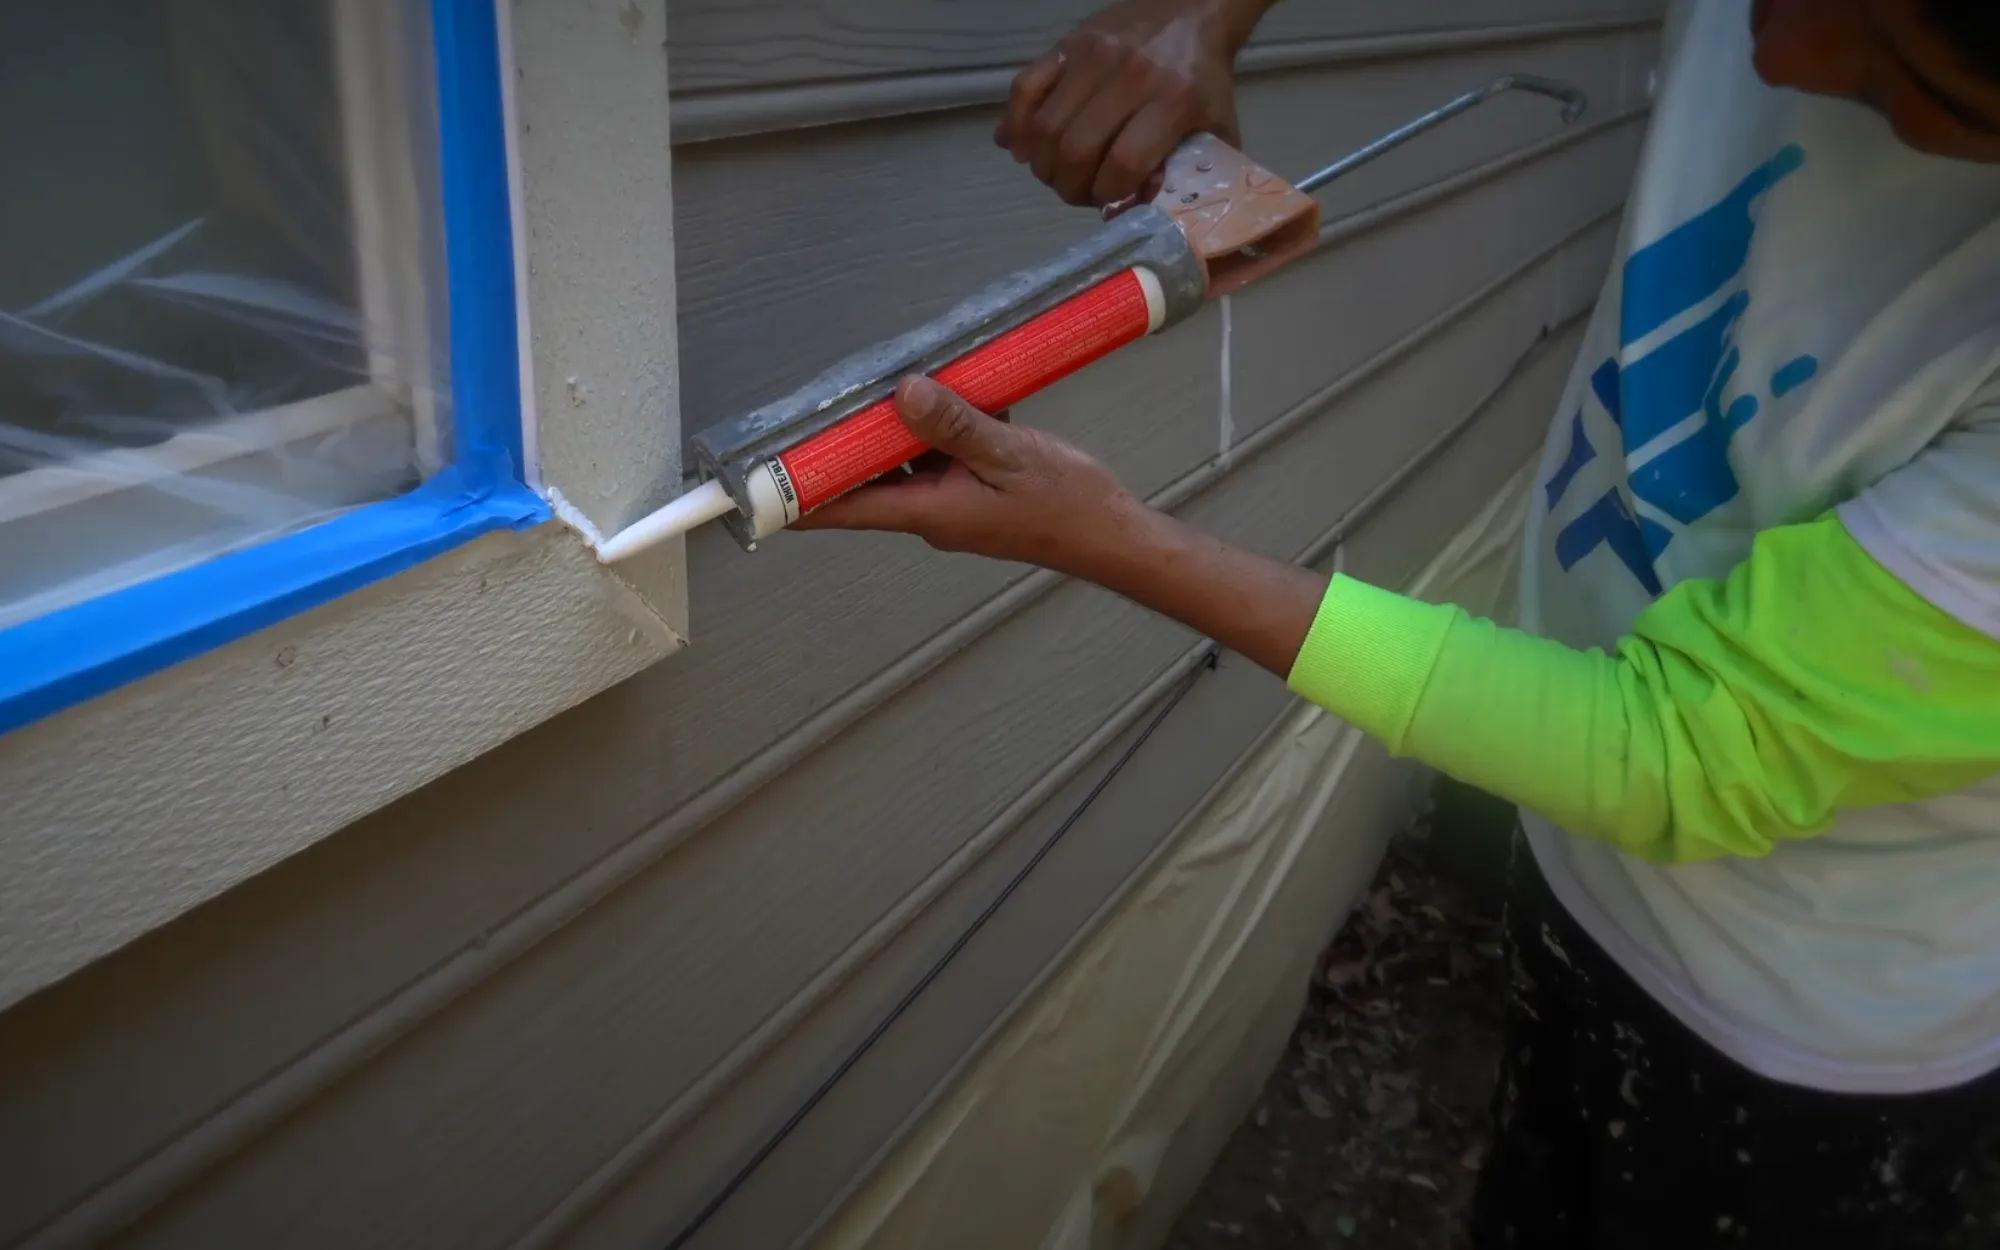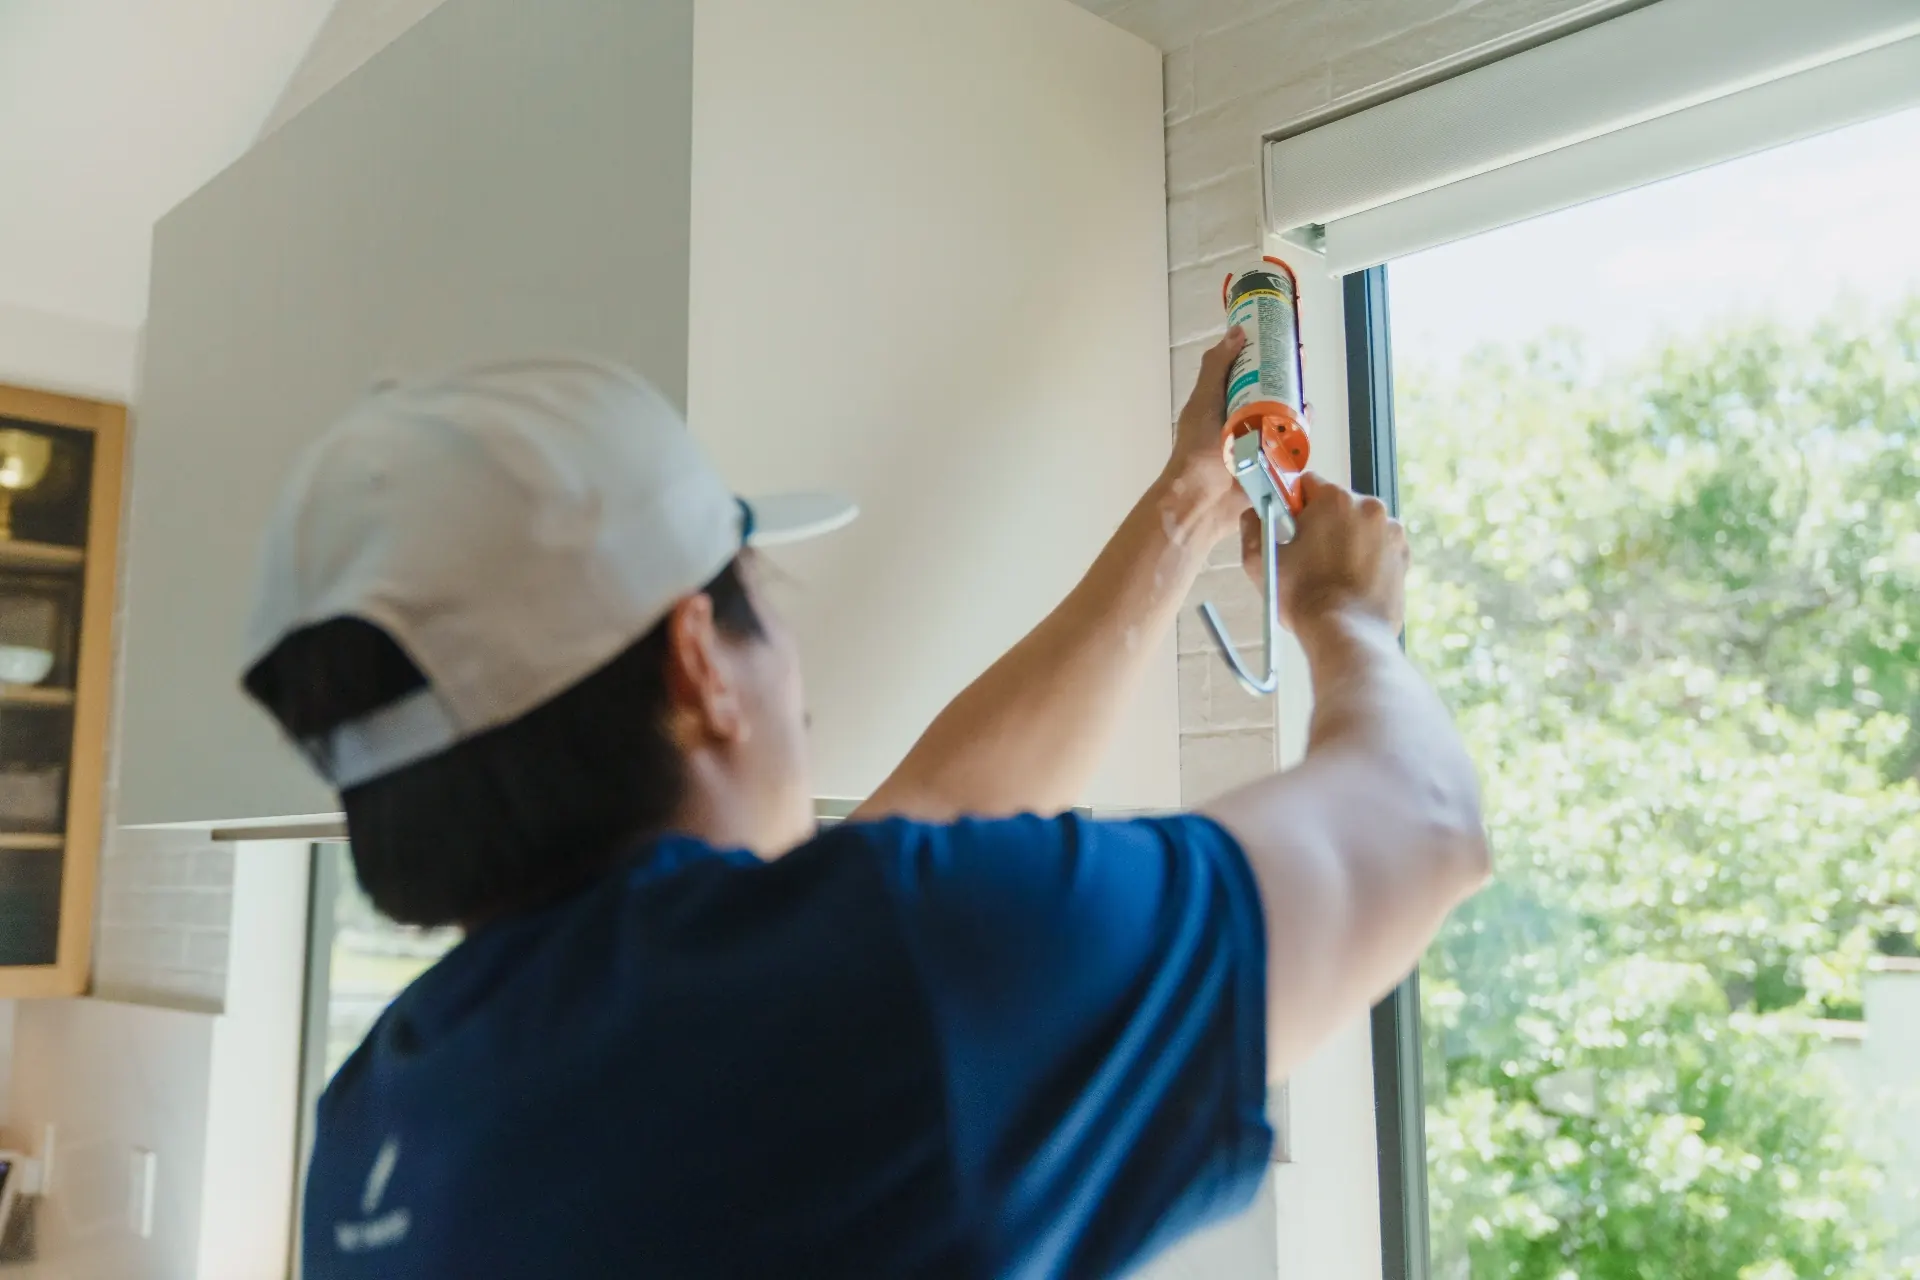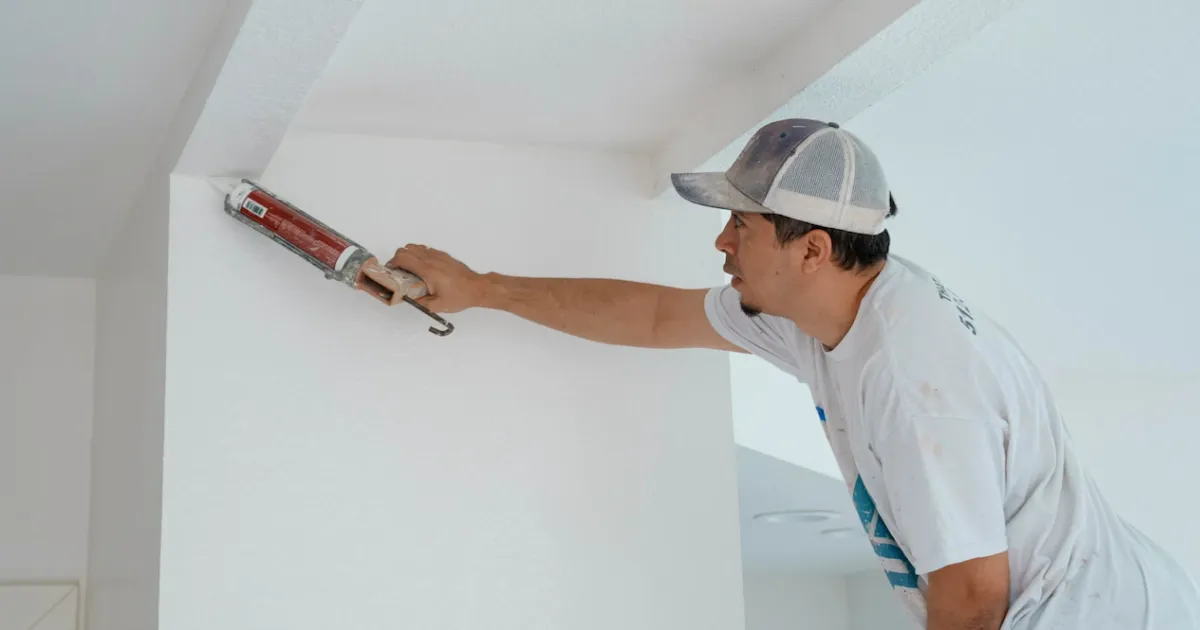
Freshly applied exterior caulk along trim and siding joints

Caulking in Charlotte Metro

Your Caulking Project, From Consultation to Completion

Caulking for homes and businesses across Charlotte Metro and neighborhoods including Waxhaw, Belmont, Weddington. That 1 Painter Charlotte Metro brings expert crews, premium products, and a 3-year transferable warranty to every project in North Carolina.

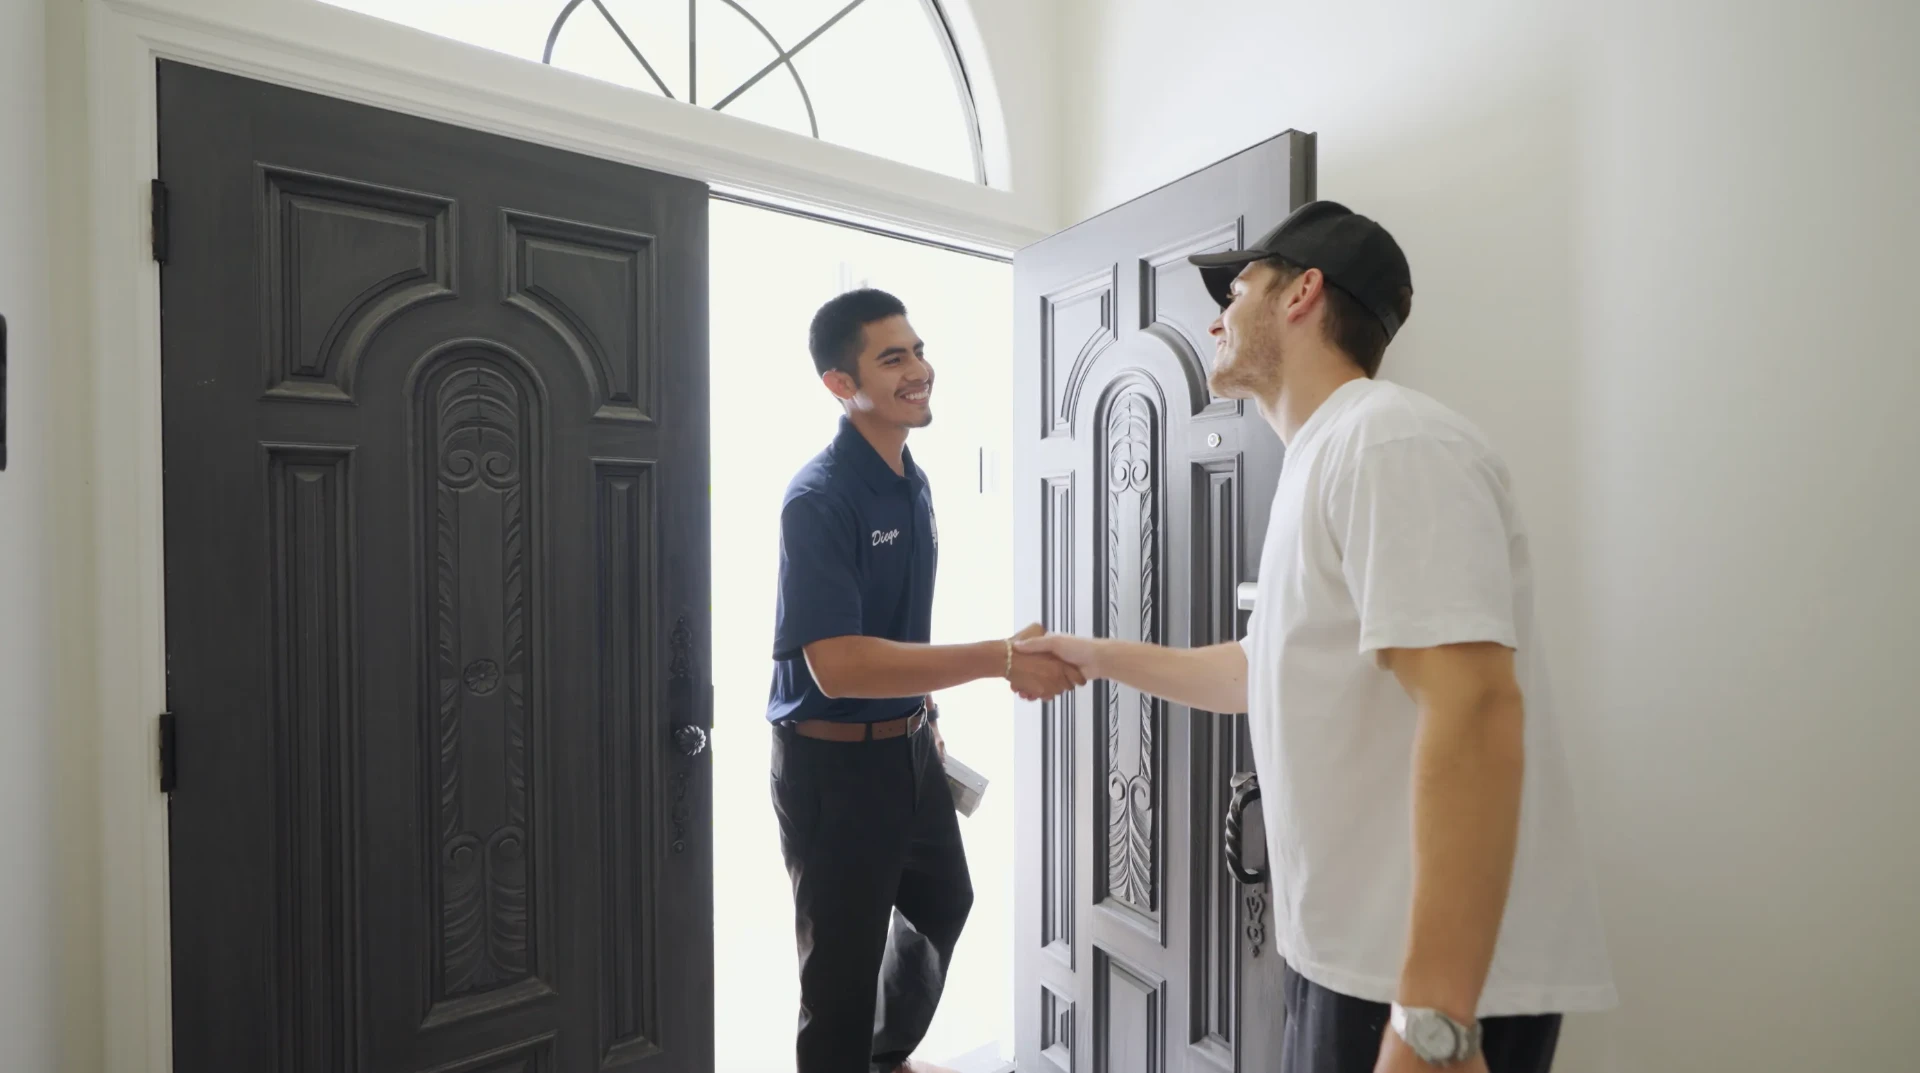
That 1 Painter project manager greeting a homeowner at the front door for a caulking inspection
1

Full Joint Inspection & Failure Mapping. Your project manager inspects every joint where two materials meet: trim, siding, windows, doors, tubs, and backsplashes. We mark failed, cracked, or missing caulk and match the right sealant to each substrate.

Old failed caulk being removed and backer rod installed in a wide joint
2

Removal, Cleaning & Backer Rod. Failed caulk is fully removed, never caulked over. Wide joints get backer rod for the proper hourglass profile, and we select the right sealant for each location: silicone for wet areas, urethane for exterior joints, paintable acrylic-latex for trim.

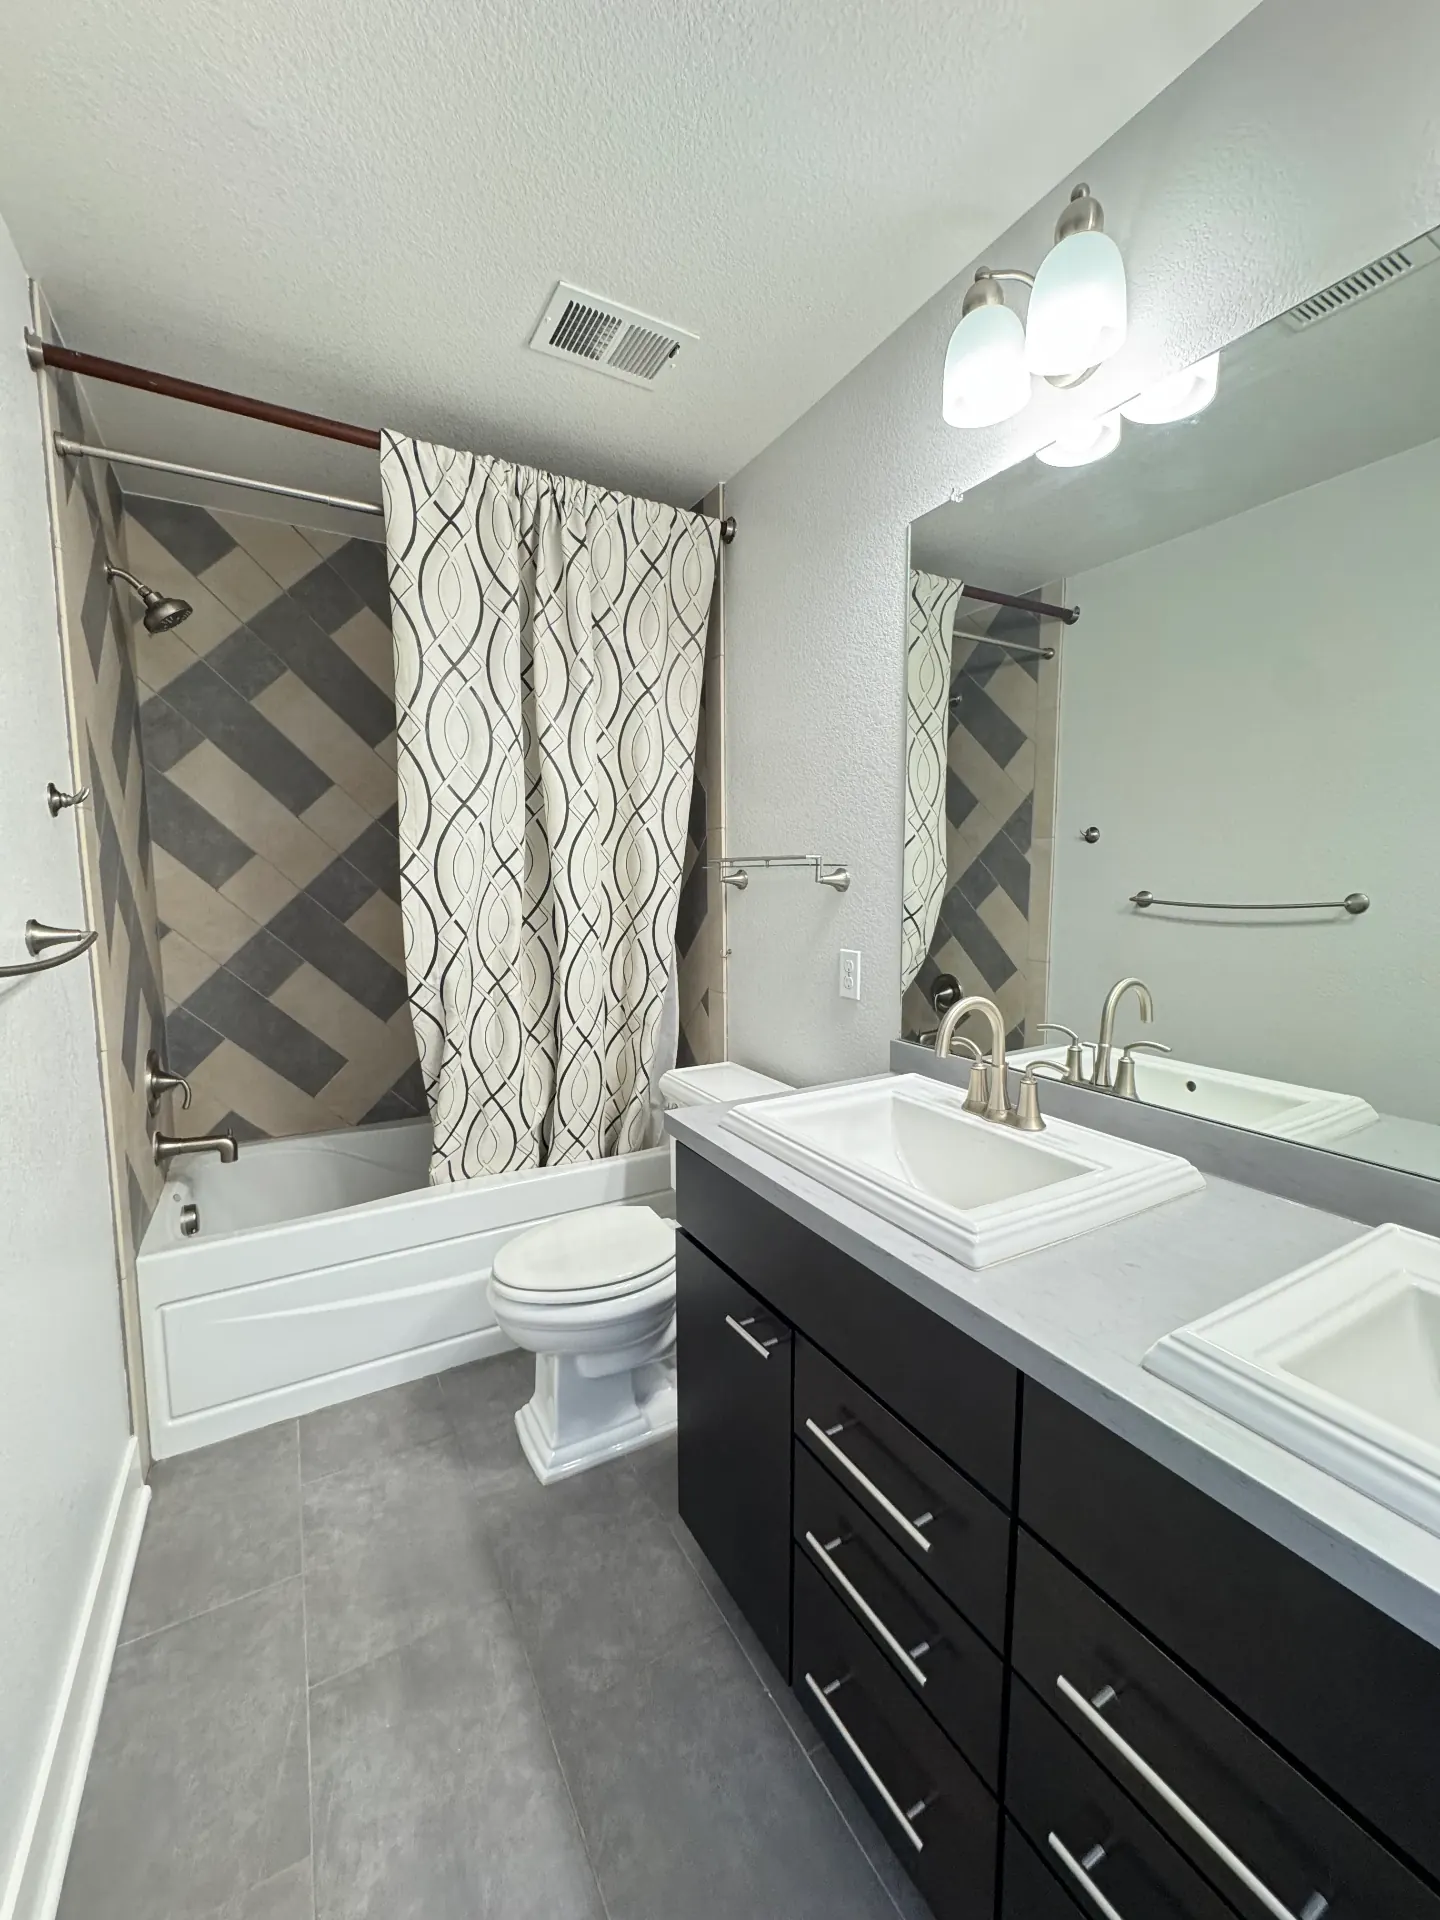
Finished bathroom with cleanly sealed tub, vanity, and trim joints after professional caulking
3

Application, Tooling & Cure. Beads are applied at consistent depth and tooled cleanly so the sealant bonds to both substrates. Painted joints read as one continuous surface, and full cure time is respected before water or paint exposure.

Number of Territories

0+

Number of Paint Jobs

0+

5-Star Reviews

0+

Honest Reviews from Real Homeowners

"These guys really are the best house guest ever. Dylan and his team are the most professional painting company we have e…"

Carson Gordon

Google review icon

"We hired Dylan and his crew for an exterior painting project on a property in south Charlotte. I can’t say enough good t…"

Mateo Alvarez

Google review icon

"That 1 Painter did a fantastic job on my project. They painted my bedroom ceiling, walls, trim and doors. They also pain…"

Christine Frasco

Google review icon

"Excellent team from start to finish! We would definitely call them again in the future."

Katy Jugan

Google review icon

"We had a great experience with That 1 Painter on a recent design project. Dylan met me at the house that morning to walk…"

Rena Rummage

Google review icon

"That 1 Painter did an amazing job painting the interior in our recently purchased home. They stayed in constant contact…"

Melinda Green

Google review icon

"Amazing customer care. Amazing service professionals. Amazing results. Dylan went above and beyond to make sure everythi…"

Dalton McKinney

Google review icon

"They did a great job! Excellent communication and super clean!"

Scott Ewing

Google review icon

"Great work! Would definitely recommend That 1 Painter to anyone!"

Brittany Alexander

Google review icon

"I’ve used That Painter 1 for several paint jobs. The communication throughout the entire job from start to finish is unm…"

Annie Daughtrey

Google review icon

"Great experience with this painting company! The team was professional, kind, and did an amazing job. A special shoutout…"

Justin Loeper

Google review icon

"Great experience working with Dylan, Kharlton, and Rahul. The consultation was thoughtful and thorough. The proposed pla…"

Robert Waddell

Google review icon

What Caulking Costs in Charlotte Metro (2026)

10%

Savings on heating and cooling from proper air sealing

Energy Star

20%

Maximum annual energy savings from sealing

U.S. Department of Energy

<1 yr

Typical payback period for caulking investment

U.S. Department of Energy

Caulking Portfolio Gallery

Painter applying caulk to painted exterior brick wall

Painted Brick Sealing

Freshly tooled caulk around an exterior window frame on lap siding

Window Frame Caulking

Caulk gun laying a clean bead along a taped exterior window casing

Exterior Window Reseal

Interior caulking pass along a window frame above the kitchen counter

Interior Window Caulking

Painter applying caulk to an interior ceiling-to-wall joint

Ceiling Joint Sealing

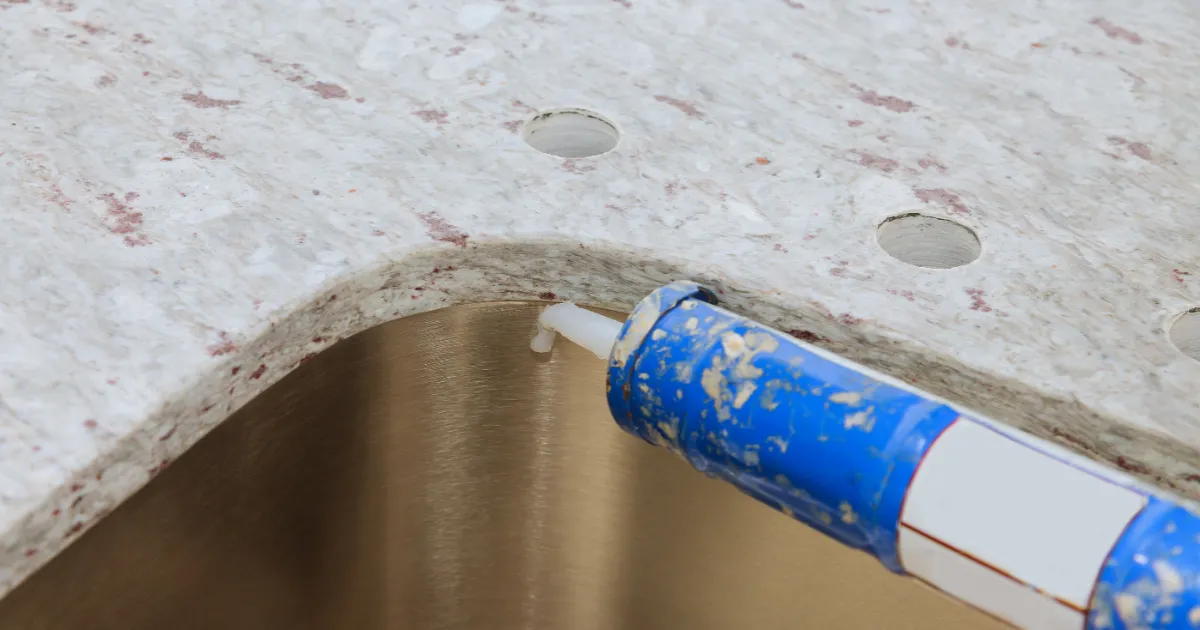
Silicone bead applied to a kitchen countertop-to-sink joint

Countertop & Sink Reseal

Finished bathroom with cleanly sealed tub, vanity, and trim joints

Finished Bathroom Detail

Trusted Paint Partners

Sherwin-Williams
Benjamin Moore
Behr
PPG
Romabio
Painter applying a clean finish near a window to represent That 1 Painter's 3-year workmanship warranty

Our 3-Year Warranty

Your peace of mind, at the top of mind with our three-year transferable warranty. Covers the painting job, even if you sell the house.

Download Warranty

Caulking FAQs in Charlotte Metro

Caulking is the application of a flexible sealant in the joints where two materials meet, trim to siding, frame to wall, tub to tile, counter to backsplash. It does three jobs at once: it blocks water from getting behind the surface, it stops air from leaking in or out (which directly affects your heating and cooling bills), and it makes joint lines visually clean. Failed or missing caulk is one of the most common root causes of expensive repairs, exterior wood rot, interior water damage, mold behind tile, that all started as a small joint that wasn't sealed. It's a low-cost service with disproportionately large downstream impact.

Anywhere two different materials meet. On exteriors: trim-to-siding joints, around every window and door frame, where siding meets brick or stone, at corners and expansion joints, and along fascia where it meets the roofline. On interiors: around tubs and showers, at sinks and backsplashes, between baseboard and wall, between crown molding and ceiling, around interior window and door casings. Not every joint needs caulk every year, but a comprehensive caulk inspection during an exterior repaint or as a standalone service catches everything that's failed and keeps the building envelope tight.

It depends entirely on the product and the joint. A high-quality 100% silicone in a tub joint can last 15+ years. A premium polyurethane or hybrid sealant on an exterior expansion joint commonly lasts 10–20+ years. A cheap interior latex caulk in a poorly prepped joint may fail within 12–18 months. Sun exposure, joint movement, and substrate quality all factor in. The key tells that caulk needs replacing are visible cracks, gaps where the caulk has pulled away from one substrate, discoloration, mildew, or any softness or chalking on exterior beads.

Visible cracking down the middle of the bead, gaps between the caulk and one of the surfaces it's supposed to seal, peeling or pulling-away at the edges, mildew or staining (especially in bathrooms), softness or stickiness on exterior caulk after sun exposure, or chalky residue. Functionally: drafts felt around windows and doors, water stains on the interior side of an exterior wall, paint that bubbles or fails near a joint, or visible water tracks below a window or trim line after rain. Any of those is a signal to inspect and reseal.

Exterior caulk has to flex with temperature changes (joints expand and contract every day), resist UV exposure, and remain waterproof. That usually means polyurethane, urethane hybrid, or high-grade siliconized acrylic formulas with high movement ratings. Interior caulk has a much easier job, it mostly needs to look clean, paint well, and seal a stable joint. Standard paintable acrylic-latex caulk works fine for interior trim. The big mistake is using interior caulk in an exterior joint, it'll dry hard, crack within a season, and fail.

Silicone is the right choice for wet areas, tubs, showers, sinks, exterior areas where mold and mildew resistance matter and the joint won't be painted. Silicone is fully waterproof and remains flexible, but it cannot be painted. Acrylic-latex (or modern acrylic-urethane hybrids like DAP Dynaflex Ultra) is the right choice for interior trim, exterior trim that will be painted, and any joint that needs to accept paint cleanly. Modern hybrid sealants increasingly bridge the gap, paintable, waterproof, and flexible, but they're more expensive than basic latex.

No, and this is the single most common DIY mistake. New caulk over old caulk doesn't bond properly to the substrate underneath; it only bonds to the old caulk, which is already failing. The new bead will lift, crack, and peel within months. Proper caulk replacement requires fully removing the old material with a caulk removal tool or utility knife, cleaning the joint, allowing it to dry, and applying fresh sealant directly to clean substrates on both sides. There are no shortcuts on this, caulking over failed caulk is worse than leaving the old caulk alone.

Yes, measurably. The U.S. Department of Energy identifies air sealing, caulking and weatherstripping combined, as one of the most cost-effective steps a homeowner can take to reduce HVAC load. Air leaks around windows, doors, and exterior trim joints add up to a significant fraction of a typical home's heating and cooling losses. A thorough exterior caulking pass plus weatherstripping on doors and windows commonly delivers a measurable drop in monthly energy bills, with the work paying for itself within a few seasons.

Inspect annually, replace as needed. There's no fixed calendar, premium exterior caulk in a stable joint may go 15+ years; cheap caulk in a high-movement joint may fail in 12 months. The practical rule: when you're already doing an exterior repaint (typically every 7–12 years for most homes), have all exterior caulk inspected and any failed beads fully replaced as part of prep. For interior bathrooms, inspect tub and shower caulk yearly and reseal at the first sign of mildew or pulling away.

Yes, and that's arguably its most valuable function. Most wood rot on exterior trim, fascia, and around windows traces back to a failed caulk joint that let water in over months or years. Most bathroom subfloor damage and mildew problems trace back to failed tub or shower caulk. Sealing those joints proactively, and re-sealing them at the first sign of failure, is one of the highest-leverage maintenance moves a homeowner can make. Caulk is cheap; the wood rot and water damage repairs it prevents are not.

Paintable caulk (acrylic-latex, acrylic-urethane hybrids, paintable polyurethanes) is formulated so paint will bond to the cured surface, necessary for any joint on painted trim. Non-paintable caulk (most 100% silicones) has a surface chemistry that paint physically cannot stick to; paint will bead, peel, or fish-eye on it within hours. Use silicone in wet areas where the bead is exposed and paint isn't a factor (tubs, showers, exterior joints behind paintable trim), and use a paintable formula anywhere a continuous painted finish is required.

DIY caulking material cost is low, typically $5–$15 per tube, plus a $5 caulk gun. Professional whole-home exterior caulking commonly runs $300–$1,500 depending on home size and joint count. The price difference reflects three things: full removal of failed caulk (the slow, careful part), the right product selection for each joint and substrate, and a properly tooled bead that actually seals long-term. Most DIY caulk failures we replace come from the right product applied poorly or the wrong product applied competently, both of which cost more to redo than to do right the first time.

Stop Scrolling.
Start Painting.