Your cabinets shape the look of your kitchen or bathroom. When they look worn, the whole space can feel dated. A fresh coat of paint can completely change that and give the room a new life.
Replacing cabinets costs thousands and can take weeks. Painting is faster and more affordable. But the results depend on how well you prepare the surface. Proper prep helps paint stick, gives a smooth finish, and prevents peeling.
Before you grab a brush, make a plan. Clean every surface, sand it, and repair any damage. These steps create a strong base for your paint.
At That 1 Painter Twin Cities, we follow this process on every project. We prep the right way so your cabinets look amazing and last for years. You can use the same approach at home to get professional-looking results.
Why Cabinet Prep Matters for Twin Cities Homeowners
The Twin Cities climate can be tough on painted surfaces. Warm summers, freezing winters, and indoor humidity all affect how paint holds up over time. Without the right prep, paint may chip, crack, or fade much sooner.
Cabinets face daily wear and tear. Oils from your hands, food splatters, and cleaning products leave behind residue that stops paint from bonding. Skipping cleaning and sanding almost always leads to peeling.
Proper prep doesn’t just make your cabinets look better. It also helps the finish last longer. Taking the time to prepare ensures your cabinets stay fresh and vibrant for years.
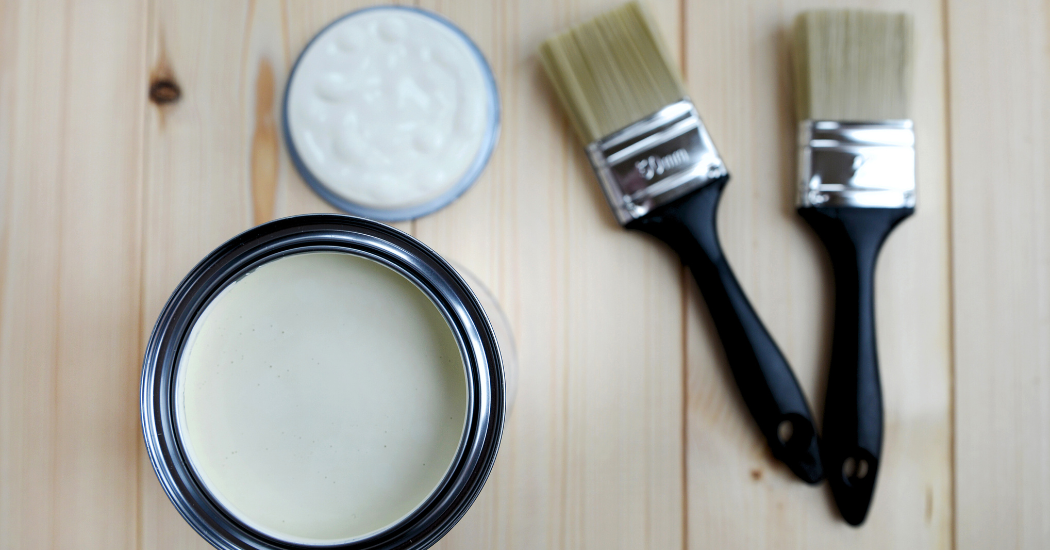
The right tools and materials make the job easier and the finish better.

Step-by-Step Cabinet Prep Guide
1. Begin by removing all cabinet doors, drawers, and hardware.
Start by taking off every door and drawer from your cabinets, along with knobs, handles, and hinges. Store screws and small parts in labeled bags so you can easily put everything back together later.
2. Thoroughly clean all surfaces before painting.
Use a degreaser or a mixture of warm water and mild soap to scrub away grease, dust, and grime from every surface you plan to paint. Clean cabinets ensure better adhesion and a longer-lasting finish.
3. Rinse and dry the cabinets completely.
After cleaning, rinse each surface with clean water and let everything dry fully. Even small amounts of moisture can affect paint adhesion and cause an uneven finish.
4. Protect surrounding areas from dust and paint.
Apply painter’s tape to walls, countertops, and any areas you don’t want painted. Lay down drop cloths to catch dust and drips, keeping your floors and workspace safe.
5. Lightly sand the surfaces for better paint adhesion.
Using fine-grit sandpaper, gently sand all surfaces in the direction of the wood grain. This step helps the primer and paint grip better while preventing visible scratches.
6. Remove dust to prepare for painting.
Wipe down all sanded surfaces with a tack cloth or damp rag to remove dust particles. This prevents bumps and roughness in your final painted finish.
Our Professional Cabinet Painting Process
If you prefer to leave the work to the experts, here’s how we handle your cabinet transformation from start to finish.
1. We start with a detailed consultation to bring your vision to life.
Our process begins with an in-depth discussion to understand your style, goals, and preferences. We guide you in selecting the perfect colors, finishes, and design elements to complement your home’s look.
2. We prepare and clean every surface for a flawless foundation.
Before painting begins, our team thoroughly cleans, sands, and preps each cabinet, removing dirt, grease, and imperfections to ensure the paint adheres perfectly.
3. We apply high-quality paint with expert precision.
Using professional tools and premium paints, we apply multiple even coats to achieve a smooth, durable, and long-lasting finish.
4. We allow the proper drying and curing time for maximum durability.
Your freshly painted cabinets are given the time they need to fully dry and cure, ensuring they withstand everyday use without chips or peeling.
5. We finish with final touches and a meticulous inspection.
Our team checks every detail, making any necessary touch-ups so your cabinets are picture-perfect and ready to transform your space.
Can You Paint Over Cabinets Without Sanding?
You can sometimes paint without sanding, but it depends on your cabinets’ condition.
For cabinets in good shape, use a liquid deglosser to dull the finish. This helps primer stick without the dust and mess of sanding.
If your cabinets have scratches, peeling paint, or a glossy finish, sanding is still the better choice. Even light sanding improves paint adhesion and durability.
Skipping sanding may save time but can lead to chipping or peeling sooner.
Do You Have to Sand Primer Before Painting Cabinets?
Light sanding after priming helps create a smooth finish. Primer can leave small bumps or brush marks. A quick sanding removes these imperfections so paint goes on evenly.
Use fine-grit sandpaper, then wipe with a tack cloth to remove dust. It only takes a few minutes but can make your cabinets look professionally done.
You can skip this step, but the finish may not feel as smooth.
Benefits of Hiring a Professional Painting Company in Twin Cities
Painting cabinets takes time, skill, and patience. Hiring professionals saves you effort and ensures a high-quality result.
A trained crew knows the right prep methods, uses premium materials, and works efficiently. They avoid common problems like uneven coverage or peeling paint.
You also get a smooth, lasting finish without the mess or stress of doing it yourself.
Why That 1 Painter Twin Cities is the Top Choice
When you want cabinets that look brand new, trust That 1 Painter Twin Cities. We know every step for a flawless finish. We prep carefully, use premium paint, and follow proven techniques.
Our team respects your home. We work on schedule, keep the space clean, and make sure you’re happy with the final look. Homeowners across the Twin Cities choose us for lasting beauty and value.
With our help, you can refresh your kitchen or bathroom without the cost of a full remodel.
Give Your Cabinets the Makeover They Deserve
Freshly painted cabinets can transform your space. With proper prep and a skilled team, you’ll get smooth, lasting results.
Let That 1 Painter Twin Cities handle your project. Call us today at (763) 280-3736 to schedule your free estimate. Your dream kitchen or bathroom is just one paint job away.