5 DIY Tips From That 1 Painter Phoenix Metro For Your Interior Home Painting Project
That 1 Painter is the fastest-growing painting company in the world. Painting your space can be complicated, but with our expertise, we make the process easy and stress-free for homeowners. With franchises across the nation, we have helped tens of thousands of homeowners make the best choices for their homes without sacrificing quality, and we are here to show you how.
5 DIY Tips From That 1 Painter Phoenix Metro For Your Interior Home Painting Project
Transforming your home with a fresh coat of paint is one of the easiest ways to revitalize a space. Whether you’re sprucing up your living room, refreshing your kitchen, or giving your bedroom a makeover, the power of paint can work wonders. But let’s face it, painting isn’t as easy as it looks! If you want to achieve a professional-quality finish without hiring a contractor, there are a few tips and tricks you’ll want to know. That 1 Painter Phoenix Metro has been helping homeowners like you achieve stunning results for years. We’re here to share some expert DIY painting advice to help you get the job done right—without the stress or the mess!
The great news is that with the right tools, preparation, and technique, anyone can master interior home painting. So, if you’re ready to start your next DIY project, follow these five expert tips, and you’ll be well on your way to a flawless finish.
1. Prepare Your Space for Success
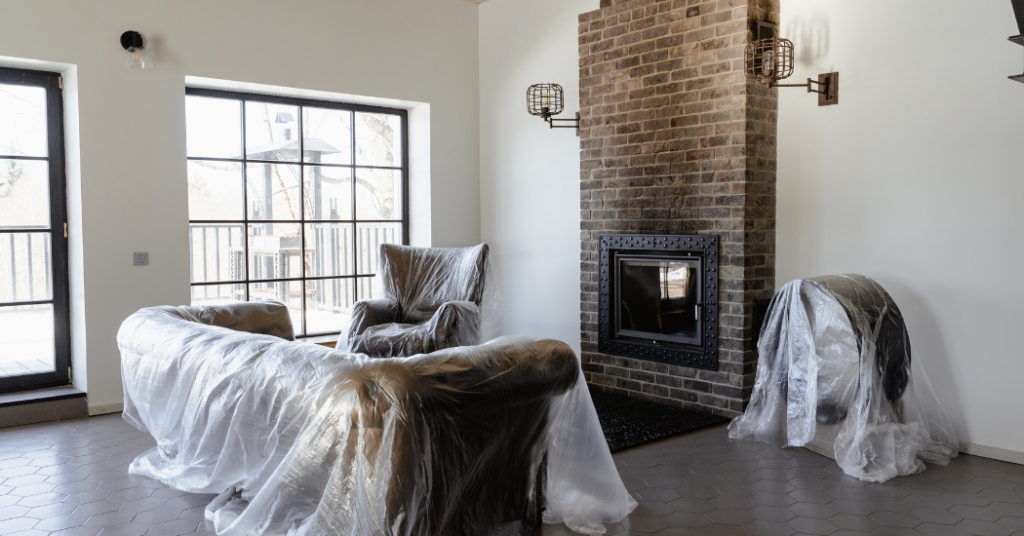
Preparation is half the battle when it comes to painting your home. If you skip this crucial step, you could end up with uneven walls, drips, and unnecessary messes. By taking the time to properly prep your space, you’re ensuring that your painting project goes smoothly and the end result looks professional. Here’s how to get your space ready:
- Remove or cover furniture: Start by clearing out the room. Move your furniture into the center of the room, and cover it with plastic or canvas drop cloths. This will prevent any accidental spills or splatters.
- Protect the floors: Use large, heavy-duty drop cloths or plastic sheeting to cover the floors. Not only will this protect them from paint, but it also makes cleaning up afterward much easier.
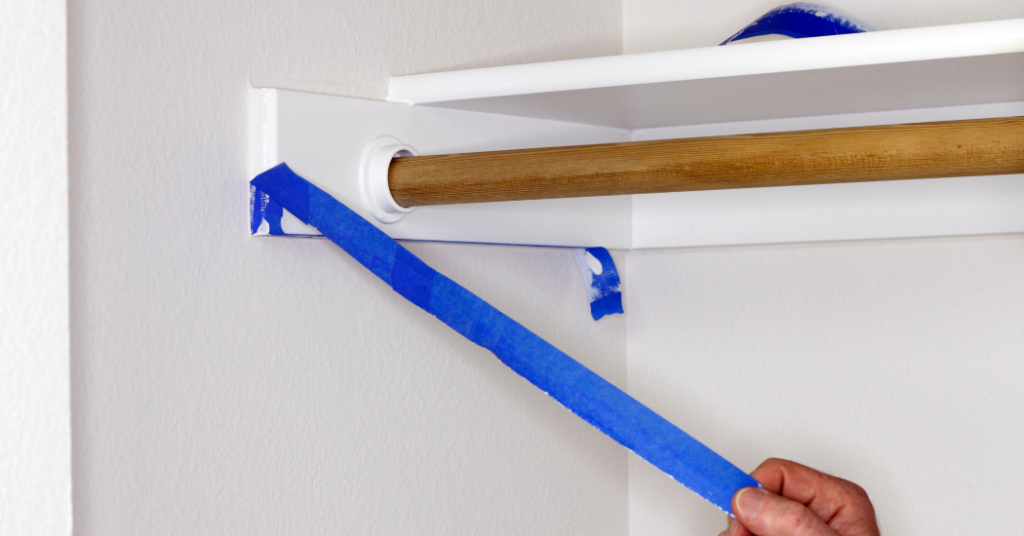
- Tape off trim and edges: Use painter’s tape to mask off baseboards, door frames, windows, and ceilings. This helps you achieve clean, crisp lines, which is essential for a professional finish.
- Patch holes and imperfections: Fill in any cracks, holes, or dents in your walls with spackle or wall filler. Sand it smooth once it dries so your walls are flawless and ready for painting. A smooth surface is key to a smooth finish!
Taking these few extra steps before you start painting can make a world of difference. Not only will your space be safe from accidental splashes, but you’ll also set yourself up for success by ensuring the paint applies evenly and smoothly.
2. Choose the Right Tools and Quality Paint
Choosing the right tools and materials is one of the easiest ways to ensure your project goes smoothly. Using the right paint, brushes, and rollers for the job will save you time, effort, and frustration. Here’s what you’ll need:
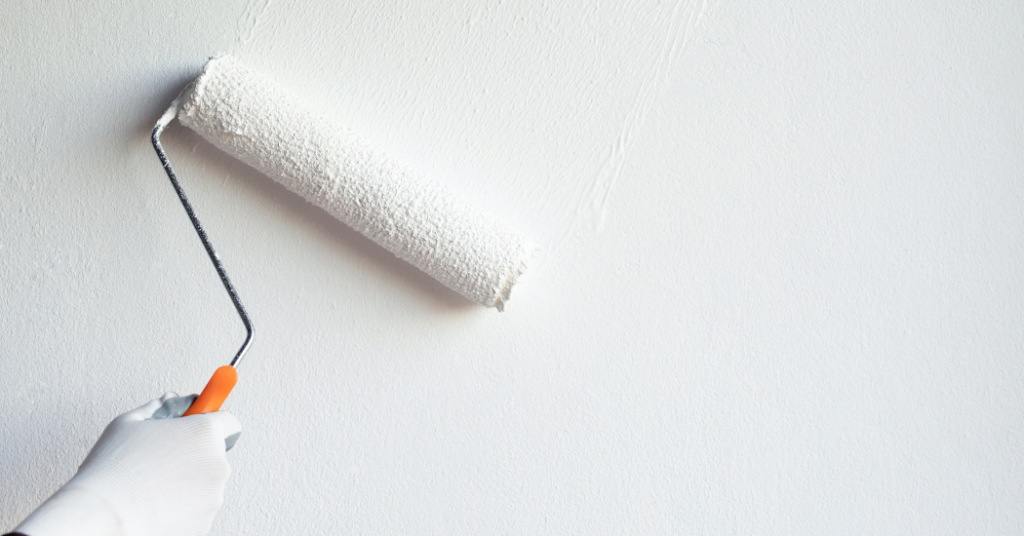
- Invest in quality brushes and rollers: While it’s tempting to save money by purchasing cheap tools, your results will suffer. For smooth, even coverage, invest in good-quality brushes and rollers. Use an angled brush for cutting in around the edges, and a high-quality roller for larger wall surfaces.
- Pick the right paint: Not all paints are created equal. For the best results, choose high-quality paint designed specifically for interiors. It will adhere better to the walls, provide more even coverage, and last longer. Remember, flat or matte finishes are great for hiding imperfections, while satin or gloss finishes work well for high-traffic areas.
- Consider the finish: The finish you choose can make or break your project. High-gloss finishes are durable and easy to clean, making them ideal for kitchens and bathrooms. A satin finish is versatile and works well in most rooms, while matte finishes are perfect for living rooms and bedrooms that require a softer look.
- Tools for trimming: Make sure you have a trim brush for painting the edges of walls and any other fine details. A high-quality trimming tool can help you create sharp, clean lines around windows, doors, and ceilings.
Investing in quality tools and paint may cost a bit more upfront, but it will give you a much better finished result and will save you time and money in the long run. After all, it’s worth getting a professional finish when you’ve put in the hard work of painting yourself!
3. Master the Right Painting Technique
Now that your space is prepped and you have the right materials, it’s time to start painting! Using the correct technique is crucial for achieving an even and smooth finish. Here’s what you need to do:
- The “W” or “M” technique: When painting large walls, use a “W” or “M” motion to apply the paint. This technique helps to distribute the paint evenly across the surface. It also prevents streaks and helps you avoid visible roller marks.
- Work in sections: It’s important to work in small sections so that the paint doesn’t dry too quickly. Apply the paint while the wall is still wet, blending each section with the next. This will help avoid uneven spots.
- Use light, even pressure: When rolling paint, apply light pressure to avoid thick streaks or roller lines. It’s better to apply multiple thin layers than one thick layer.
- Feather the edges: Feathering the edges means blending the paint into the edges of your lines so that they don’t look harsh or obvious. A great way to do this is to use a brush to soften any edges where the roller didn’t quite reach.
Taking the time to master these simple painting techniques will ensure that your walls look polished and professional. By working in small sections and using light pressure, you’ll avoid any potential mistakes and achieve the even finish you’re looking for.
4. Be Mindful of Drying Times and Ventilation
When it comes to painting, drying time and ventilation are two key factors that many people overlook. Here’s why they’re so important:
- Allow the proper drying time: Always allow each coat of paint to fully dry before applying the next one. Rushing through this process can lead to streaks, uneven patches, and a longer drying time overall. Follow the manufacturer’s instructions for drying times—usually, it’s at least 2-4 hours between coats.
- Ventilation is crucial: Ensure the room is well-ventilated while painting. Open windows and use fans to circulate the air and speed up the drying process. Proper ventilation helps reduce paint fumes and ensures that your paint dries properly, without taking too long or becoming too thick in certain areas.
- Avoid painting in extreme conditions: The temperature and humidity of the room can greatly affect how your paint dries and adheres to the walls. If the room is too hot, the paint will dry too quickly, leading to visible brush marks. Similarly, painting in high humidity can lead to uneven drying or a tacky finish.
By managing drying times and maintaining proper ventilation, you’ll ensure that the paint dries evenly and looks great. If you can, try to paint when the weather is mild, as this will make a big difference in how your walls turn out.
5. Clean Up and Final Touches for a Polished Look
Once you’ve finished painting, there are a few final touches that will give your project that perfect professional look. The work isn’t done until everything is cleaned up and all the edges are neat.
- Remove painter’s tape carefully: Wait until the paint is dry before removing painter’s tape. If you remove it too early, you risk peeling off paint with it. Use a utility knife to score along the edge of the tape if it’s sticking to the paint.
- Touch up any missed spots: After removing the tape, you may notice a few spots that need a little extra attention. Use a small brush to touch up those areas. This is a quick and easy way to make sure the entire room looks uniform.
- Clean your tools: Cleaning your brushes, rollers, and trays is an essential part of the process. Properly cleaning your tools ensures they’ll last longer and that your next project will go even smoother.
Taking the time to clean your tools, remove tape carefully, and do a quick touch-up on missed spots will make your painting project look like it was done by the pros.
It’s always rewarding to see the transformation of a freshly painted room. By following these five DIY painting tips, you’ll have a beautiful, professional-looking interior that you can enjoy for years to come. If you’d prefer to skip the DIY and let the professionals handle the work, That 1 Painter Phoenix Metro is here to help. Whether you’re painting a single room or your entire home, our team of experienced painters ensures the job is done right—on time and with the high-quality results you deserve.
Don’t stress over your next painting project—let the experts at That 1 Painter Phoenix Metro do the hard work for you. Ready to transform your space? Contact us today for a free consultation!